Configure Advanced Breach Detection
NAVIGATION Dashboard > Advanced Breach Detection
This article explains how to review Advanced Breach Detection events, investigate event details, enable or disable individual MITRE ATT&CK® techniques, and set up exclusions to reduce false positives.
Review Advanced Breach Detection for an overview of how the app works and the full list of monitored techniques.
Review events
To review Advanced Breach Detection events, complete the following steps:
-
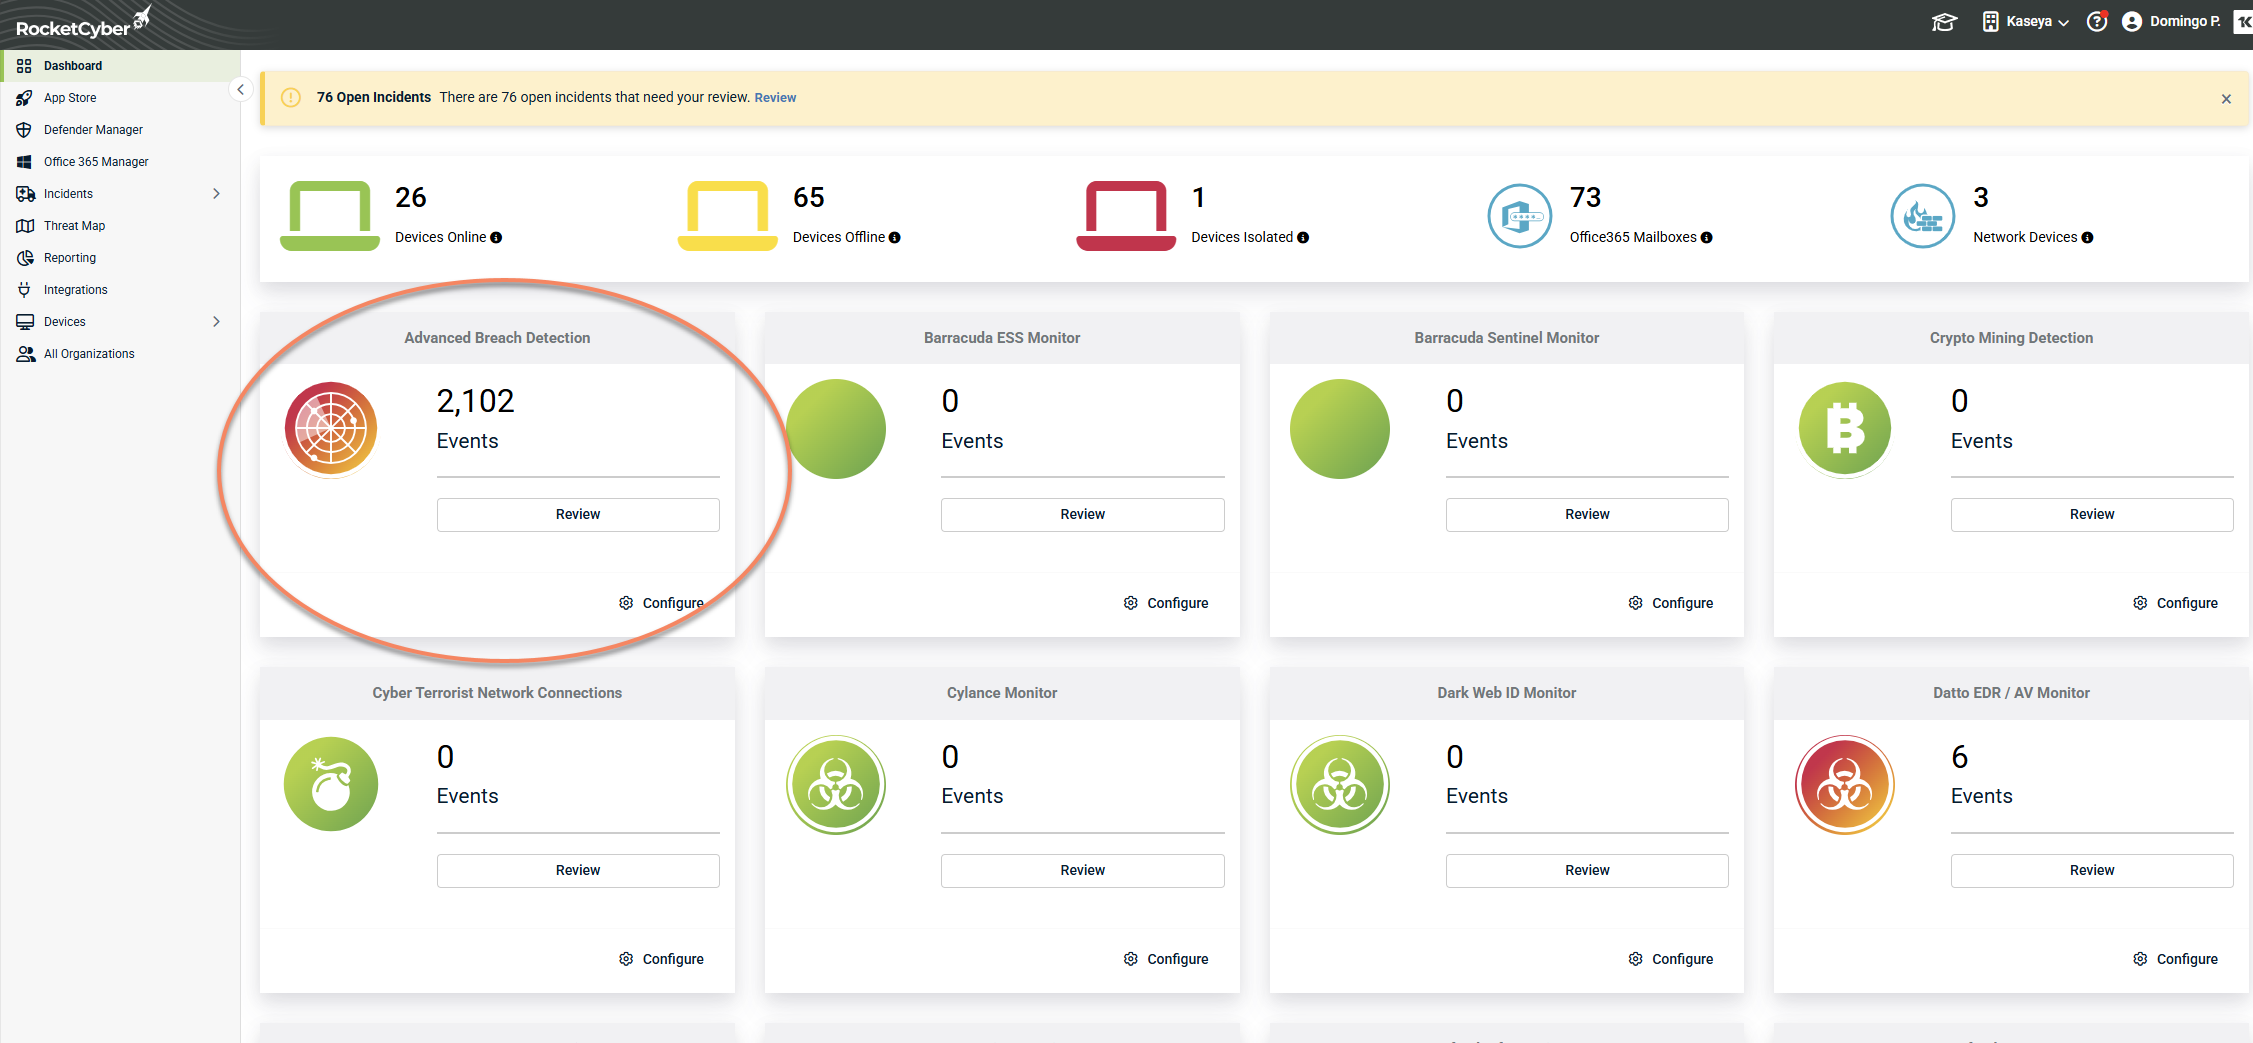
From the RocketCyber dashboard, locate the Advanced Breach Detection app card.
-
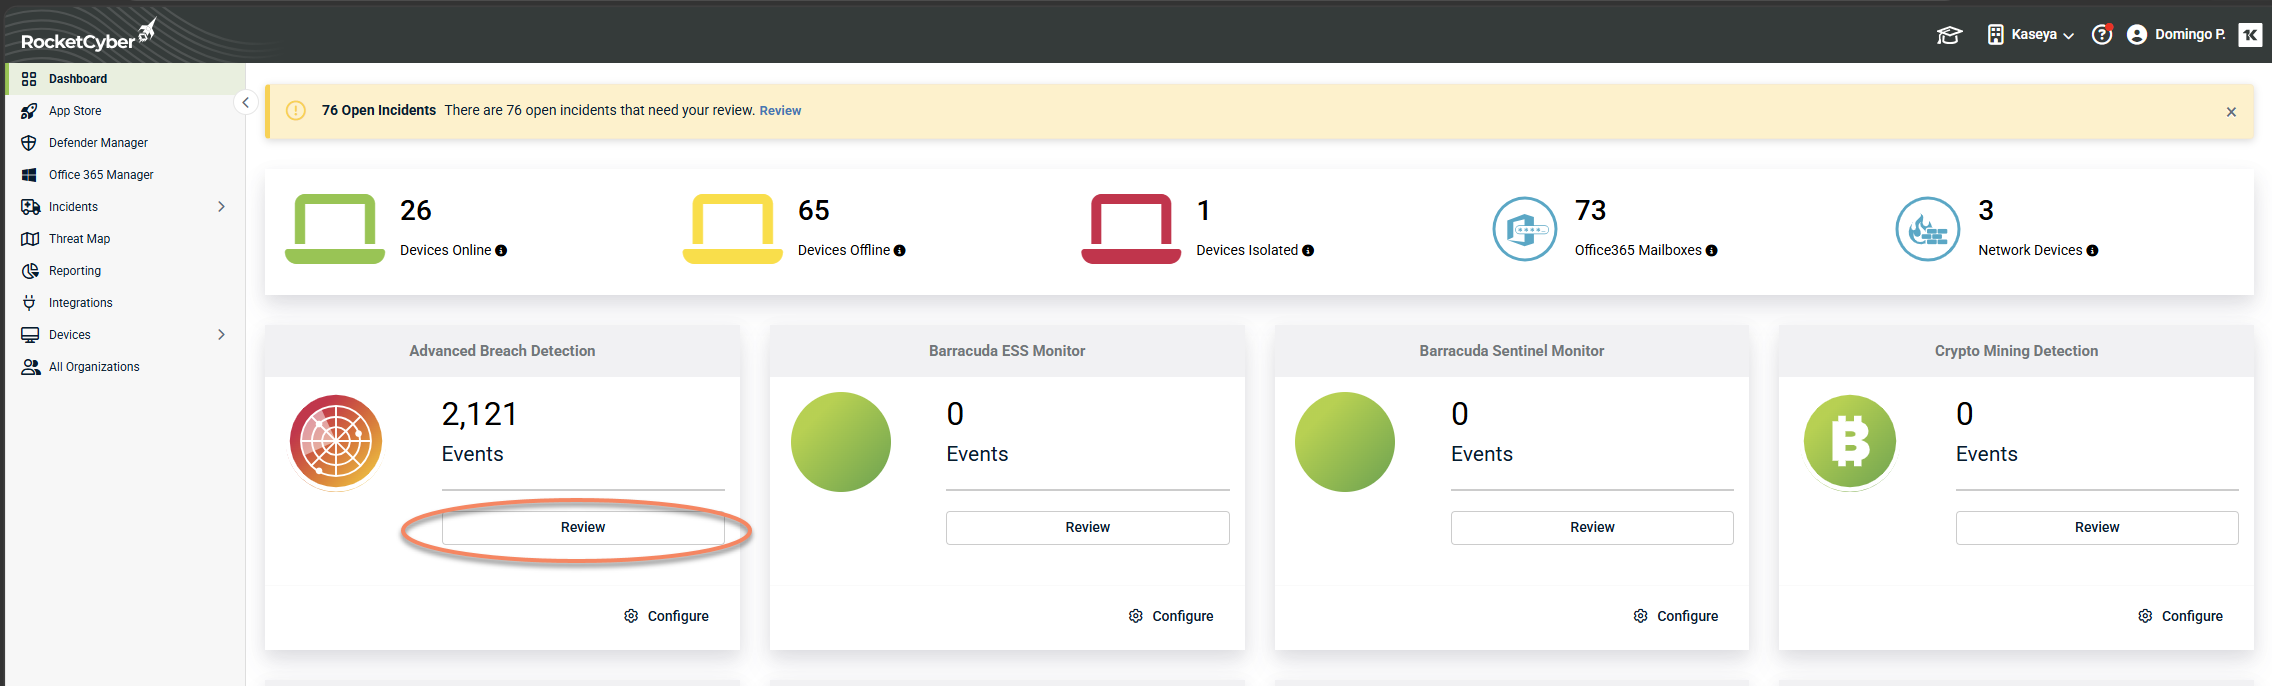
Click Review.
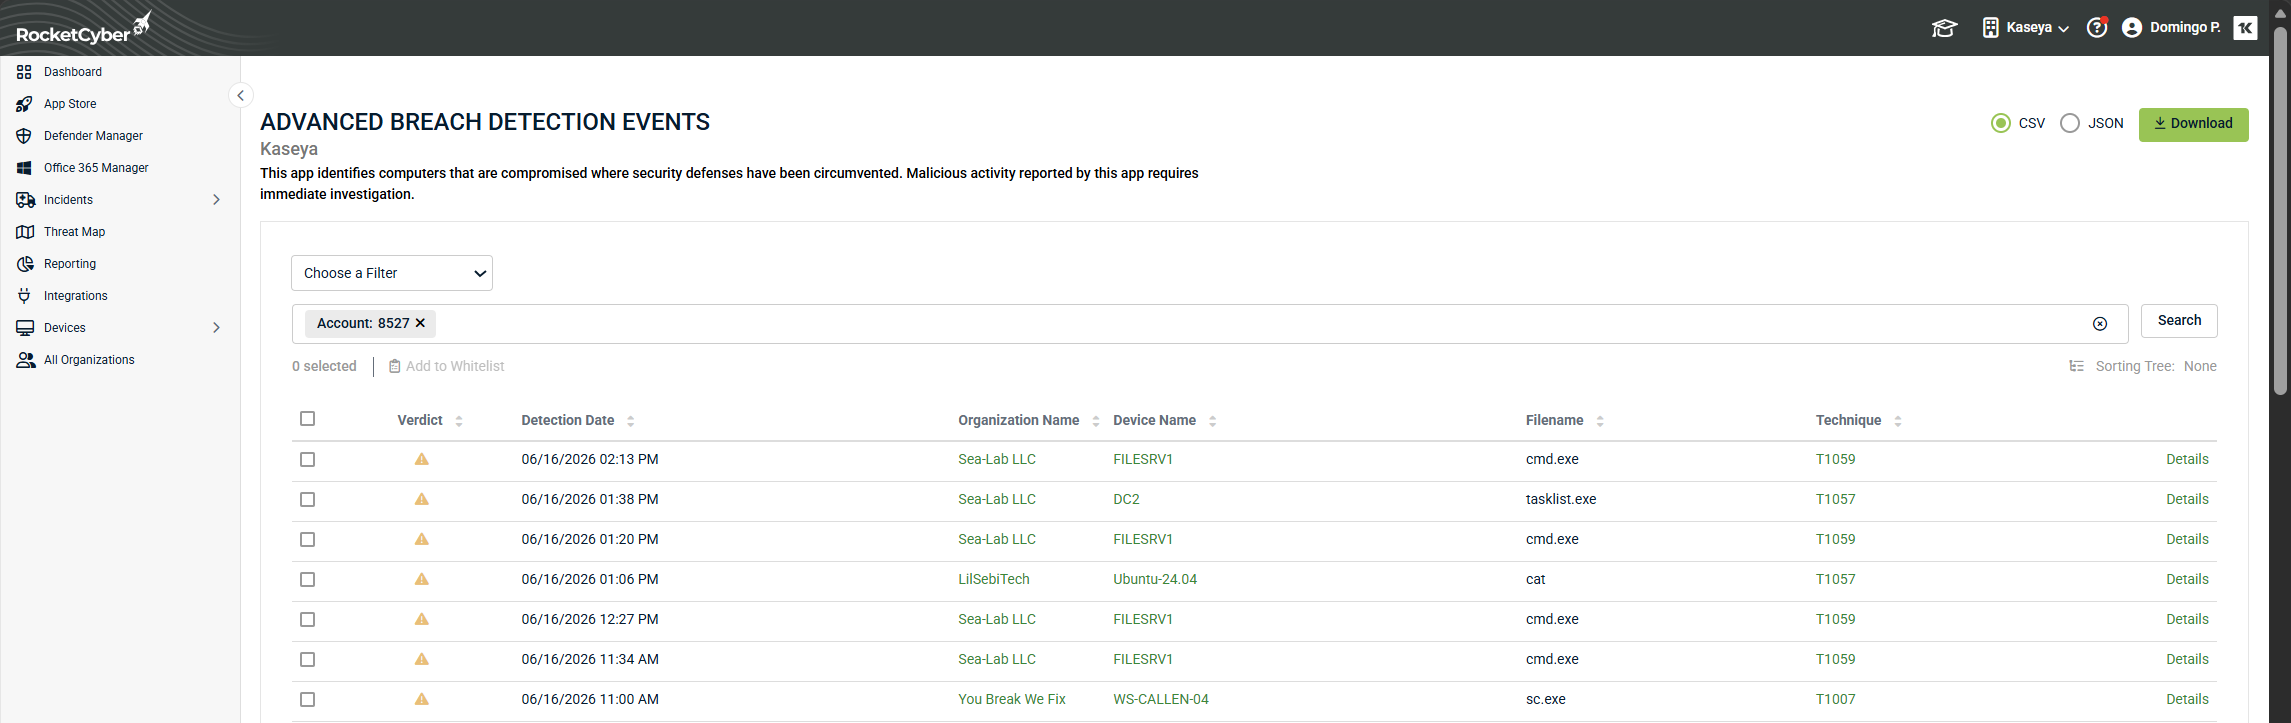
The Advanced Breach Detection Events screen displays all events for your account. The following information is shown for each event:
-
Verdict: the SOC's classification of the event. Possible values are: Malicious (red), confirmed active threat or compromise; Suspicious (yellow), irregular or risky behavior requiring further investigation; Benign (green), activity that was flagged but determined to be safe.
-
Detection Date: the date and time the event was detected.
-
Organization Name: the organization associated with the event.
-
Device Name: the device on which the event was detected.
-
Filename: the filename associated with the detection.
-
Technique: the MITRE ATT&CK® technique ID that triggered the detection.
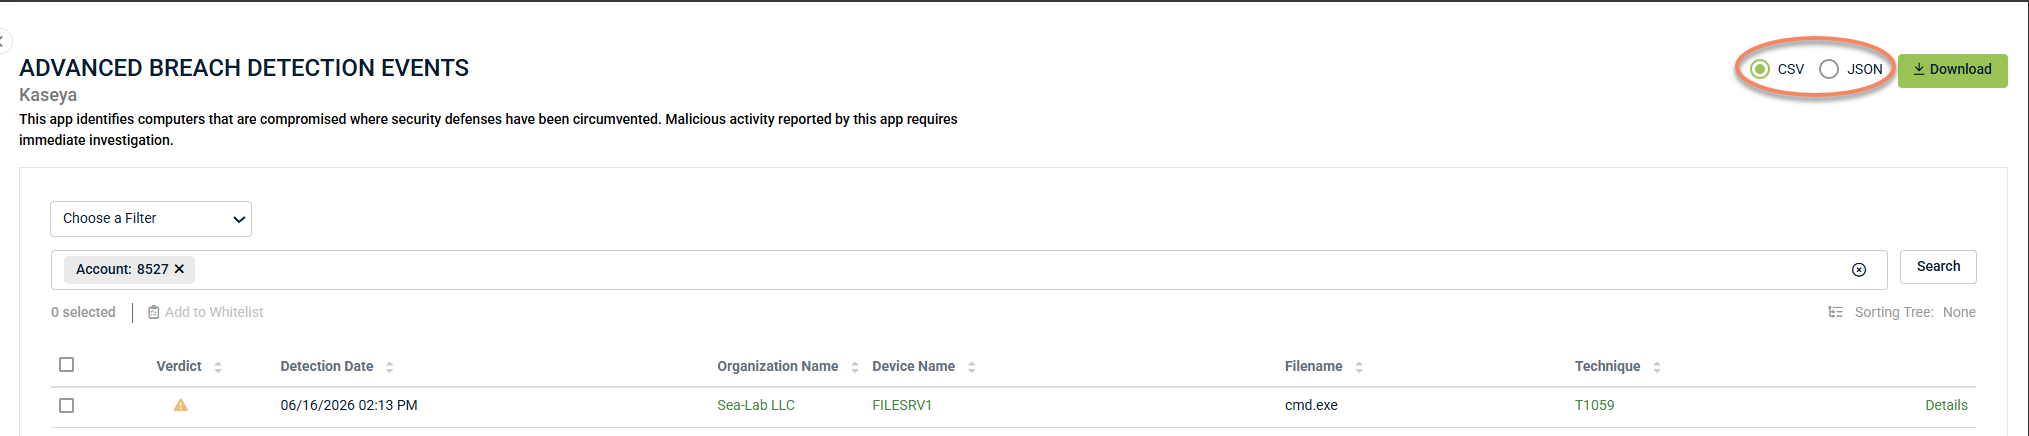
Use the Filter and Search controls to narrow the list. Events can be exported using the CSV or JSON buttons in the upper right.
View event details
To investigate a specific event, complete the following steps:
-
From the Advanced Breach Detection Events screen, locate the event you want to investigate.
-
Click Details.
The event details window contains two tabs:
-
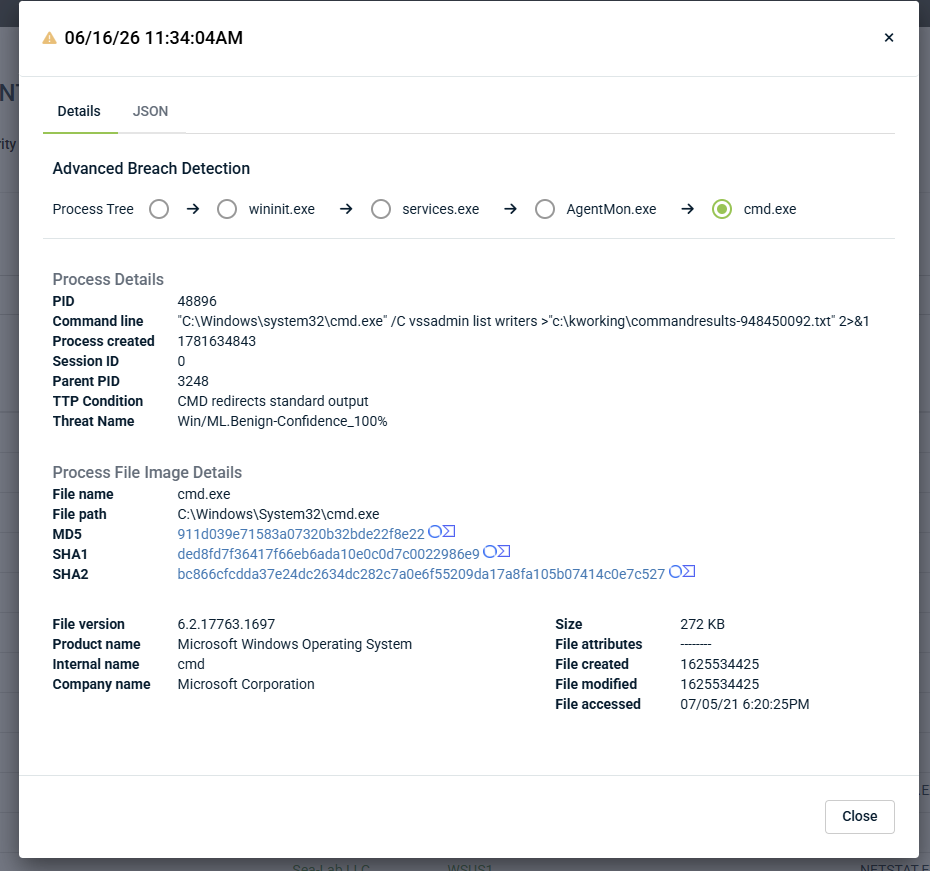
Details tab: shows the process tree, process details, and process file image details:
-
Process Tree: a visual representation of the process chain that led to the detection, showing parent and child processes in sequence.
-
Process Details: includes PID, command line, process creation time, session ID, parent PID, TTP Condition, and Threat Name.
-
Process File Image Details: includes file name, file path, MD5, SHA1, SHA2 hashes, file version, size, product name, internal name, company name, file attributes, and file timestamps.
-
-
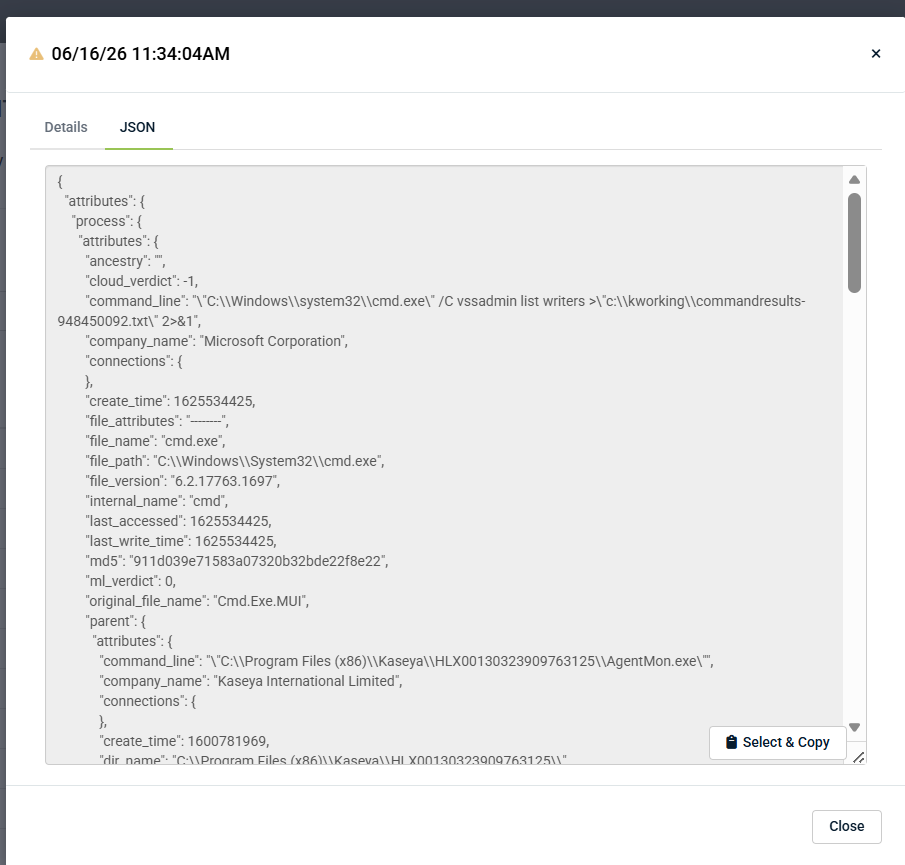
JSON tab: displays the raw event data. Use Select & Copy to copy the full JSON payload.
Add to whitelist from an event
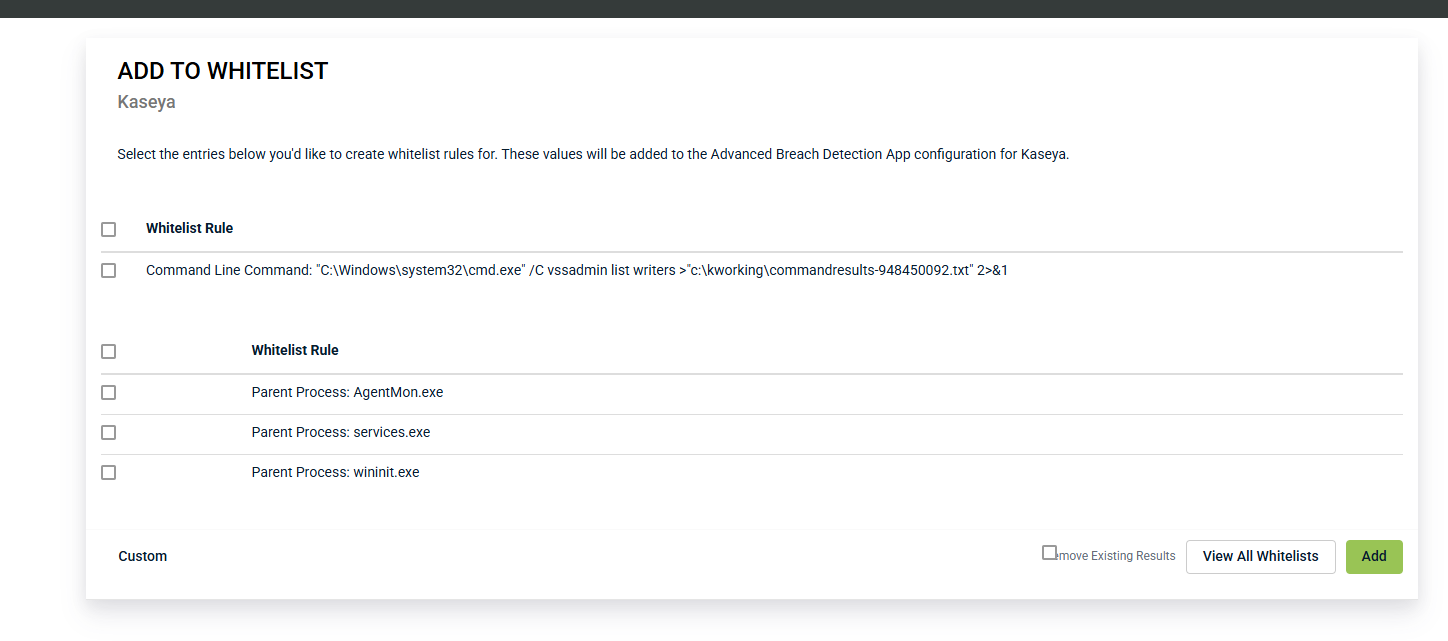
Adding an event to the whitelist creates exclusion rules directly from the event, without needing to manually enter values in the configuration screen. RocketCyber pre-populates suggested whitelist rules based on the CLI commands and parent processes associated with the event.
To add an event to the whitelist, complete the following steps:
-
From the Advanced Breach Detection Events screen, select one or more events using the checkboxes.
-
Click Add to Whitelist.
-
In the Add to Whitelist window, review the suggested whitelist rules. Select the rules you want to apply.
-
Optionally, click Custom to enter a custom whitelist rule manually.
-
Optionally, enable Remove Existing Results to remove matching existing events from the event list.
-
Click Add to apply the selected rules.
The selected rules are added to the Advanced Breach Detection app configuration. To view all whitelist rules, click View All Whitelists.
Whitelist rules added from this screen are the same as exclusions set in the configuration screen. They prevent matching activity from generating future detections.
Enable or disable detection techniques
To enable or disable individual MITRE ATT&CK® techniques for Advanced Breach Detection, complete the following steps:
-
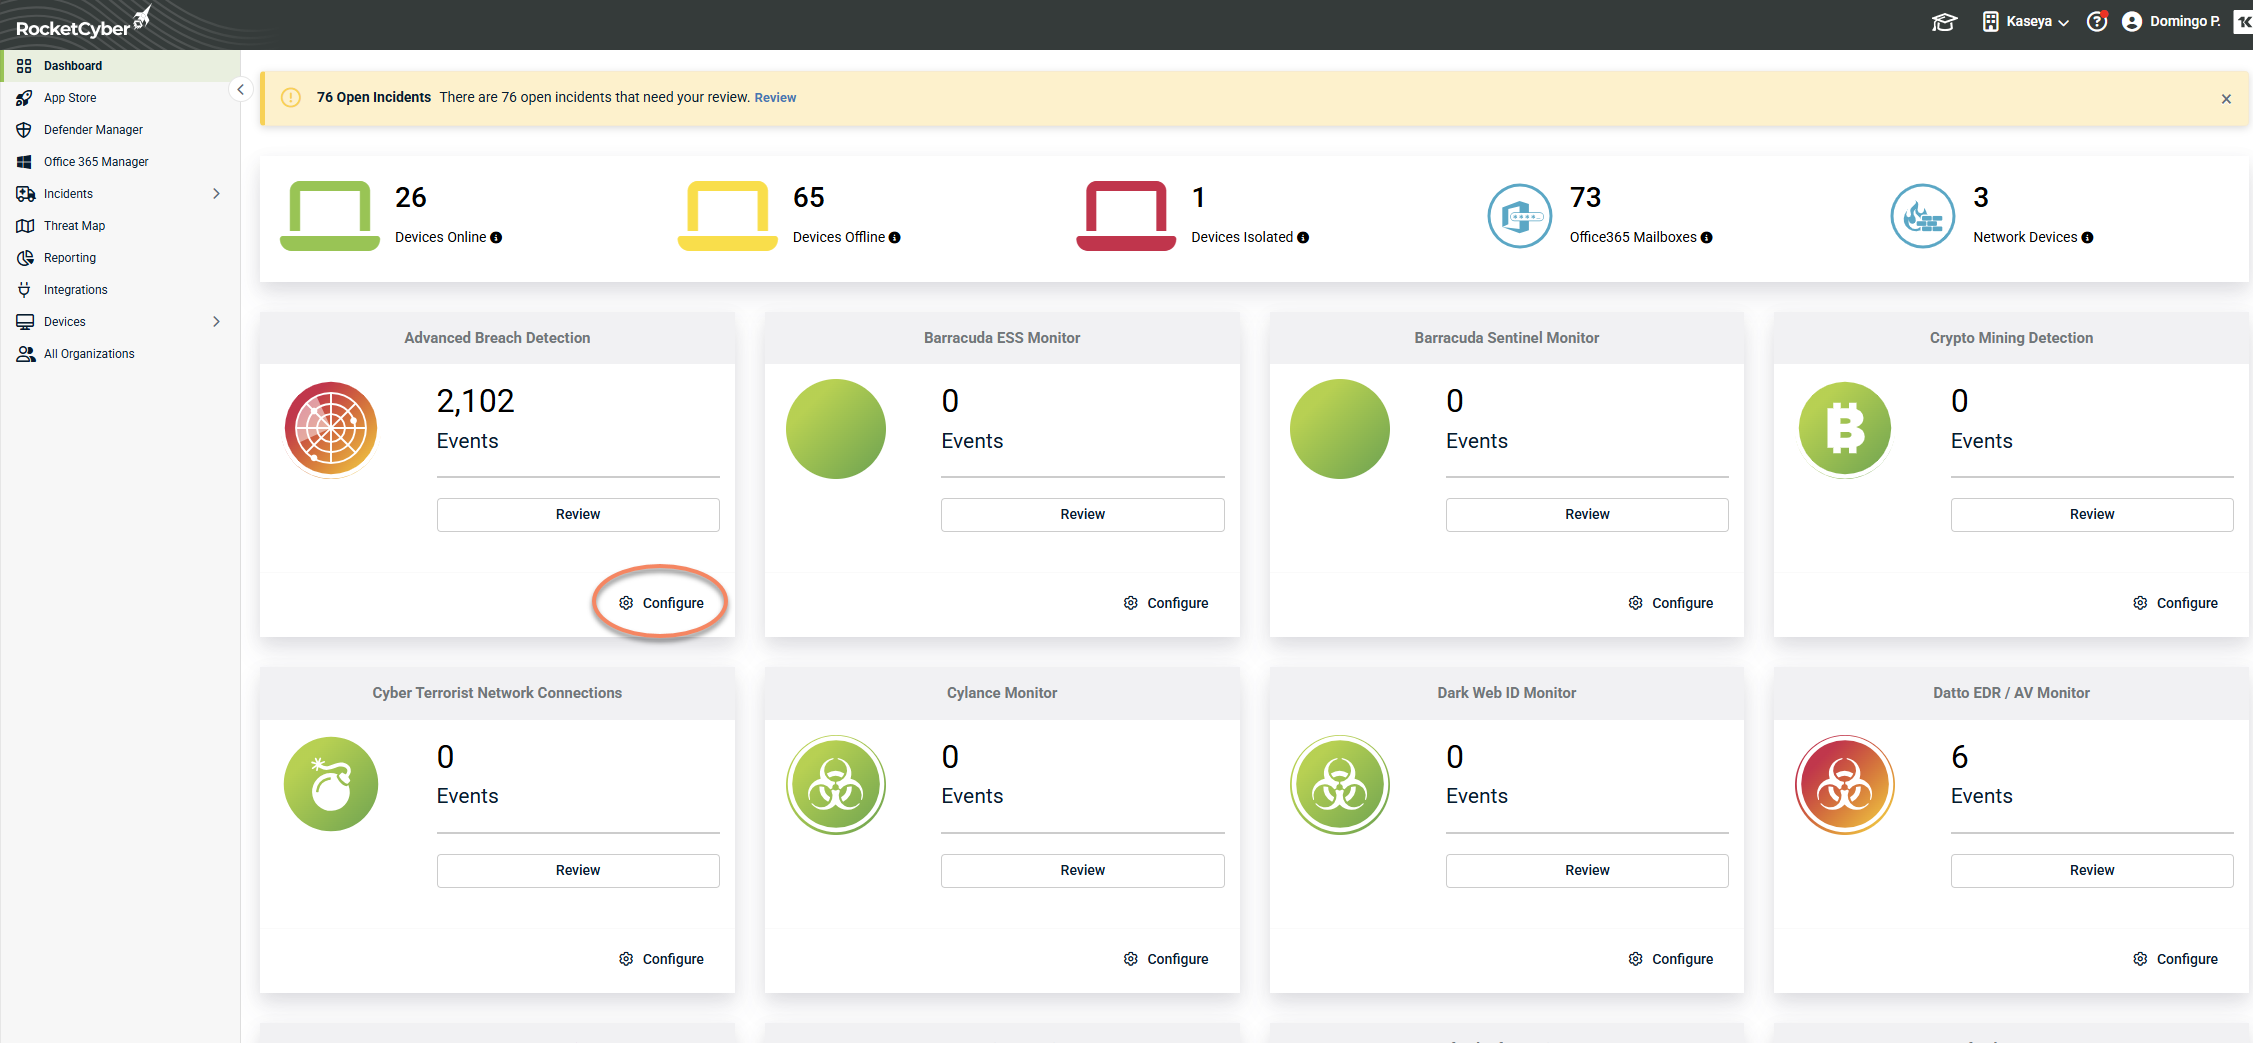
From the RocketCyber dashboard, locate the Advanced Breach Detection app card.
-
Click Configure.
-
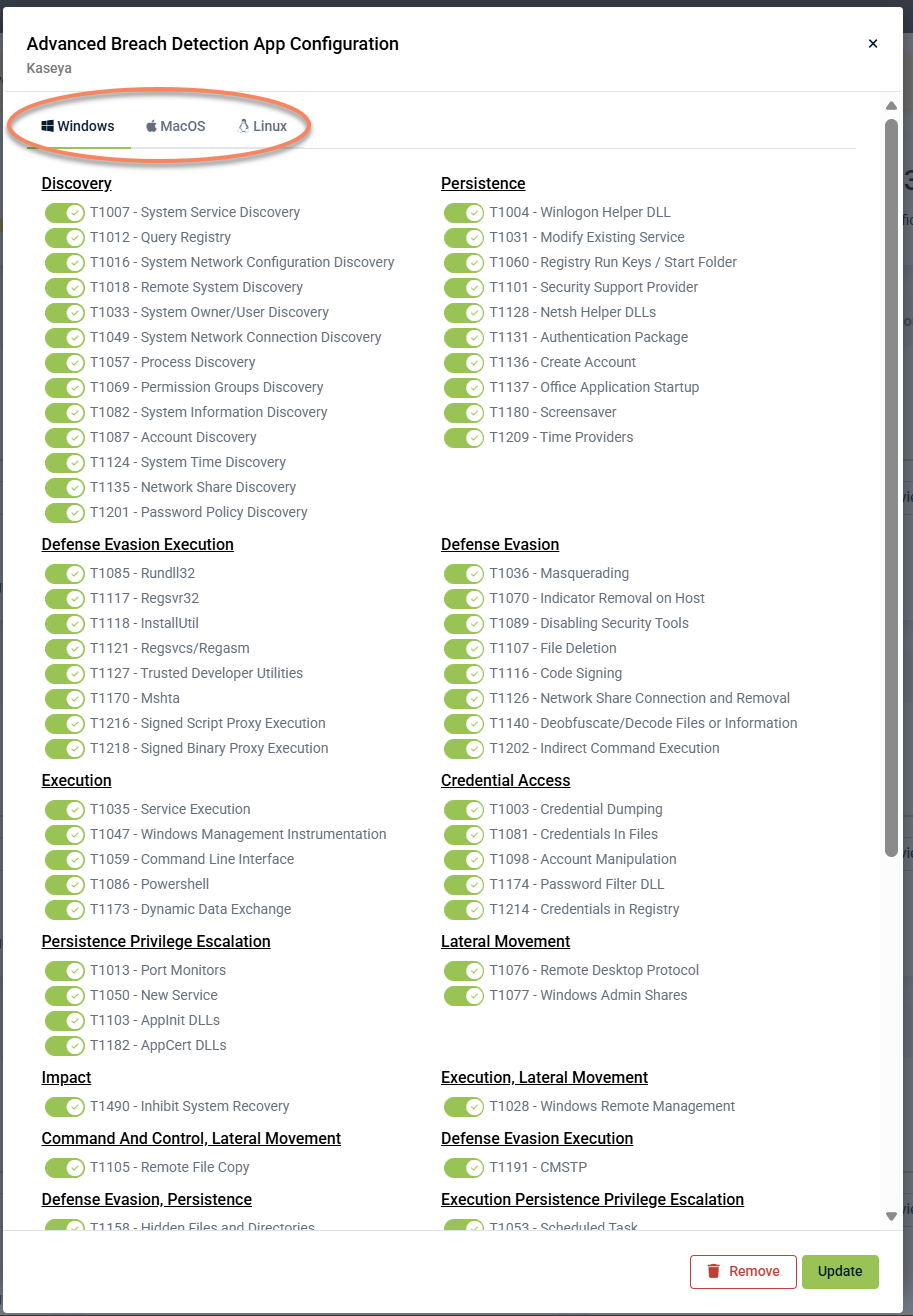
Select the tab for the operating system you want to configure: Windows, MacOS, or Linux.
-
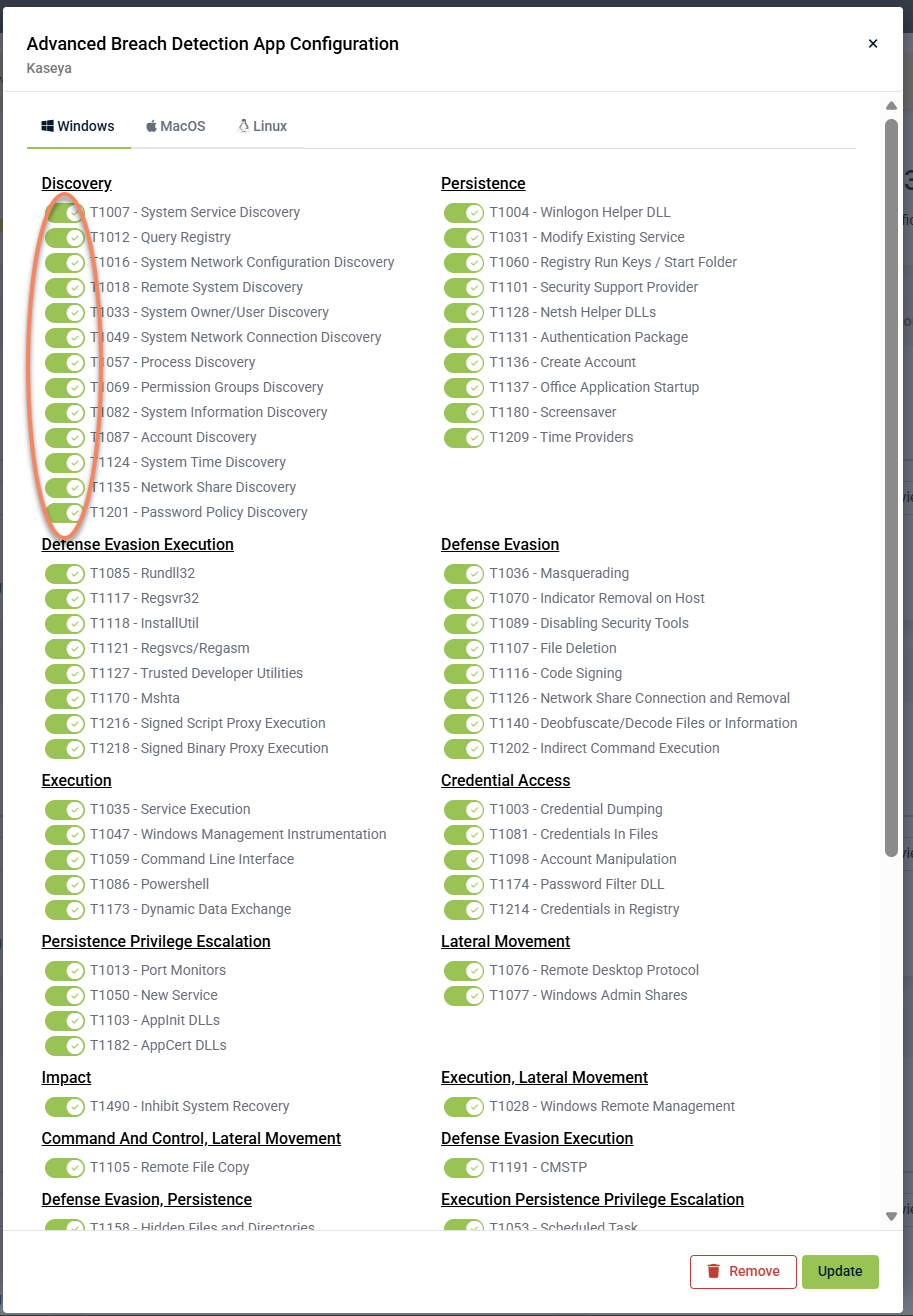
Use the toggle next to each technique to enable or disable it.
-
Click Update to save your changes.
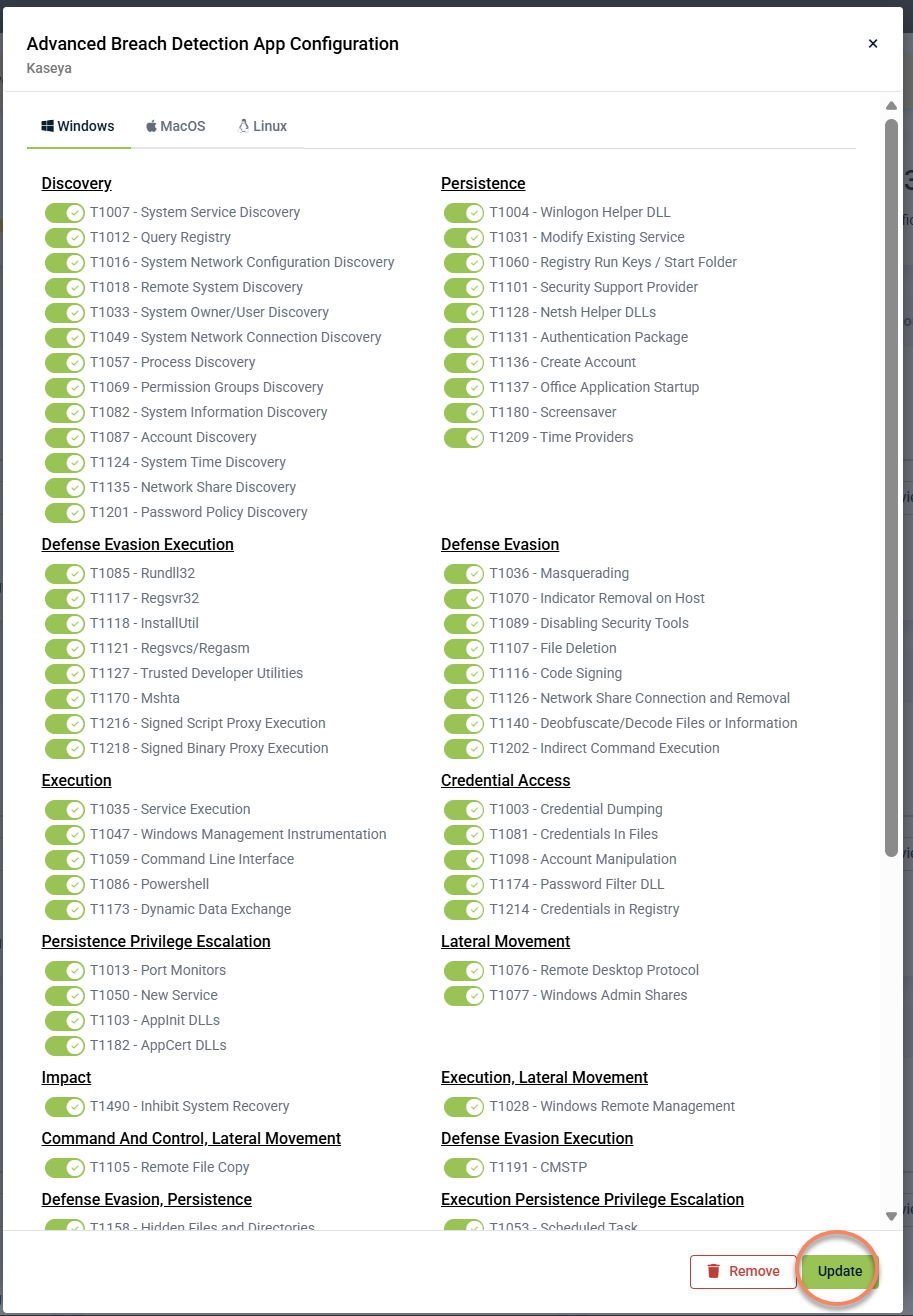
The updated configuration takes effect for all devices within the configured level. Devices at a lower level that have their own configuration will not be affected.
To configure at the organization or device level, navigate to that organization or device first, then access the Advanced Breach Detection configuration from there.
Set up exclusions from the configuration screen
Exclusions prevent specific CLI commands, parent processes, or registry values from triggering detections. Use exclusions to reduce false positives caused by known legitimate activity in your environment. Exclusions are configured per operating system tab and apply at the level (provider, organization, or device) where they are set.
To set up exclusions for Advanced Breach Detection, complete the following steps:
-
From the RocketCyber dashboard, locate the Advanced Breach Detection app card.
-
Click Configure.
-
Select the tab for the operating system you want to configure: Windows, MacOS, or Linux.
-
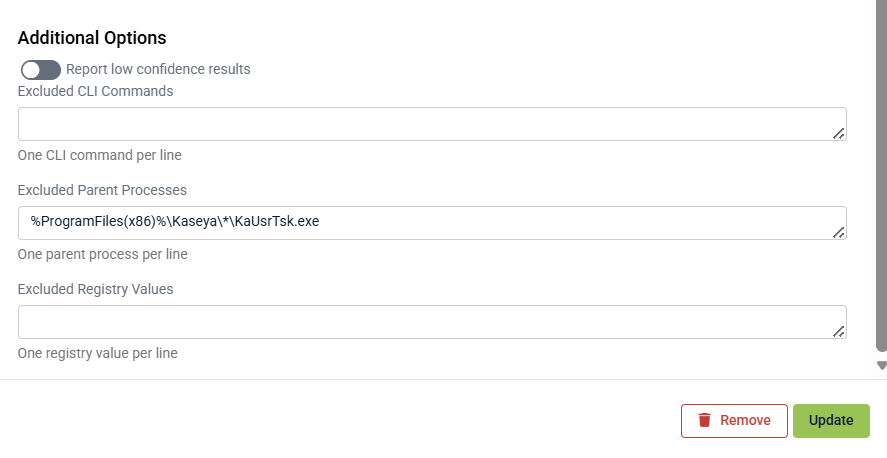
Scroll down to the Additional Options section.
-
Enter values in the relevant exclusion fields:
-
Excluded CLI Commands: Enter one CLI command per line to exclude from detections.
-
Excluded Parent Processes: Enter one parent process per line. Wildcards are supported (for example, %ProgramFiles(x86)%\Kaseya\*\KaUsrTsk.exe).
-
Excluded Registry Values: Enter one registry value per line to exclude from detections.
-
-
Optionally, enable Report low confidence results if you want the SOC to receive detections with lower certainty scores.
-
Click Update to save your changes.
Detections matching the excluded values will no longer generate events for the configured level.
FAQ
 What is the difference between Add to Whitelist and setting exclusions in the configuration screen?
Both achieve the same result: they prevent matching activity from generating future detections. Add to Whitelist is faster when you are responding to a specific event, as RocketCyber pre-populates the relevant CLI commands and parent processes from the event. The configuration screen is better for proactively setting exclusions before detections occur, or for entering custom values that aren't tied to a specific event.
If I configure Advanced Breach Detection at the provider level, does it apply to all my organizations and devices?
Yes. Provider-level configuration applies to all organizations and devices beneath it. However, configurations set at the organization or device level will override the provider-level settings for that specific context.
Should I disable a technique or add an exclusion to stop a false positive?
Use an exclusion when you want to continue monitoring a technique but ignore a specific known-good command, process, or registry value. Disable a technique only if you want to stop monitoring for that technique entirely across the configured level. Exclusions are the preferred approach for managing false positives without reducing detection coverage.


