Deploying the agent using GPO scheduled tasks
This guide will walk through using the Microsoft Group Policy Objects and Scheduled Tasks to deploy the RocketCyber Agent.
A few notes about the deployment script:
- The console generates a PowerShell script per organization that automatically includes the information required to deploy the agent, specifically the license key and the URL.
- The script first checks to see if the agent is already installed before performing an install.
- If the script does not detect an installed agent, it will download the agent installer package to the local machine and execute it.
Retrieve the appropriate Powershell script
- Log onto the RocketCyber console, from the left-hand navigation menu click All Organizations.
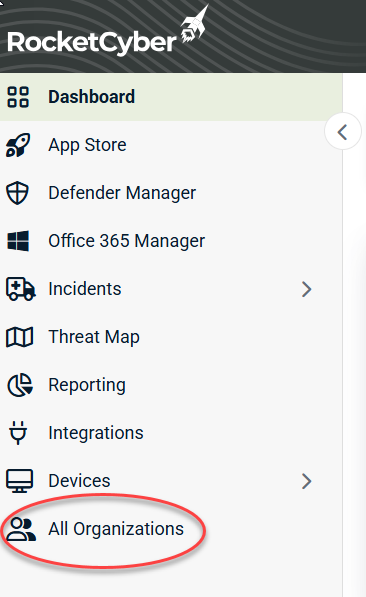
- Click Deploy for the appropriate organization.

- Click the Select & Copy button for the CLI Command script.

Locate The NETLOGON Share
- Log on to the Domain Controller that you wish to utilize for deployment.
- From a cmd.exe prompt run as administrator type:
net share
You will see output similar to below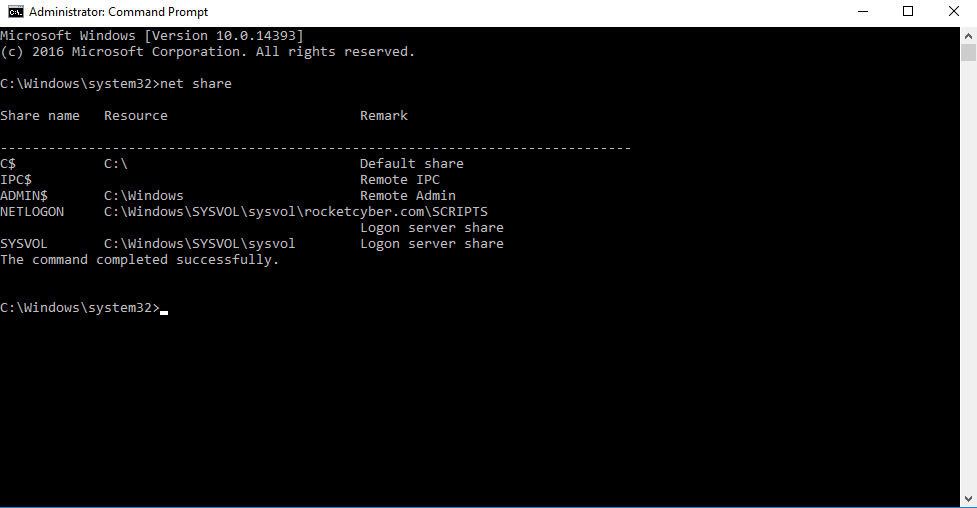
- In the list of shares displayed locate the share named NETLOGON
In this example the directory location is C:\Windows\SYSVOL\sysvol\rocketcyber.com\SCRIPTS
You will use this directory path in the Scheduled Task steps for configuring the Start Directory
Create a Scheduled Task
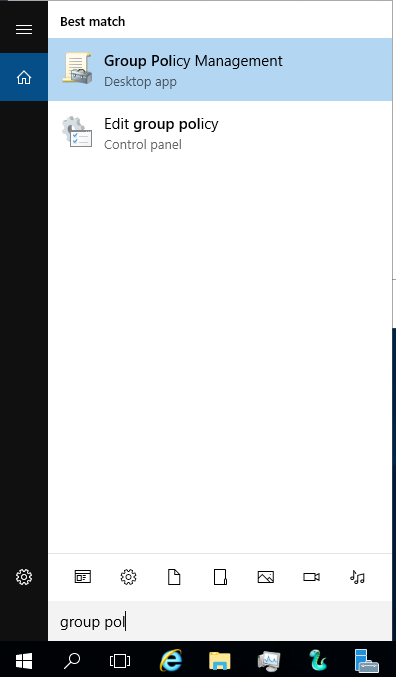
Open the Group Policy Management App on the server.
- Click the magnifying glass on the taskbar.
- Type Group Poli.
- Click the Group Policy Management app.
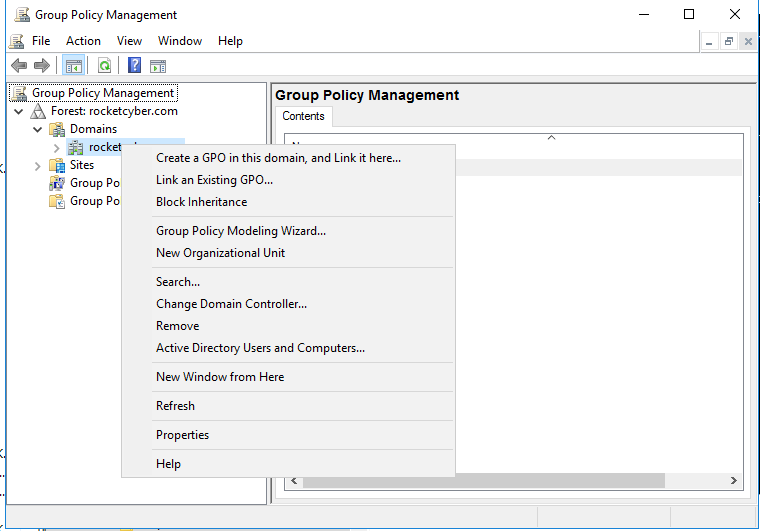
- Right-click your domain in the navigation tree.
- Click Create a GPO in this domain and Link it here.
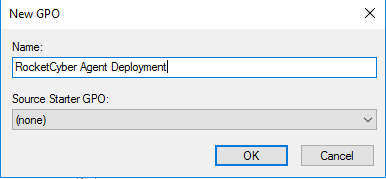
- In the New GPO dialog, enter a name for the Group Policy Object.
- Right-click the New GPO and click Edit
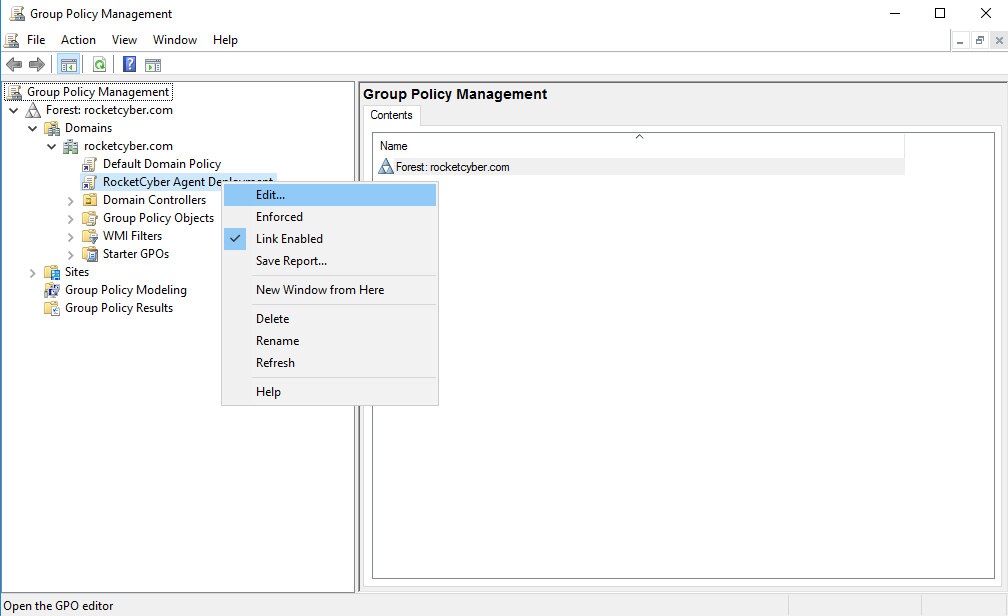
- The Group Policy Management Editor will open.
In the left-hand tree navigate to Computer Configuration > Preferences > Control Panel Settings > Scheduled Task.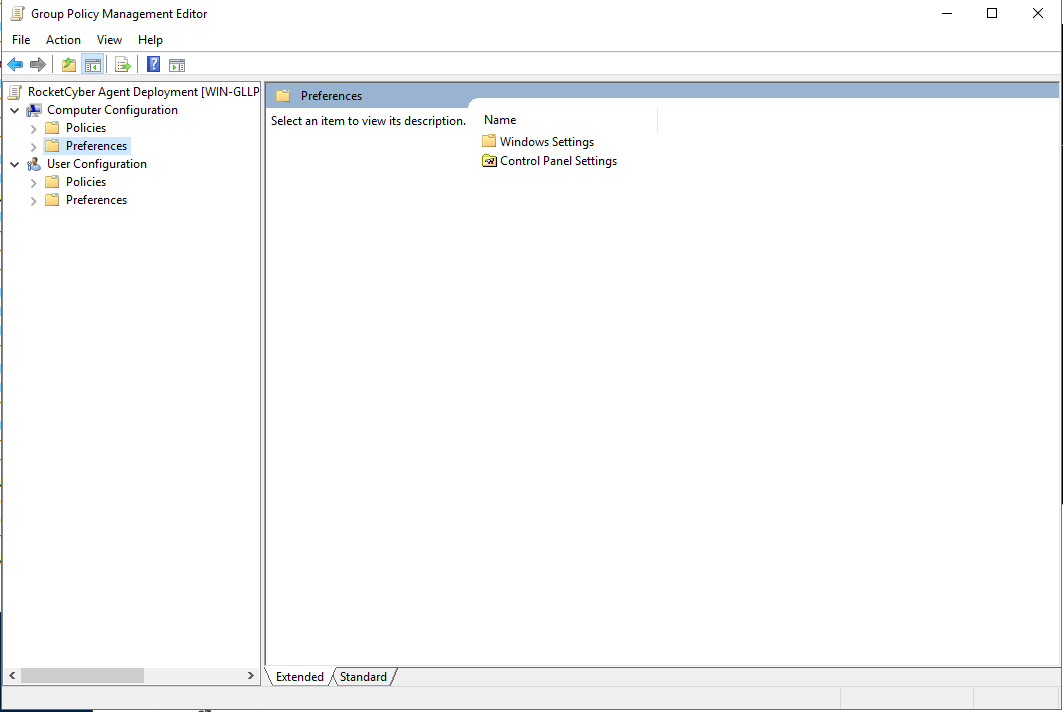
- In the Scheduled Tasks view, right-click and select New > Scheduled Task.

- Complete the fields in the New Task Properties Dialog
- Action: Create
- Name: RocketAgent Deploy
- Run: C:\Windows\System32\cmd.exe
- Arguments: /C <CLI Script Copied Above>
- Start In: NETLOGON Share Path identified in Locate NETLOGON Share steps
IMPORTANT It is very important to add the /C before the CLI Script in Arguments. The task will likely not execute properly if you do not.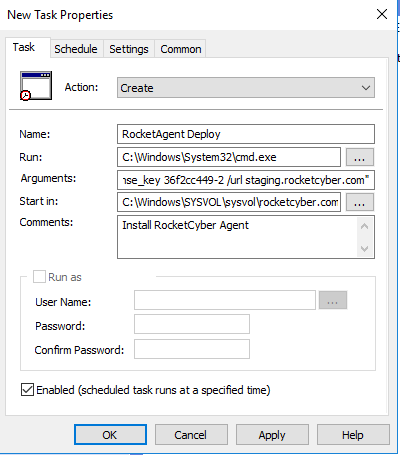
- Click the Schedule tab and set the following properties:
- Scheduled Task: Run Once
- Start Time: Sometime in the future
- Run On: Select the appropriate date to execute
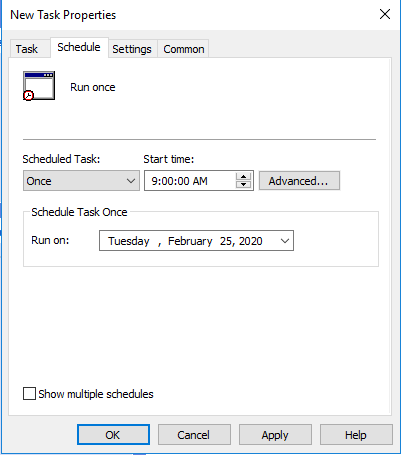
- Click OK to save the scheduled task.
- To apply this scheduled task to all systems in the domain: from a cmd.exe prompt as administrator run
gpupdate
When the task executes on the desired domain-joined computers, the RocketAgent should appear in the RocketCyber Console under the appropriate organization account.


