Deploy via Barracuda Managed Workplace
This guide will walk through creating an automation script to deploy the RocketCyber Agent.
First, a few notes about the agent deployment script:
- The console generates an agent deployment script (.mws) file that can be imported directly into Managed Workplace. You can use the same .mws file across organizations. It requires that the appropriate license key parameter is filled in when scheduling the script to run.
- The agent deployment script first checks to see if the agent is already installed before performing an install.
- If the agent deployment script does not detect an installed agent, it will download the agent installer package to the local machine and execute it.
Creating the deployment script
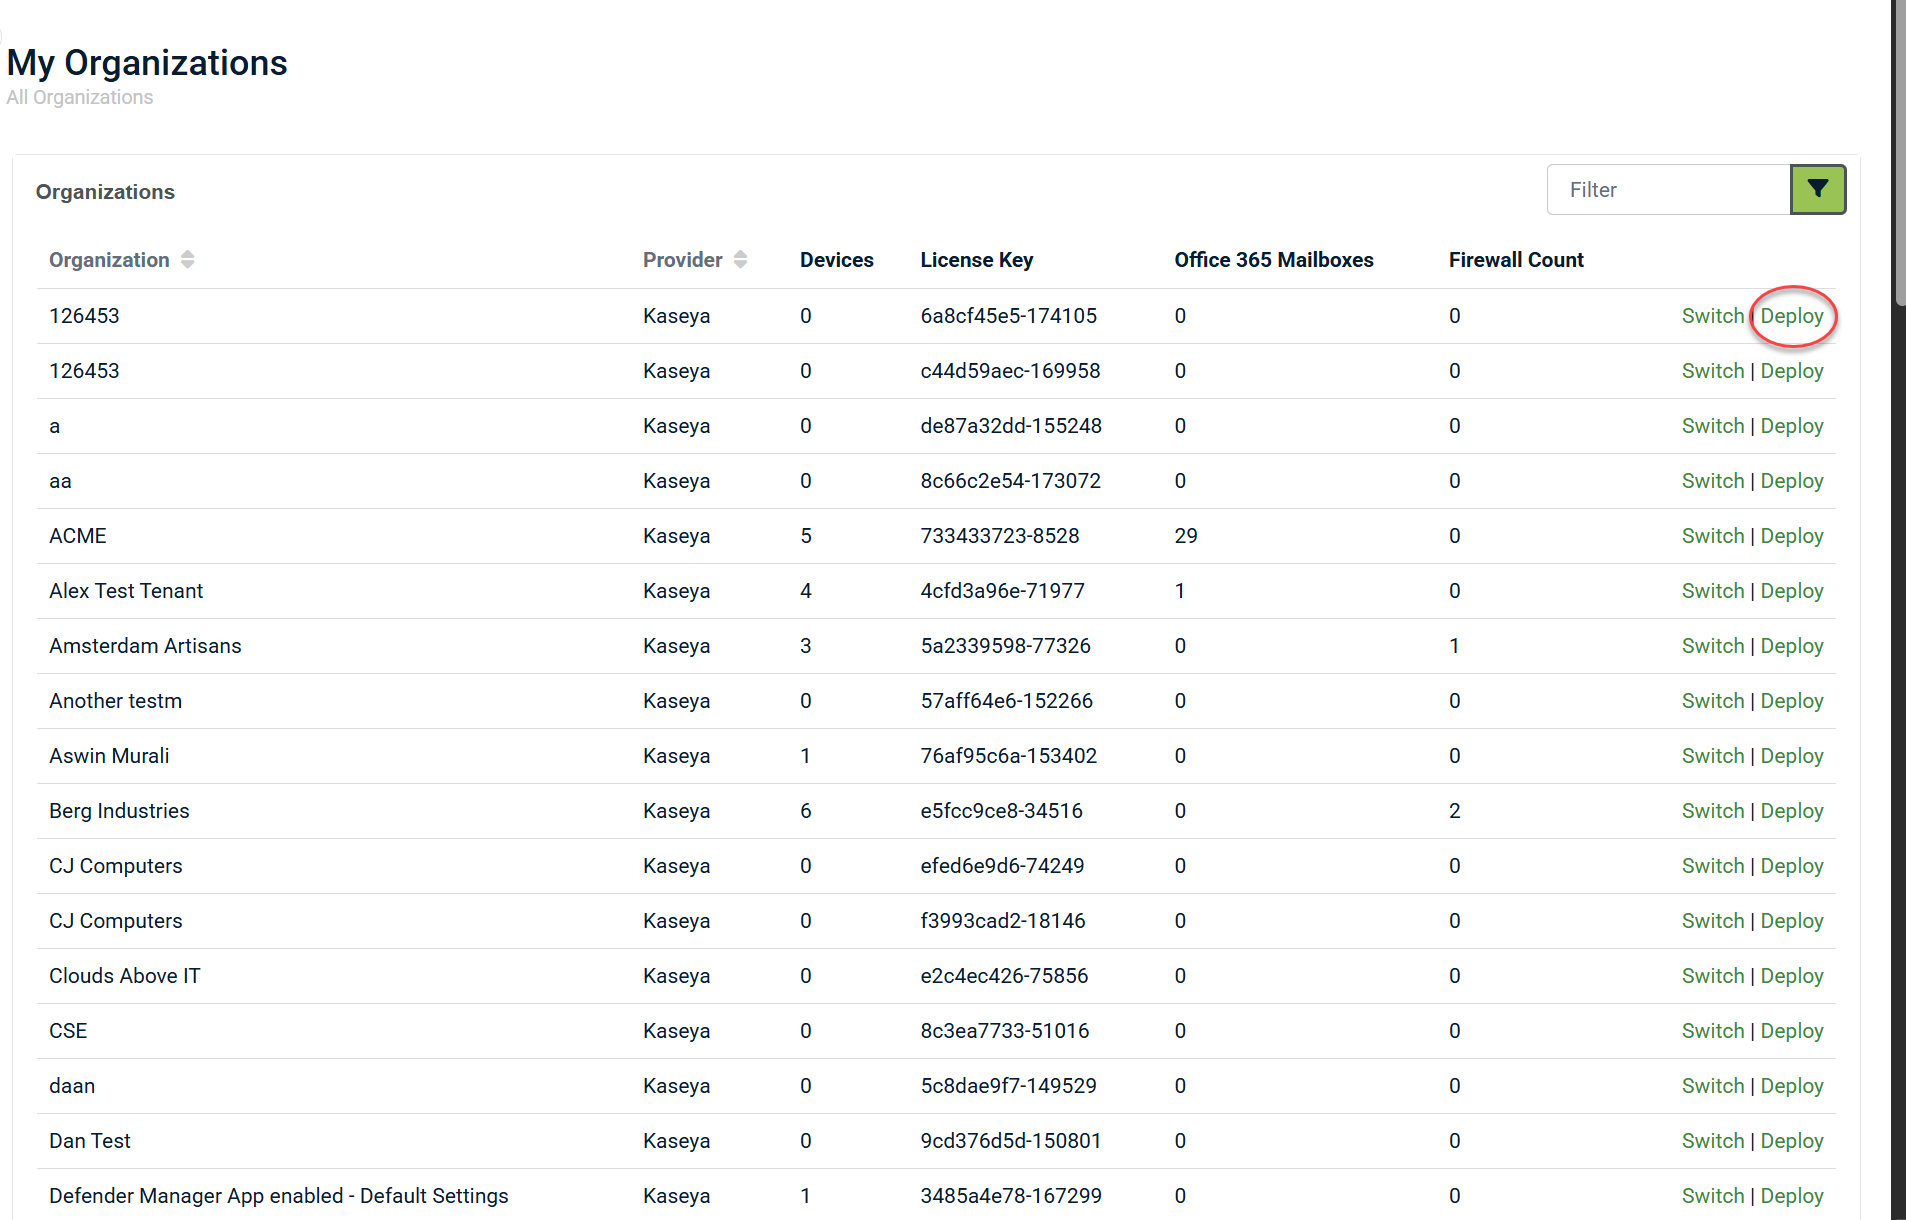
- Log onto the RocketCyber console. From the left-hand navigation menu click All Organizations.

- Click Deploy for the appropriate organization.
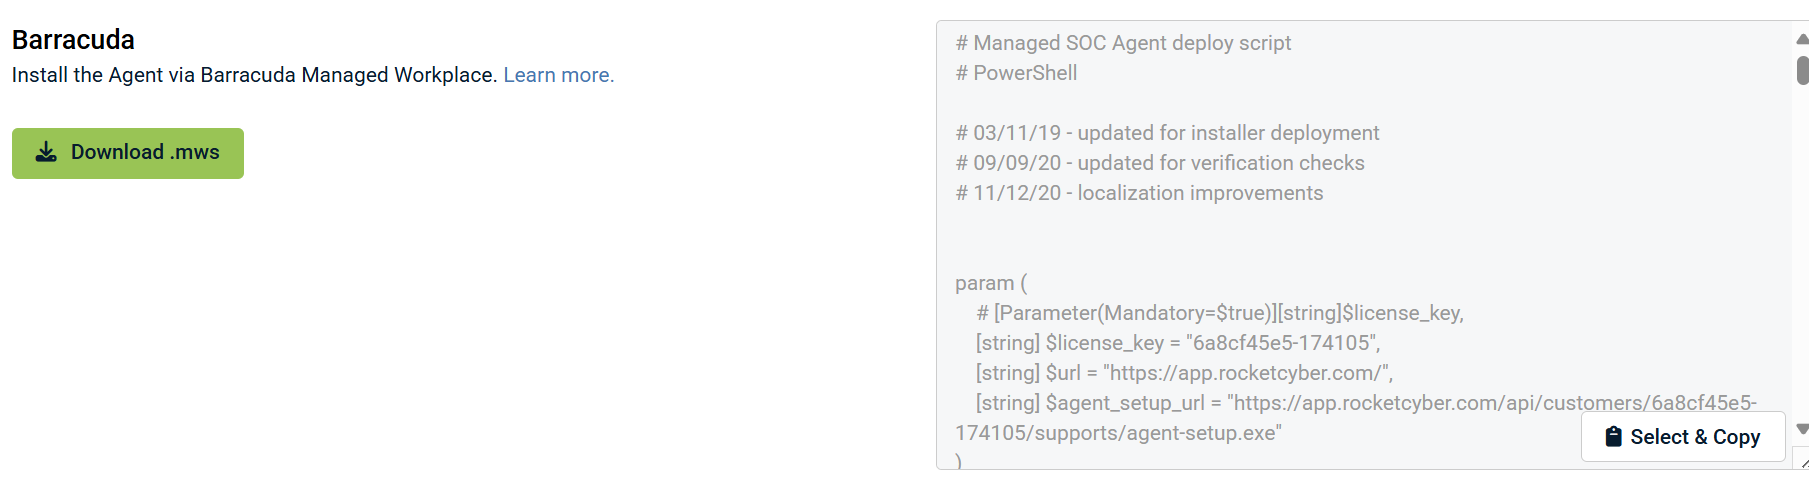
- Click the Download button.
- Log in to Managed Workplace.
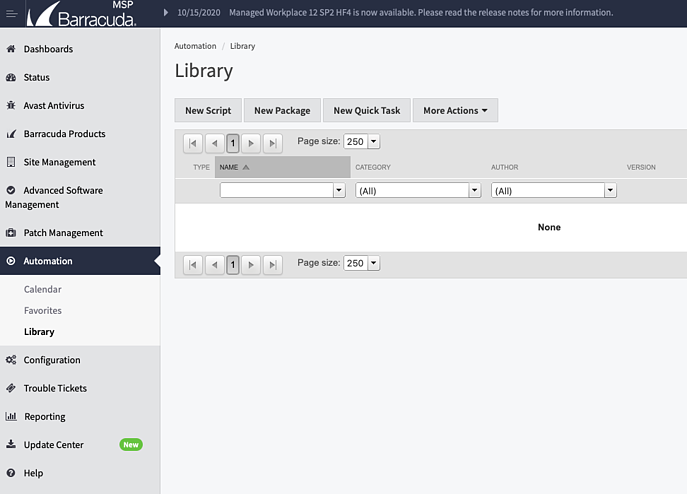
- In the navigation menu, select Automation > Library.
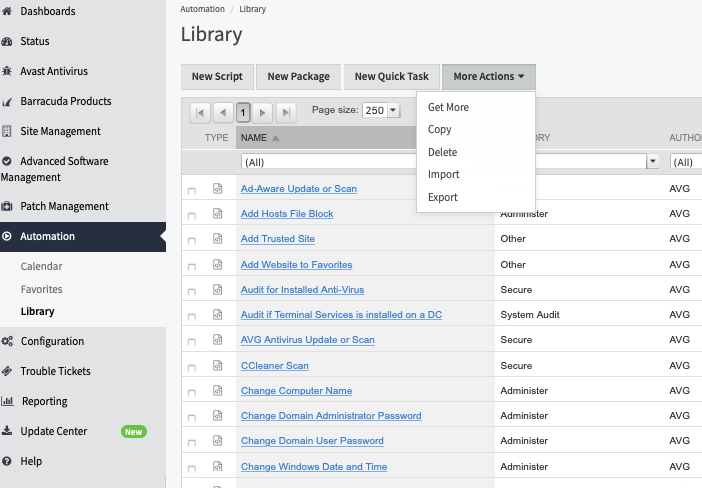
- Select More Actions > Import.
- Click Browse to browse to the .mws file you previously downloaded. Select and click OK.
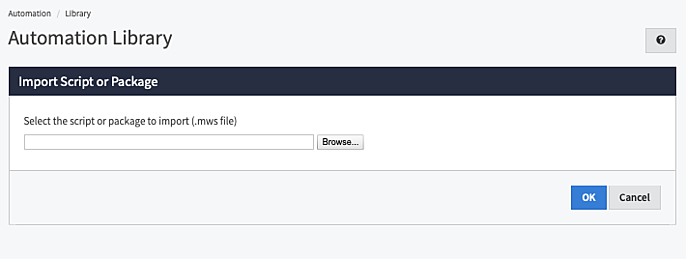
- The .mws file will be imported and display a screen similar to the one below.
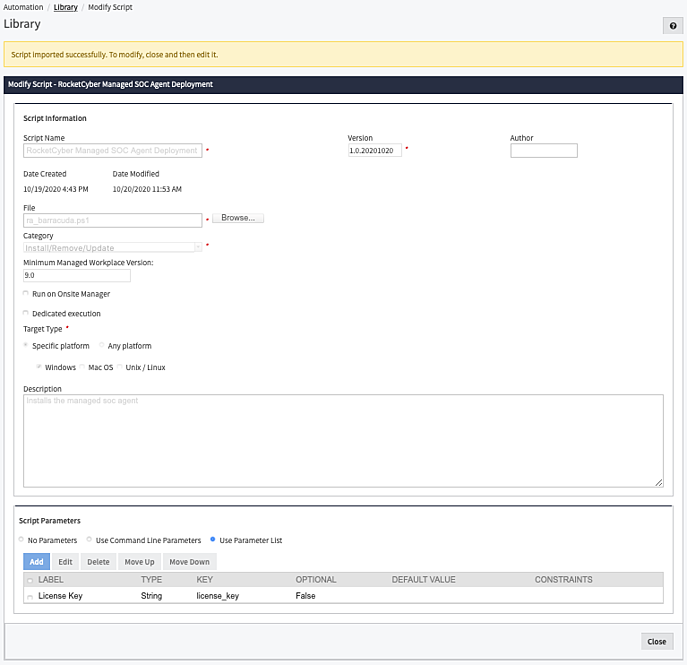
- Click Close to complete the import process.
Congratulations! You have to know uploaded and created a library script to deploy the agent to any organization.
Next, create a schedule or run now task to run the script on targeted endpoints.
Scheduling Script Execution
-
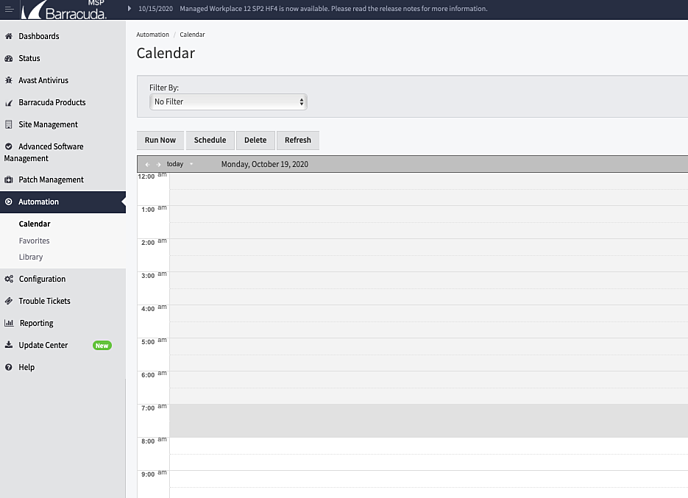
In the navigation menu, select Automation > Calendar.
- There are two options:
- Run Now: Executes the script immediately.
- Schedule: Select when script will run.
- Click Run Now.
Note: The following steps are the same when you click Schedule, with the additional step of selecting the specific date the script will be executed.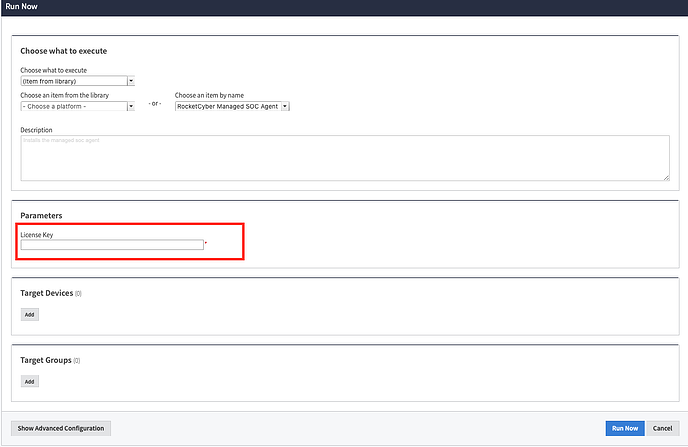
- Choose what to execute: Select an item from the library.
- Choose an item by name: Type in the name of the script that you imported in Step 7 above.
- Add the appropriate organization license key in the License Key field. The license key can be found on the Deployment view in the console for the specific organization to which you are deploying.
- Click the Target Devices > Add button.

- Use the filter controls to select the devices on which the script will be executed. Click OK.
- Review the list of target devices in the list. Make any changes, if necessary.
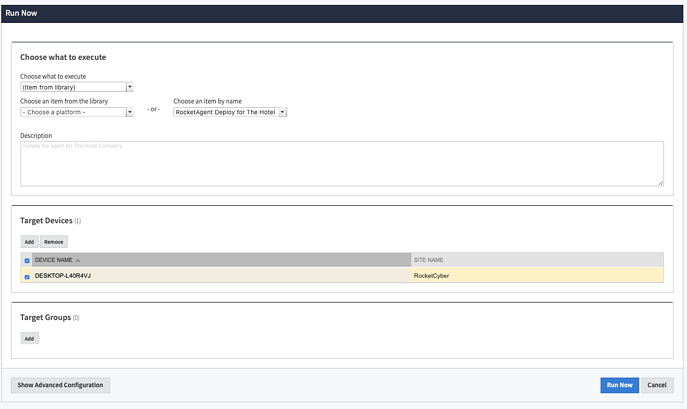
- Click Run Now.

- You should then see the script scheduled on the calendar with its current status (pending) until it executes.

- When completed you should see its scheduled item turn green and status updated as succeeded.
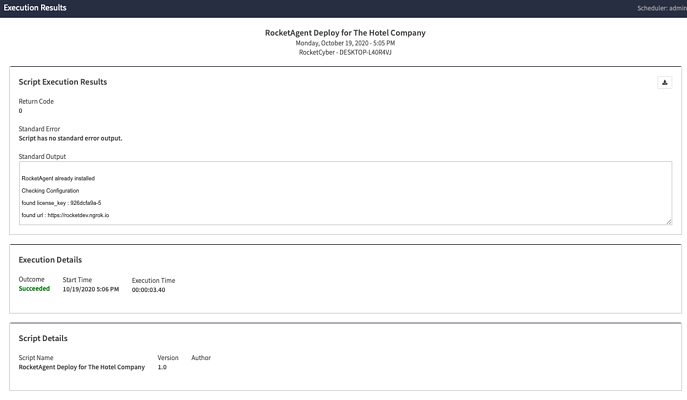
- Double-click the schedule item in the calendar to see detailed results. Any errors are displayed in the Standard Output field.


