Deploying RocketCyber Agent using Datto RMM
Datto RMM allows users to deploy the RocketCyber Agent on their Windows devices through a built-in ComStore component. As part of this process, you can configure a user-defined field that links directly to the RocketCyber interface from Datto RMM, enabling a seamless integration experience.
The RocketCyber deployment script is designed to first check if the agent is already installed. If it does not detect an existing installation, the script will download the agent installer package to the local machine and execute it.
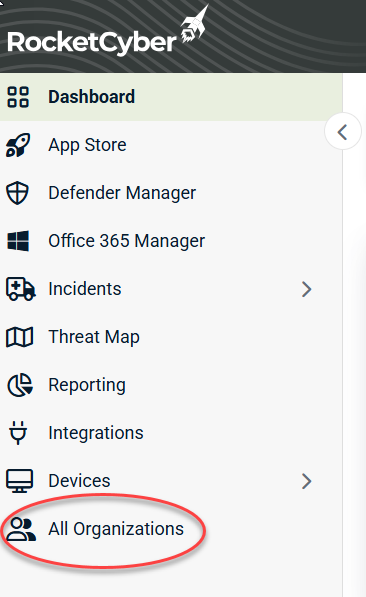
- Log in to your RocketCyber account and, in the side navigation menu, click All Organizations.
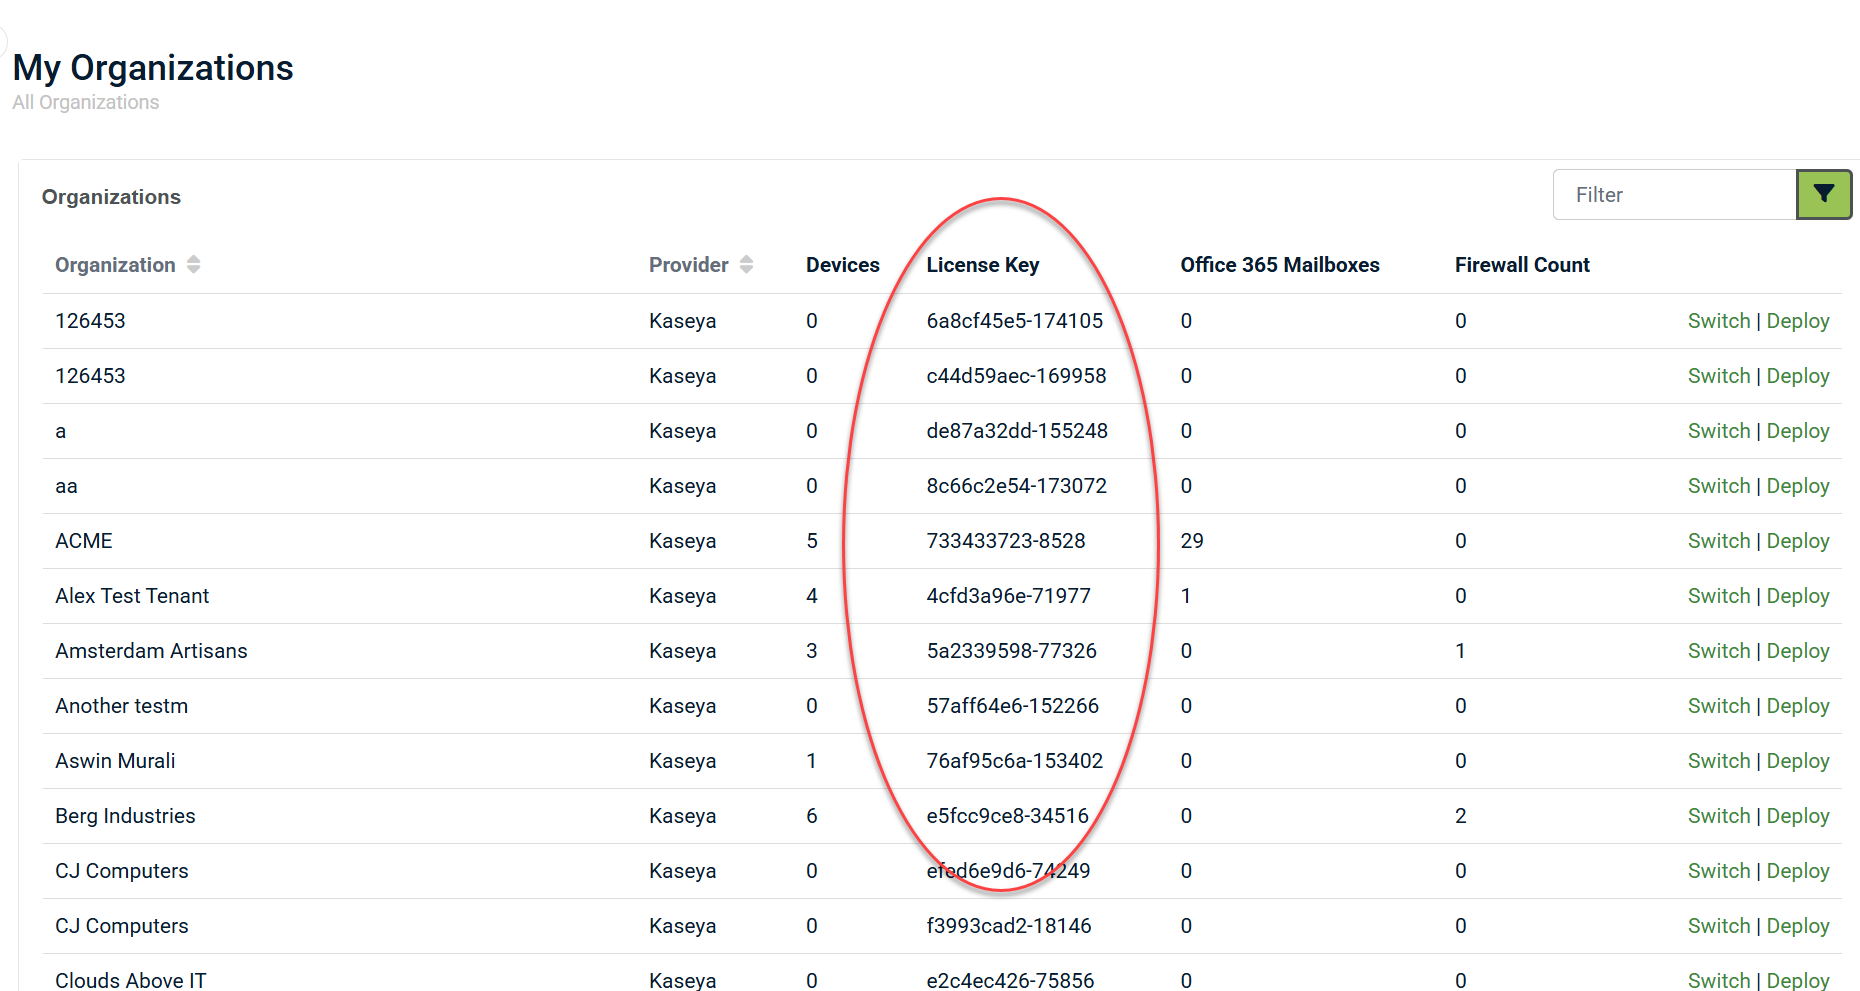
- In the License Key column, copy the license key for the organization you are deploying agents to.
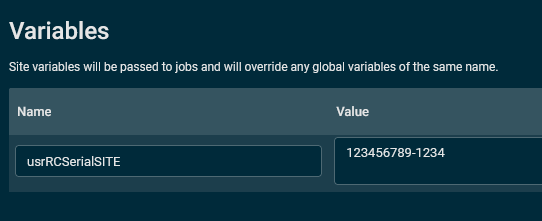

NOTE If you are deploying agents to multiple organizations, repeat the steps in Copying a RocketCyber organization license key and this section for other Datto RMM sites using the corresponding RocketCyber organization license keys.
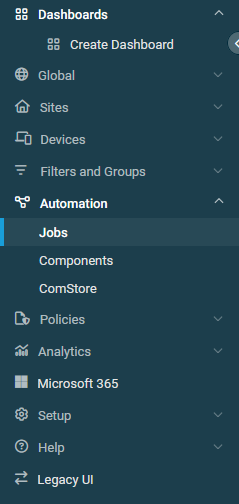
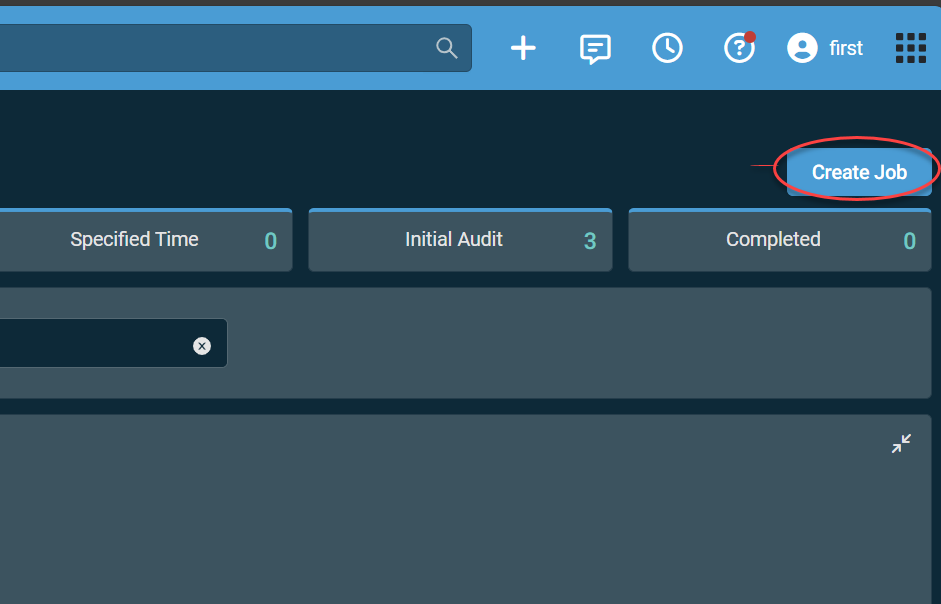
1. From the side navigation menu in Datto RMM, navigate to Automation > Jobs. Refer to Jobs overview.
2. In the upper-right corner of the Jobs page, click Create Job. Refer to Creating a job.
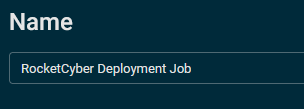
3. In the Name field, enter a name for the RocketCyber Agent deployment job.
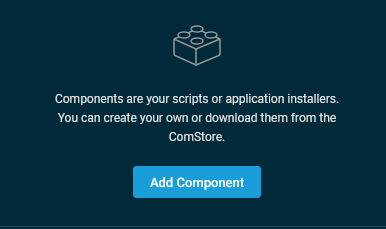
4. In the Components section, click Add Component to open the Add Component pane.
5. In the ComStore tab, search for the RocketCyber Agent [Win] component. Click Add to add the component to the job, and close out of the pane.
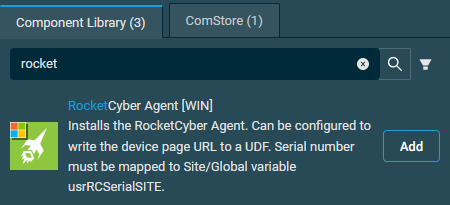
NOTE If you have already added this component, it will be available in the Component Library tab.
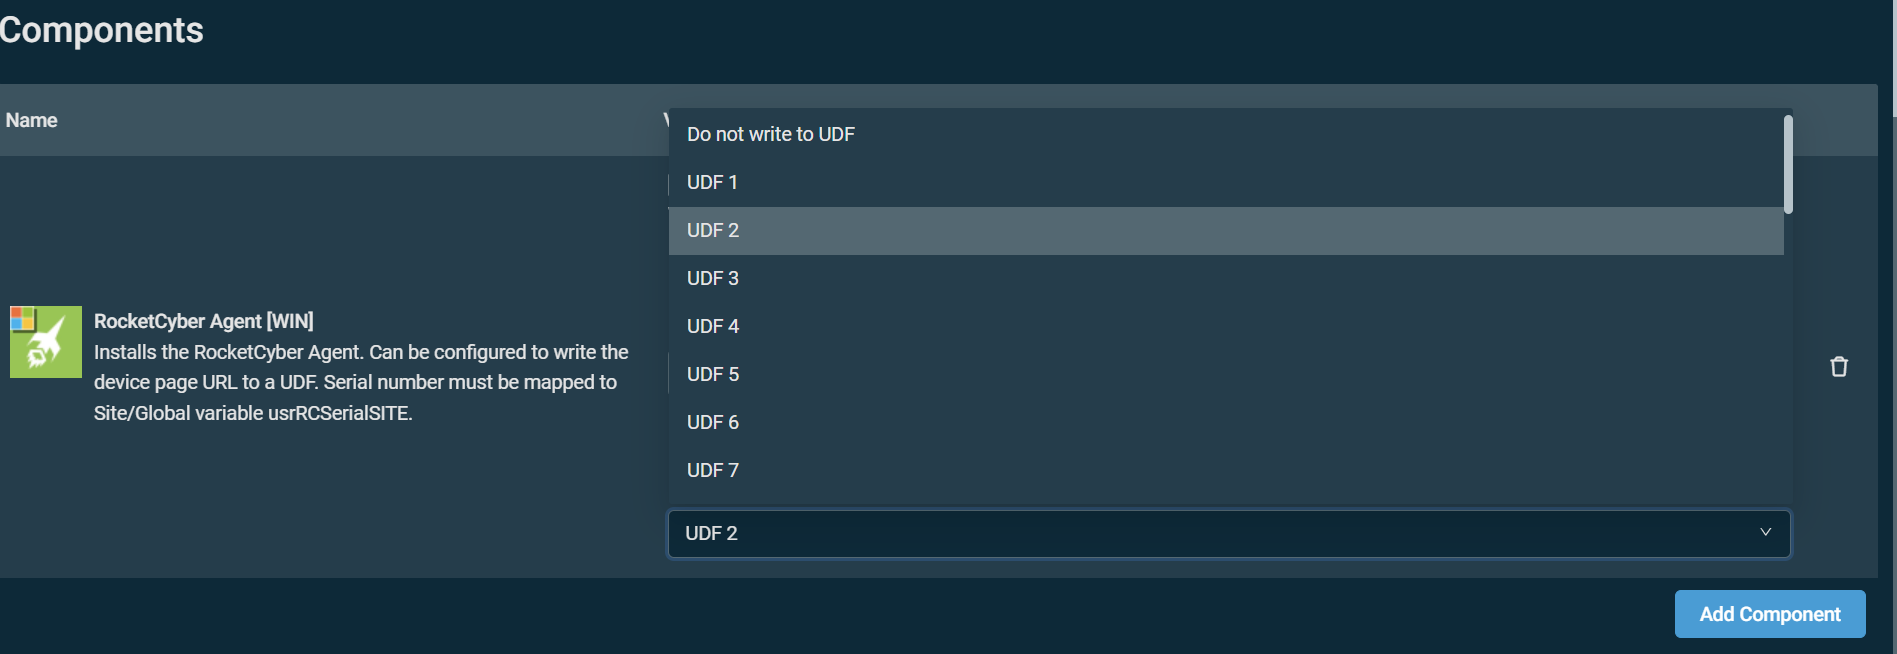
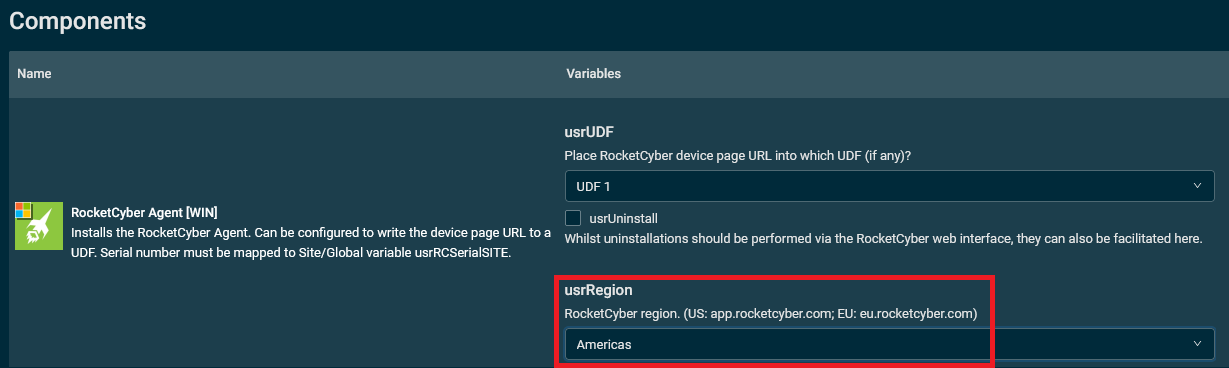
6. In the Components section, if you would like to populate a user-defined field (UDF) for RocketCyber, select any unpopulated UDF from the list. Refer to User-defined fields. When viewing a Datto RMM device mapped to RocketCyber, the RocketCyber UDF will be configured as a link to the corresponding RocketCyber device page, allowing you to open RocketCyber device details directly from Datto RMM.
If you do not want a RocketCyber UDF configured, select Do not write to UDF.
7. Select the applicable region in the usrRegion field.
8. In the Targets section, click Add Target to open the Targets pane.
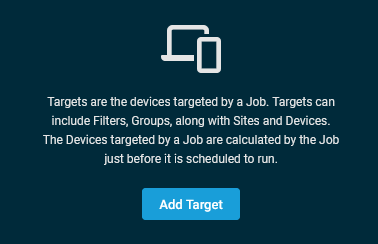
9. Search for and add the devices on which you would like to install the RocketCyber Agent in accordance with the sites to which you added variables in Adding the RocketCyber license key to the corresponding Datto RMM site.
10. Configure any remaining job settings according to your preferences.
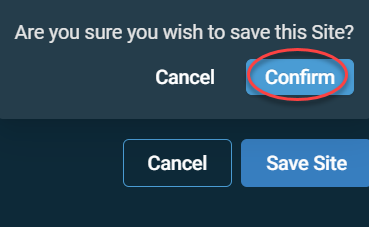
11. In the lower-right corner of the page, click Create Job to execute the agent deployment on the targeted devices. In the confirmation dialog box, click Confirm.
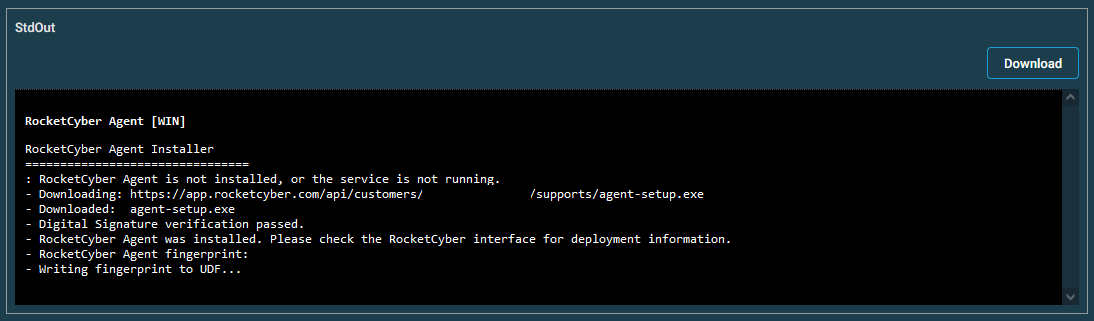
Once the job finishes running, you can validate that RocketCyber Agent deployment was successful by navigating to the Completed tab on the Jobs page.
Select the applicable job to view the StdOut/StdErr results in the Devices section on the job results page.