Deploying via NinjaOne
This guide will walk through using NinjaOne to deploy the RocketCyber Agent.
A few notes about the deployment script:
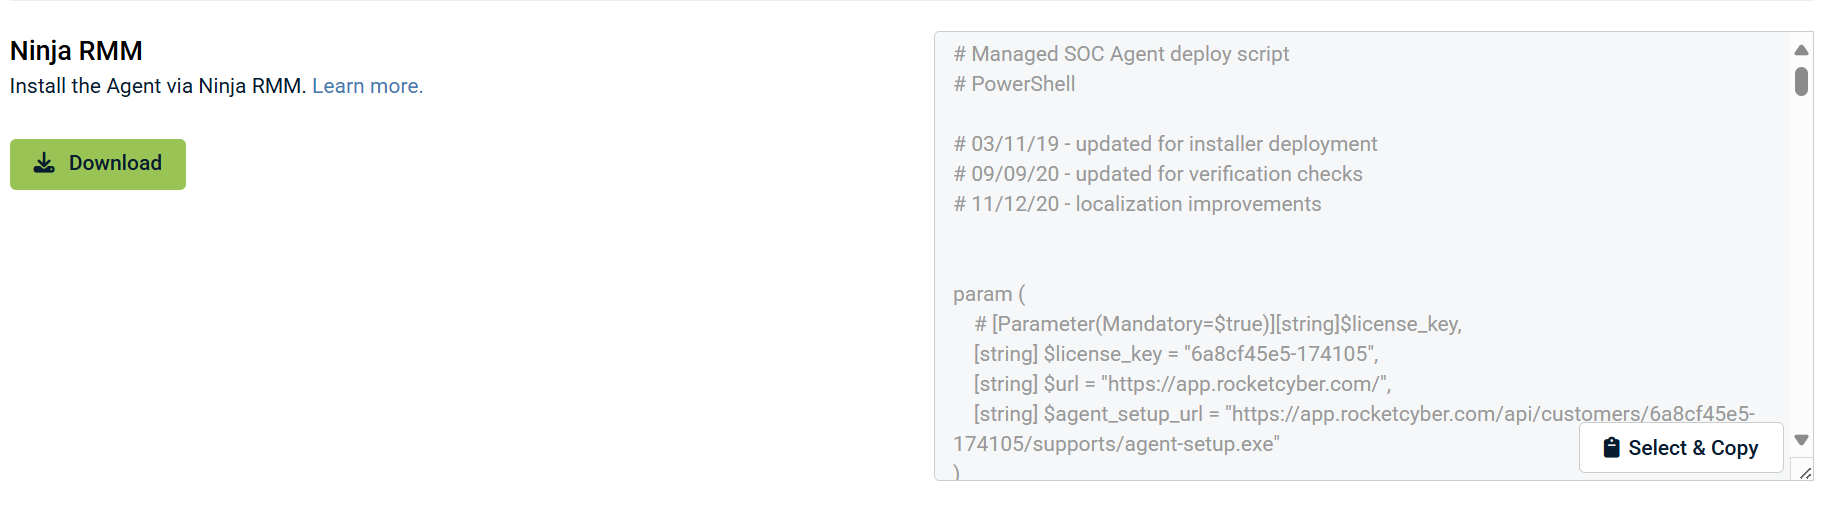
- The console generates a PowerShell script per organization that automatically includes the information required to deploy the agent, specifically the license key and the URL.
- The script first checks to see if the agent is already installed before performing an install.
- If the script does not detect an installed agent, it will download the agent installer package to the local machine and execute it.
Add a new script in NinjaOne
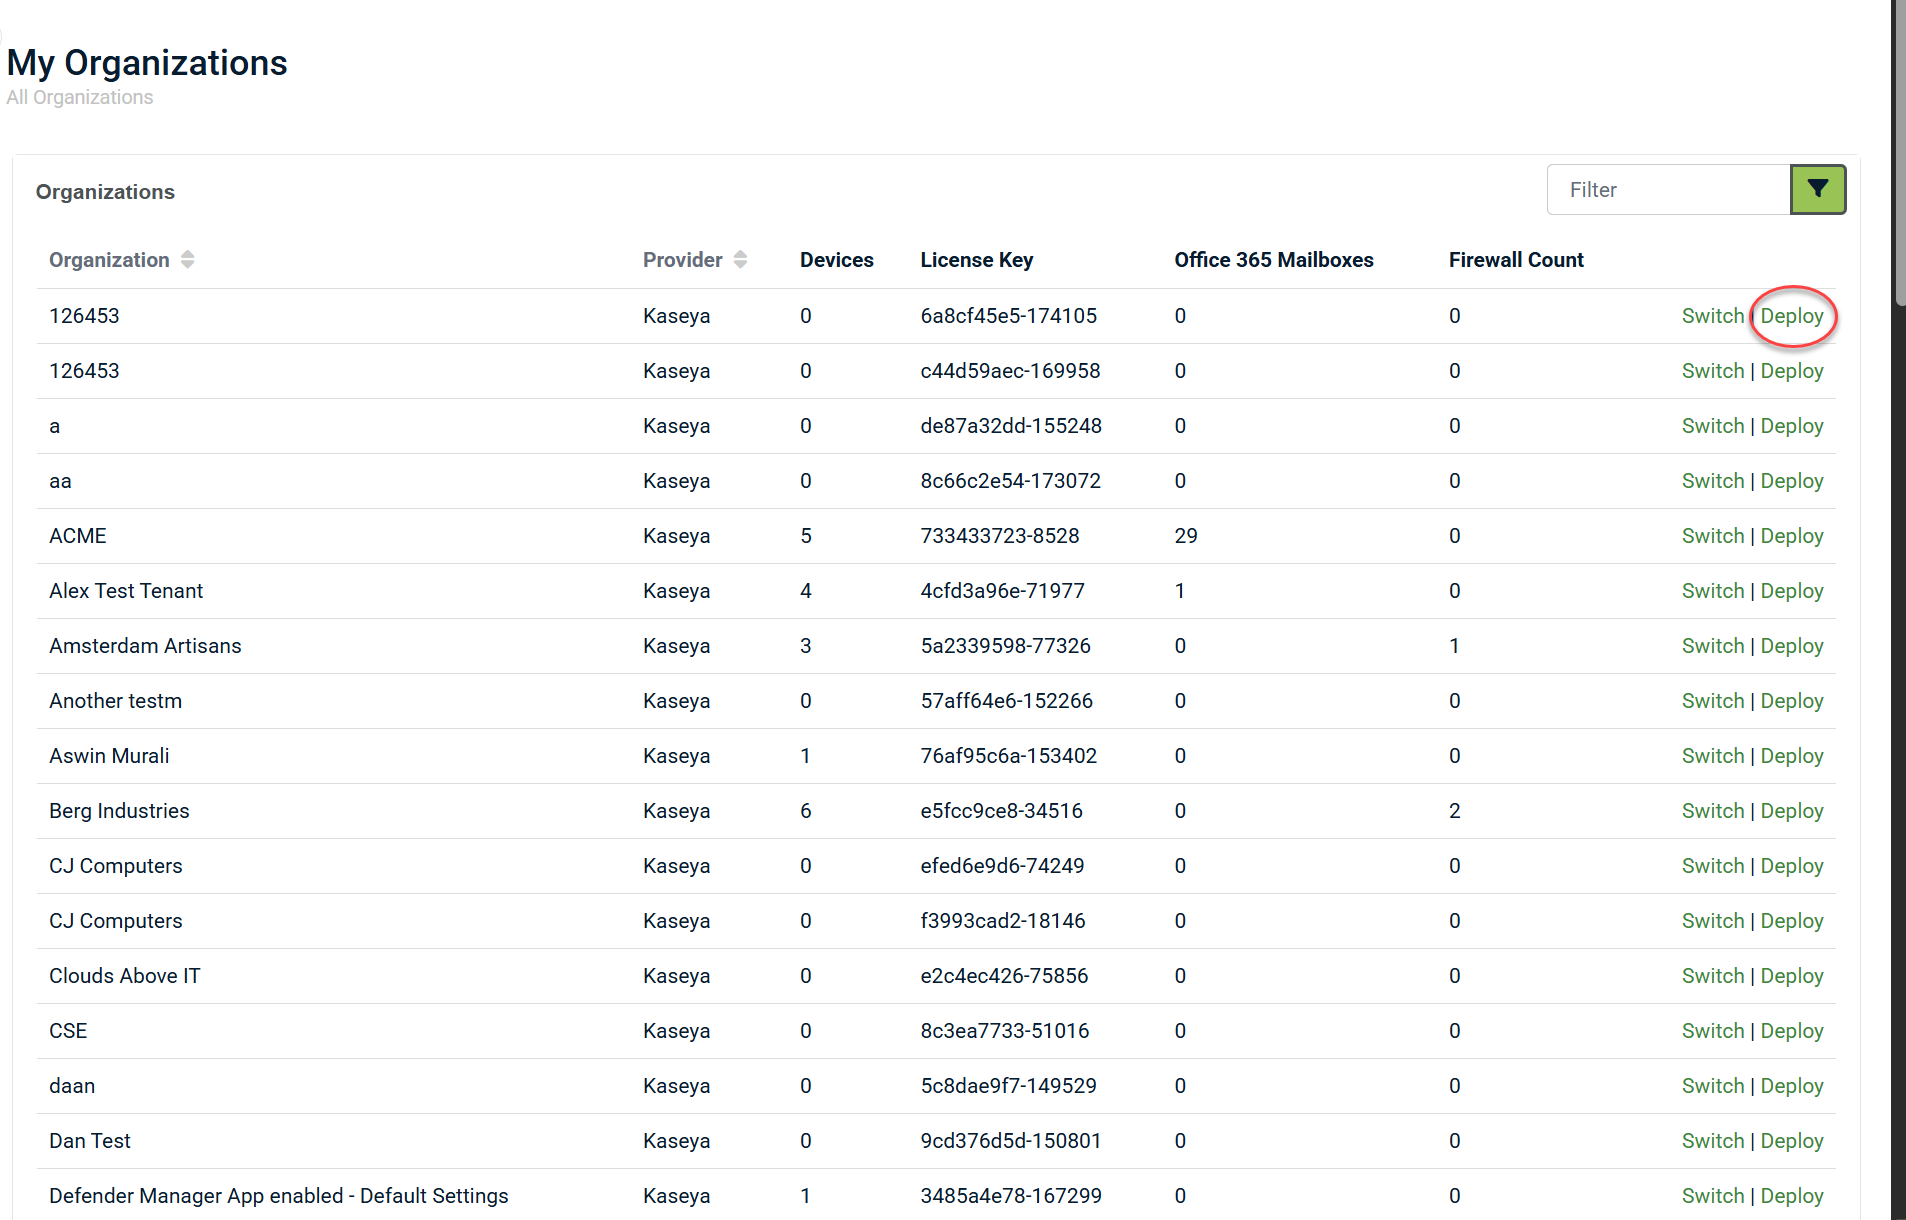
- Log in to RocketCyber. In the navigation menu, click All Organizations.

- Click Deploy for the appropriate organization.
- Click the Select & Copy button to copy the PowerShell script for the desired organization.
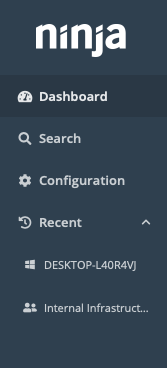
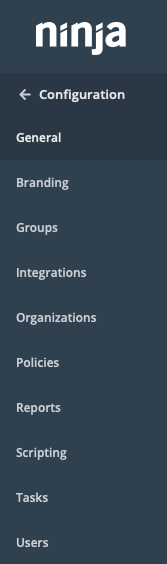
- Log on to the Ninja RMM console and in the left-hand navigation menu, click Configuration.
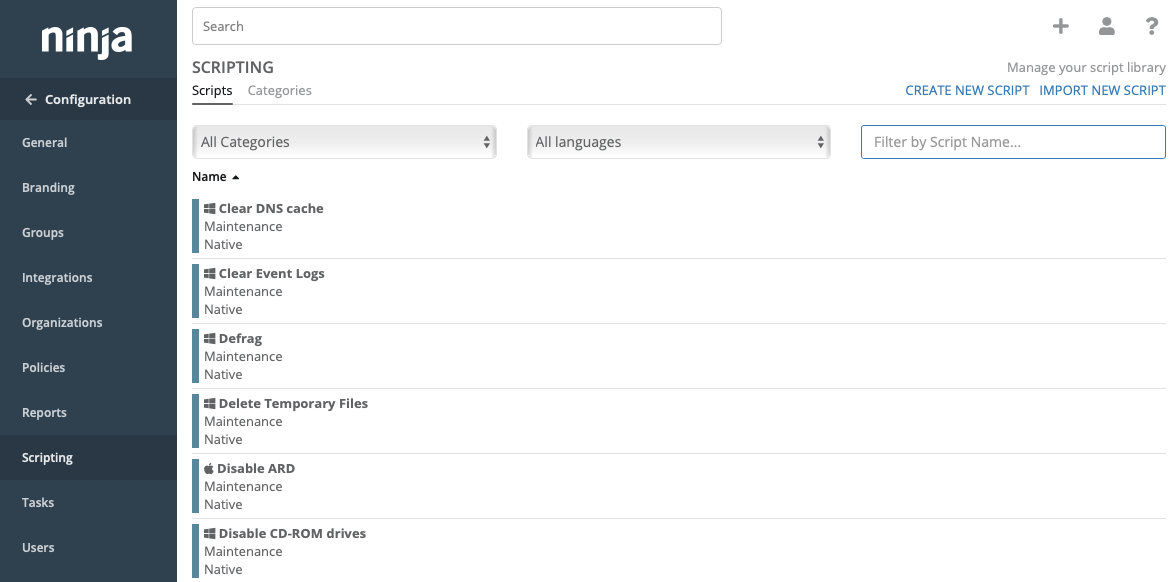
- From the Configuration menu, click Scripting.
- On the Scripting page, click Create New Script.
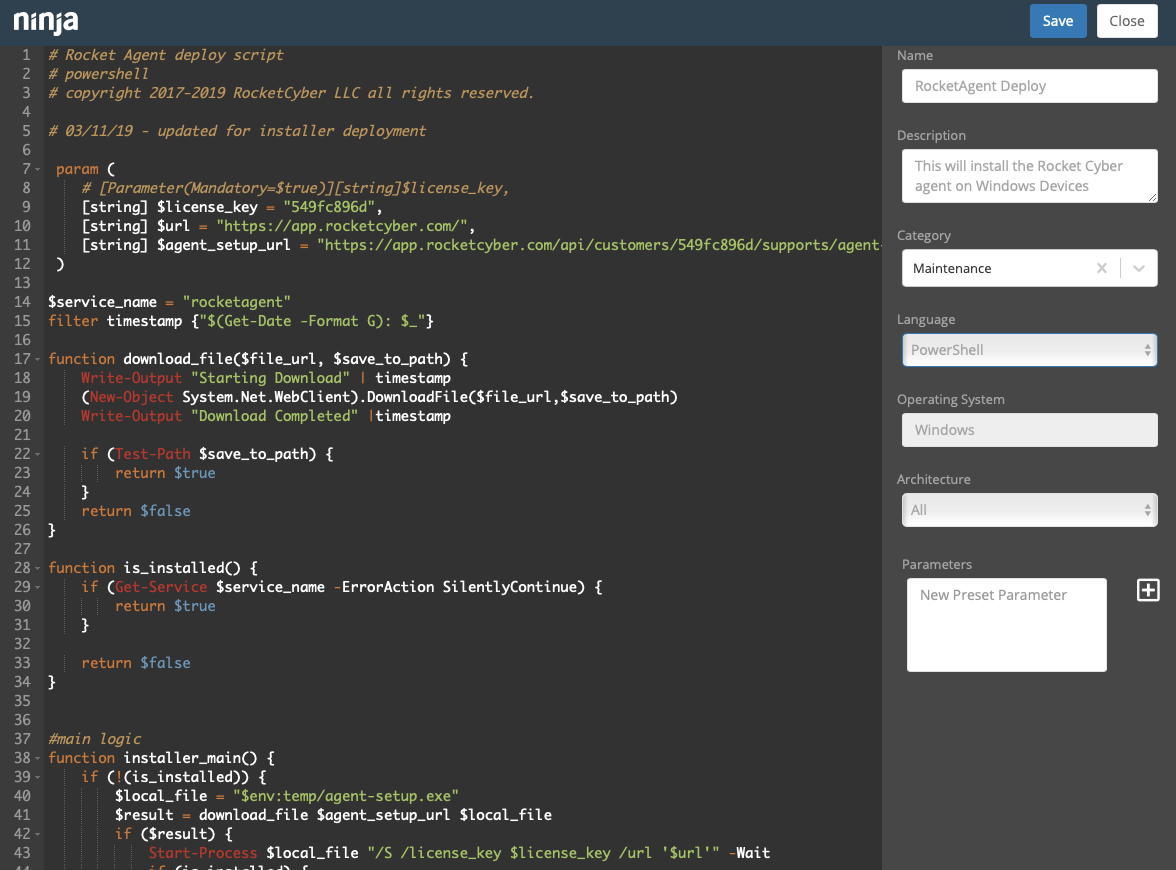
- In the script editor:
- Paste the script copied from the RocketCyber console into the editor control.
- Provider a name in the Name field such as RocketAgent Deploy.
- Provide a description in the Description field.
- Category chooses the appropriate category such as Maintenance.
- Language select PowerShell from the dropdown list.
- Operating System selects Windows from the dropdown list.
- Architecture selects All from the dropdown list.
- Parameters leave empty.
- Click Save.
- Click Close.
Add a Scheduled Task in Ninja RMM
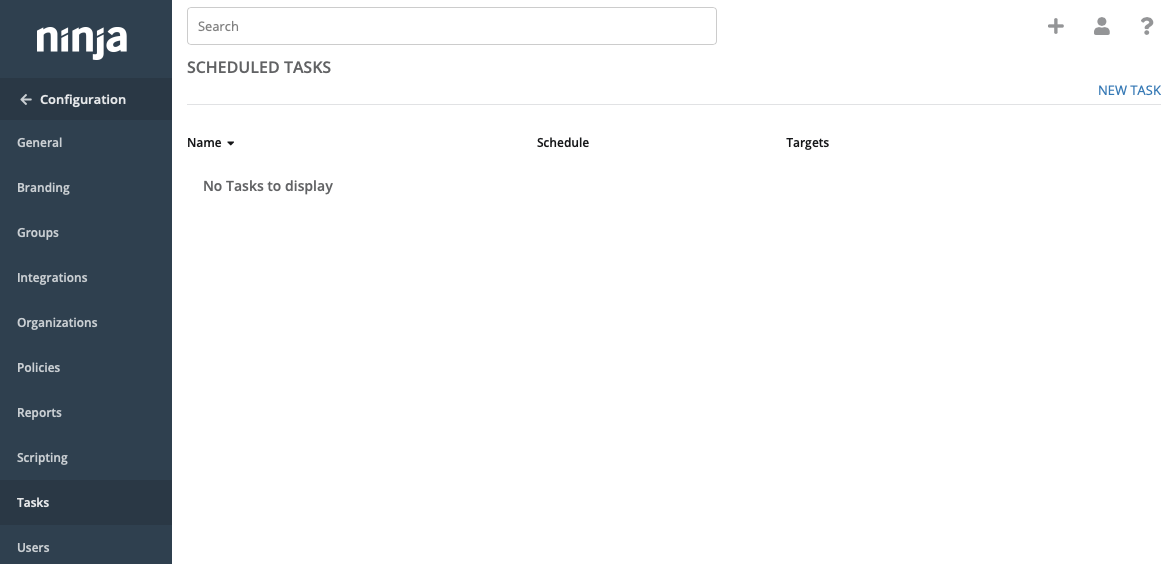
- From the left-hand navigation menu, select Configuration > Tasks.

- Click New Task.
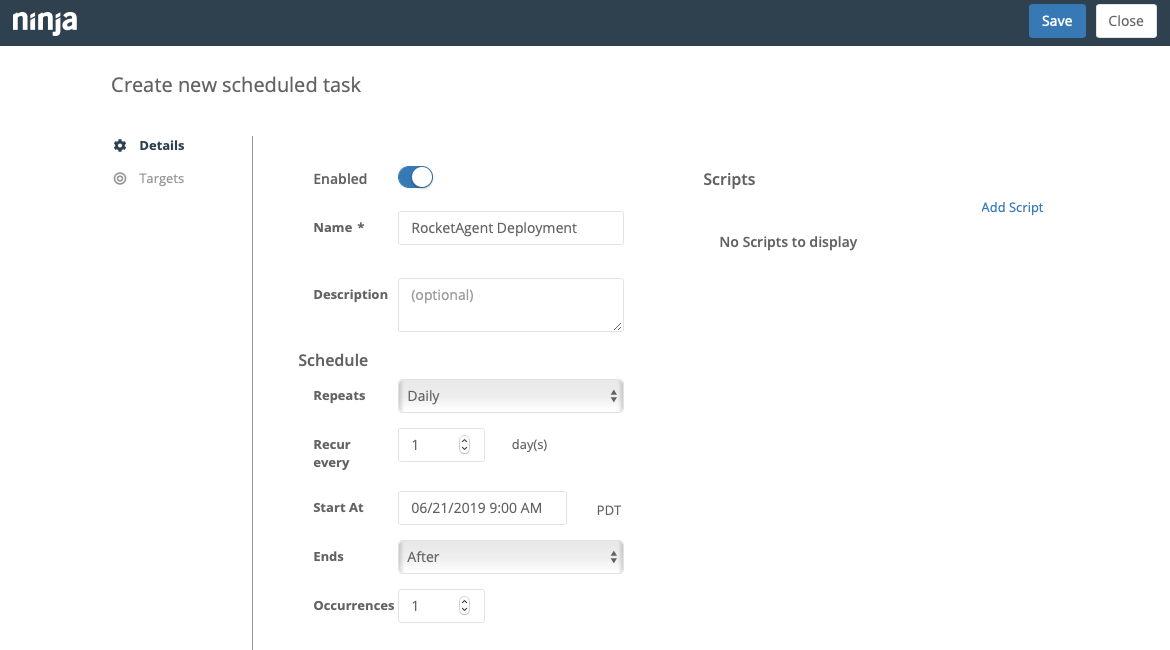
- Complete the following information in the Create new scheduled task view.
- Enabled: Should be switched On.
- Name: Enter RocketAgent Deployment.
- The description: Leave empty.
- Schedule Repeats: Select Daily from the dropdown list.
- Recur Every: Set to 1.
- Start At: Choose a date/time in the future.
- Ends: Select After from the dropdown list.
- Occurrences: set to 1.
- Click the Add Script button.
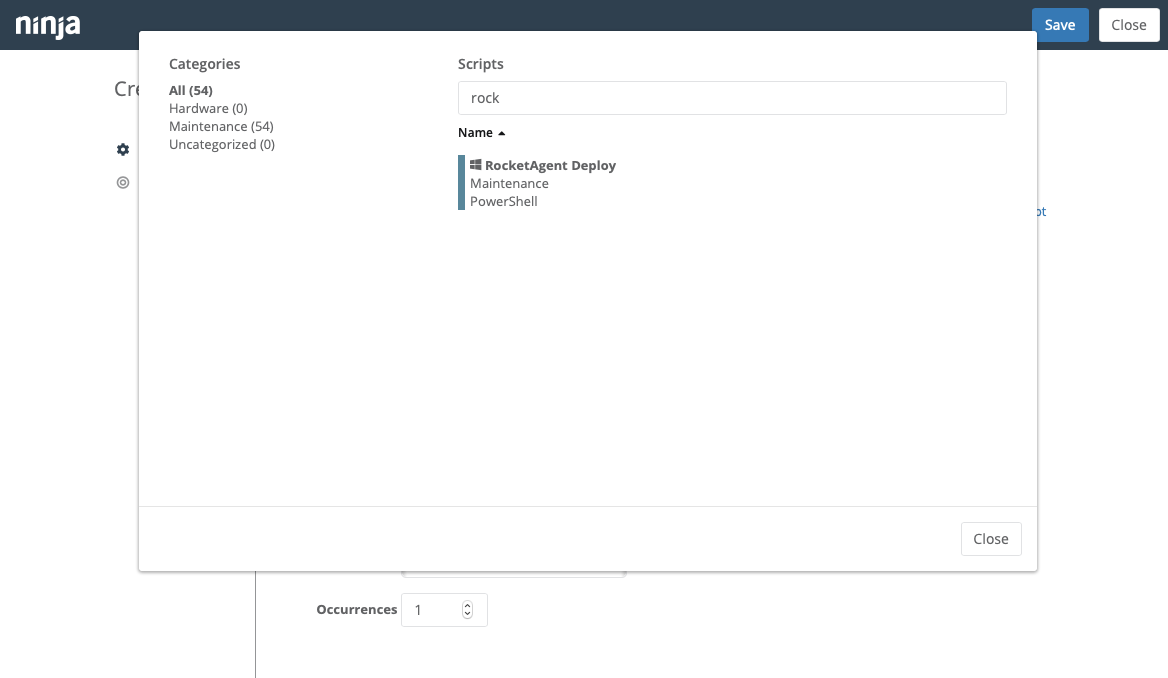
- In the Scripts field, type rock to filter the list.
- Click RocketAgent Deploy.
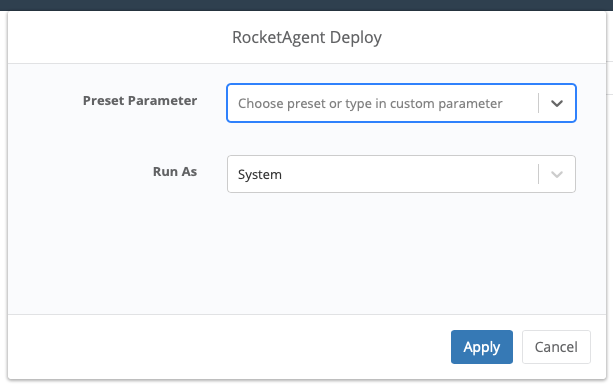
- In the RocketAgent Deploy dialog box:
- Preset Parameter leave blank
- Run As choose System from the dropdown list.
- Click Apply to continue.
- In the Create New Scheduled Task view, in the navigation menu, click Targets.
- Click Add.
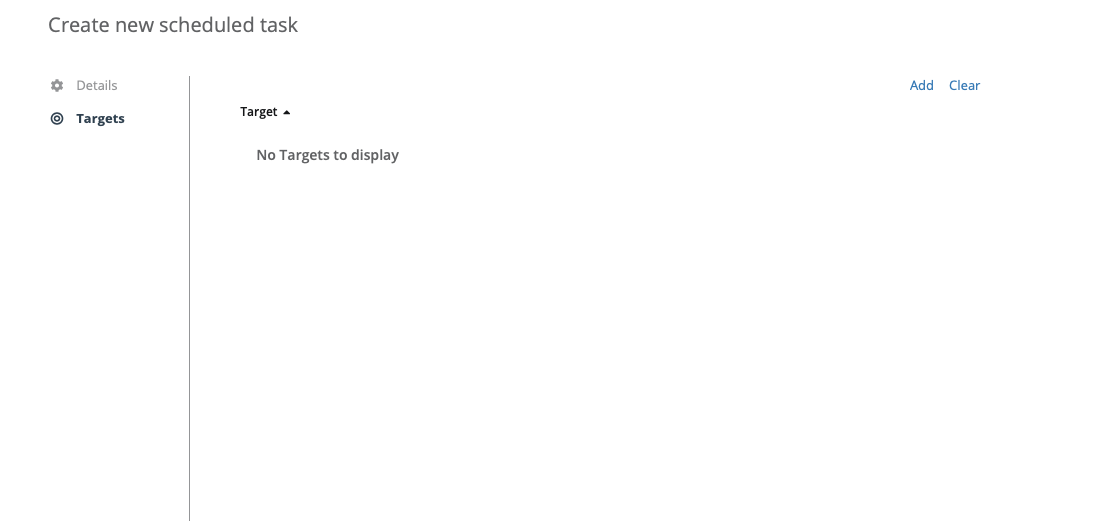
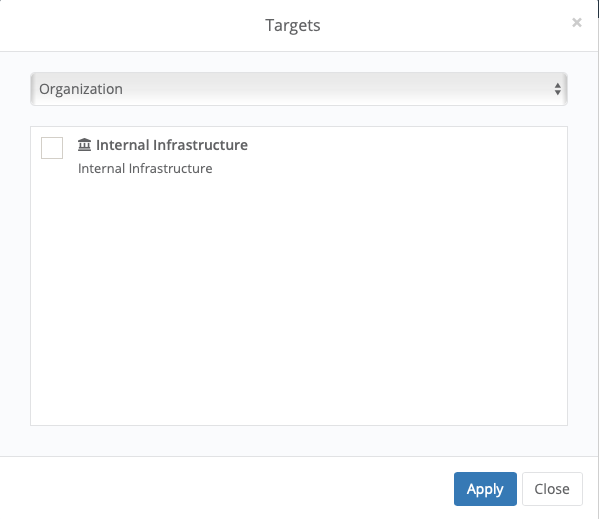
- In the Targets dialog box, choose the appropriate target devices or organizations. Click Apply.
You should now see the scheduled task in the list.
- The task will execute at the time specified in the task schedule.
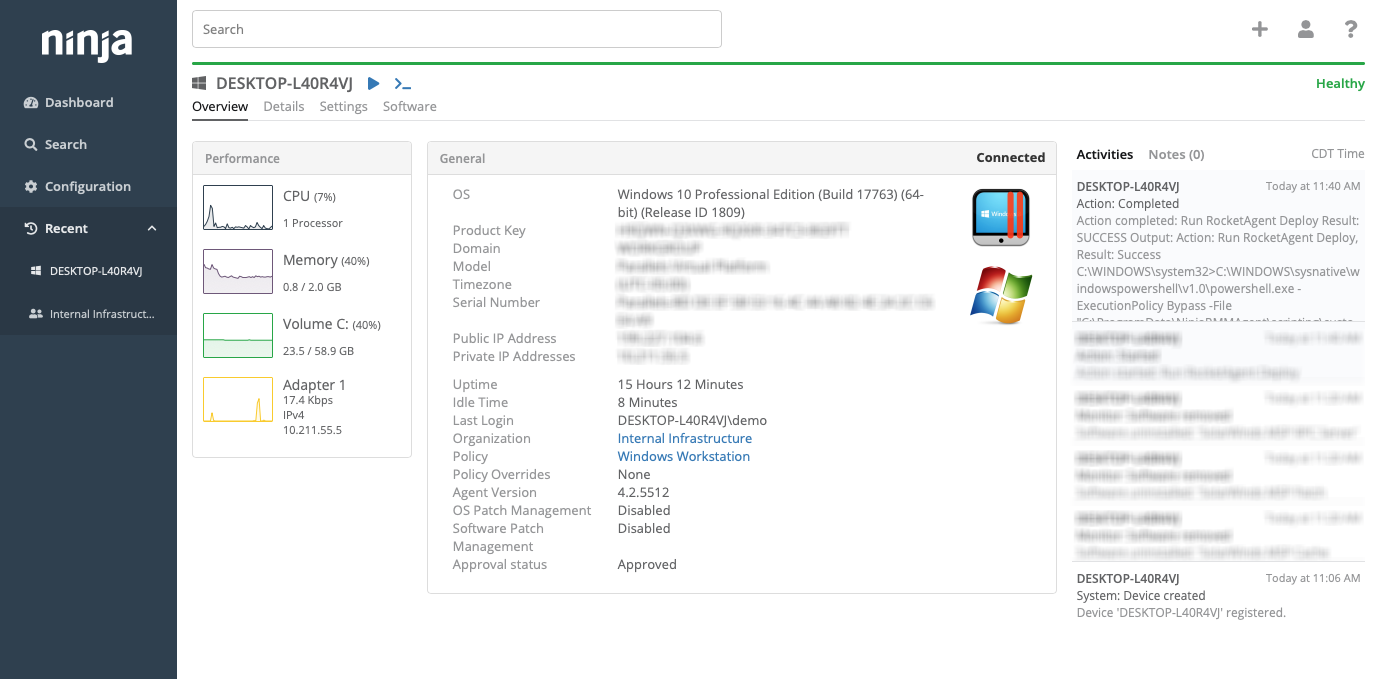
- You can verify its execution by viewing the details of a device that was targeted.
- The results of the script/task execution will be listed in the Activities section.