Deploying via SolarWinds RMM
This guide will walk through using the Solarwinds RMM to deploy the RocketCyber Agent.
A few notes about the deployment script:
- The console generates a PowerShell script per organization that automatically includes the information required to deploy the agent, specifically the license key and the URL.
- The script first checks to see if the agent is already installed before performing an install.
- If the script does not detect an installed agent, it will download the agent installer package to the local machine and execute it.
Create an Automated Task In Solarwinds RMM
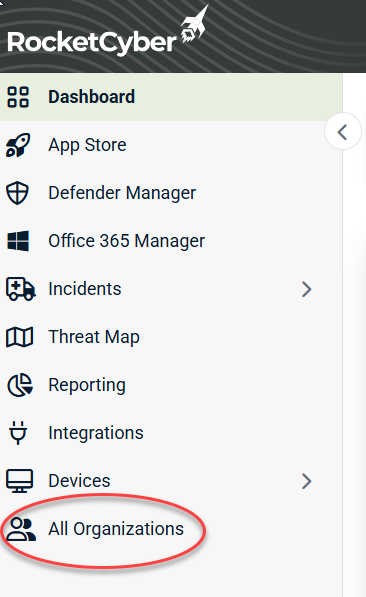
- Log onto the RocketCyber console. In the navigation menu, click All Organizations.
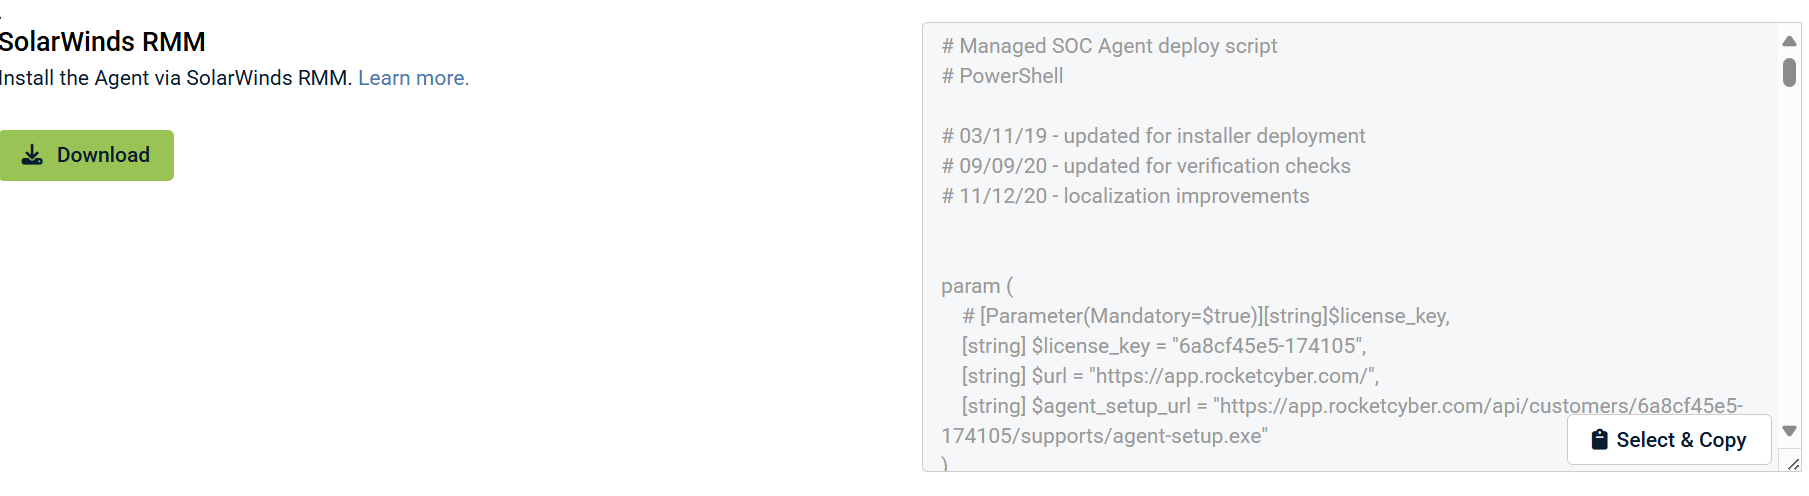
- Click Deploy for the appropriate organization.

- Click Download to download the script.
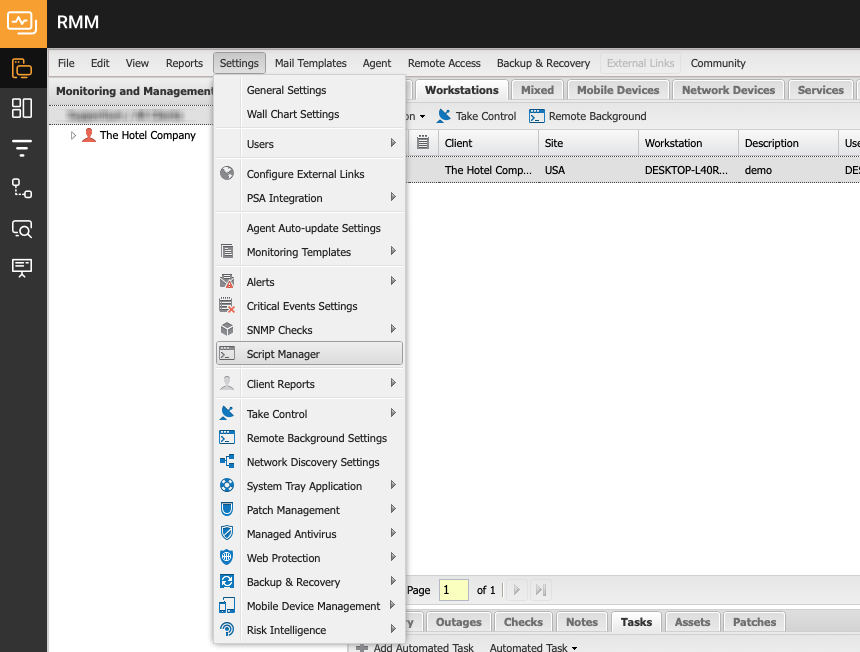
- Log onto the Solarwinds RMM. Select Settings > Script Manager.
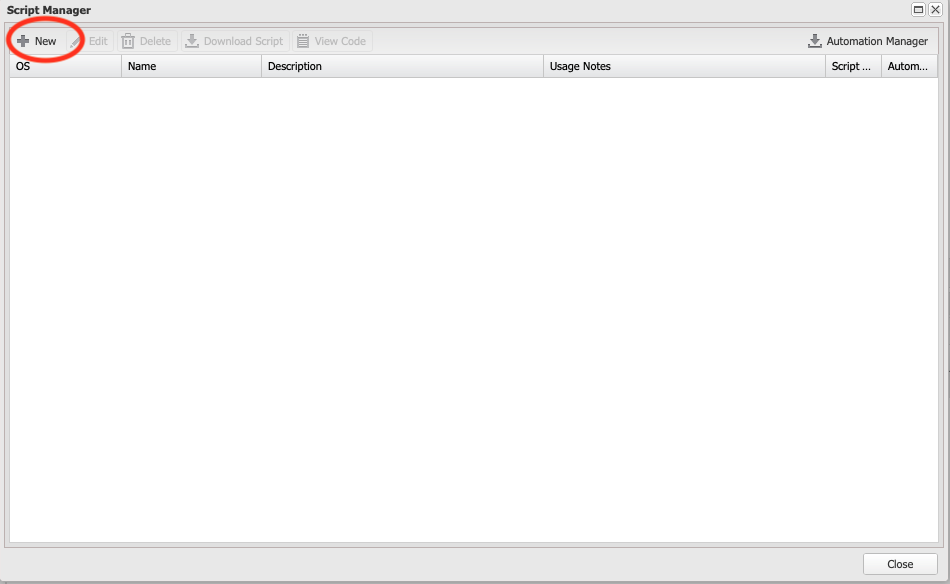
- In the Script Manager dialog box, click New.
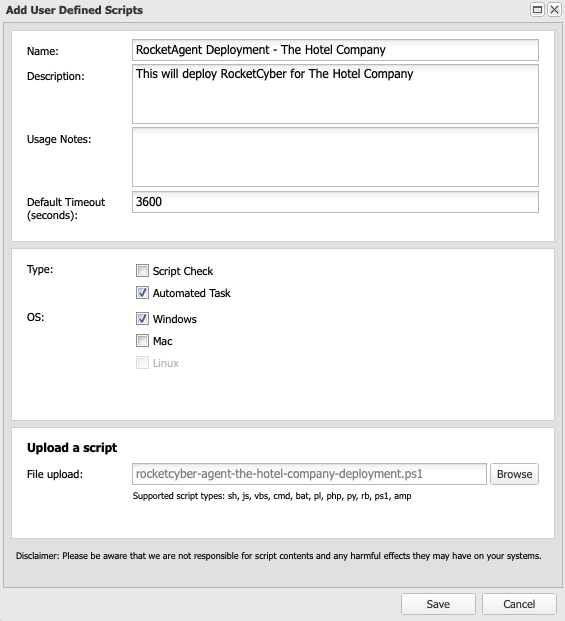
- In the Add User Defined Scripts dialog box, enter the following information:
- Name: Enter a meaningful name and include the organization name.
- Description: Provide a description of the script.
- Default Timeout: Leave the default value.
- Type: Select Automated Task.
- OS: Select Windows.
- Upload a Script: Click browse to navigate to the Powershell script downloaded from the RocketCyber Console.
- Click Save to continue. Click Close on the Script Manager dialog box.
Add the automated task to client devices
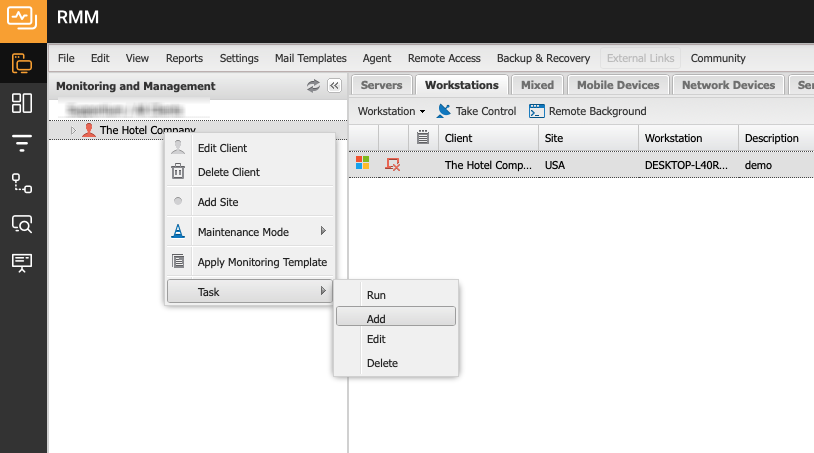
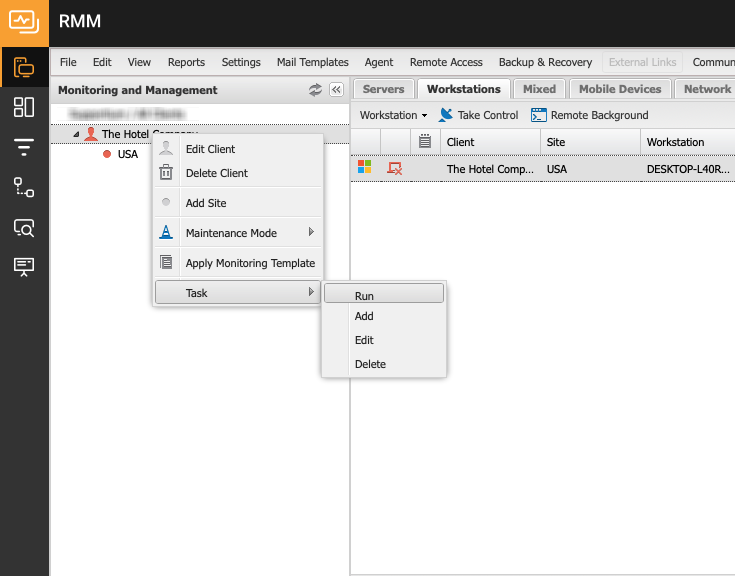
- Right-click the desired client in the navigation pane, then select Task > Add.
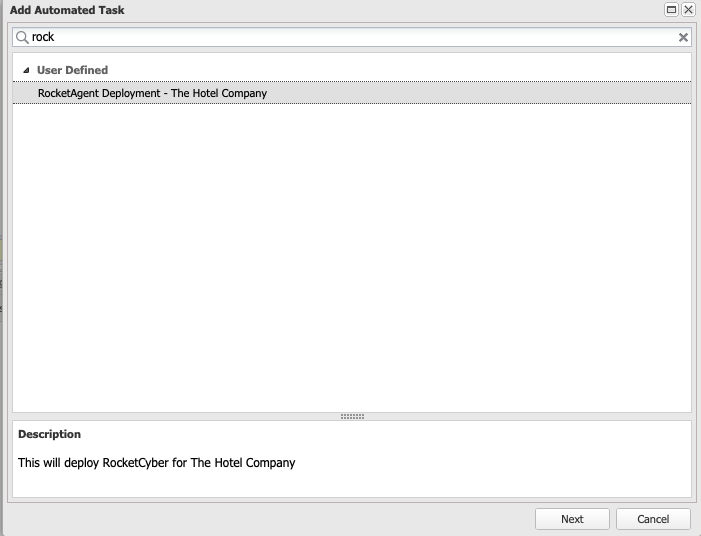
- Search for the automated task in the Add Automated Task dialog box. Click the desired task and click Next.
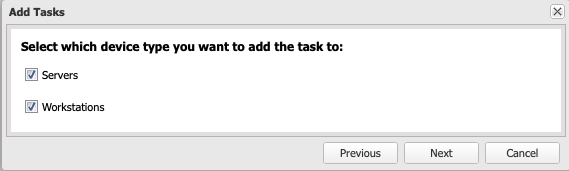
- In the Add Tasks dialog box, select the desired device types. We recommend selecting both Servers and Workstations. Click Next.
- In the RocketAgent Deployment dialog box, enter a descriptive name, then click Next.
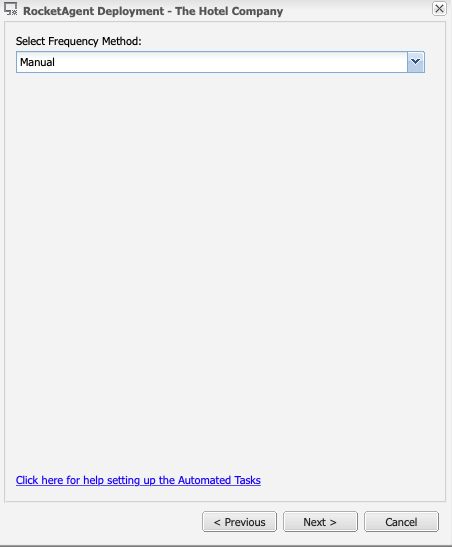
- In the Select Frequency Method list, select Manual and click Next.
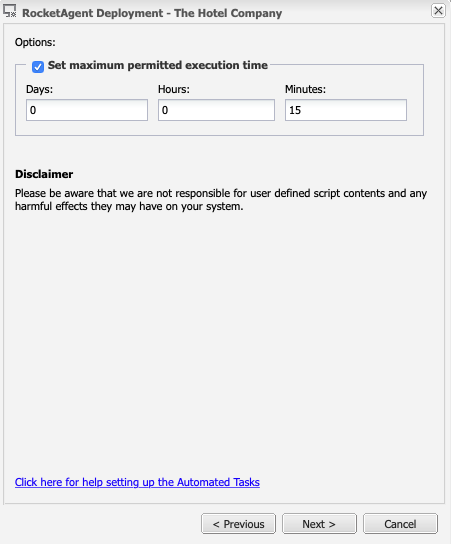
- Set the maximum permitted execution time to 15 Minutes and click Next.
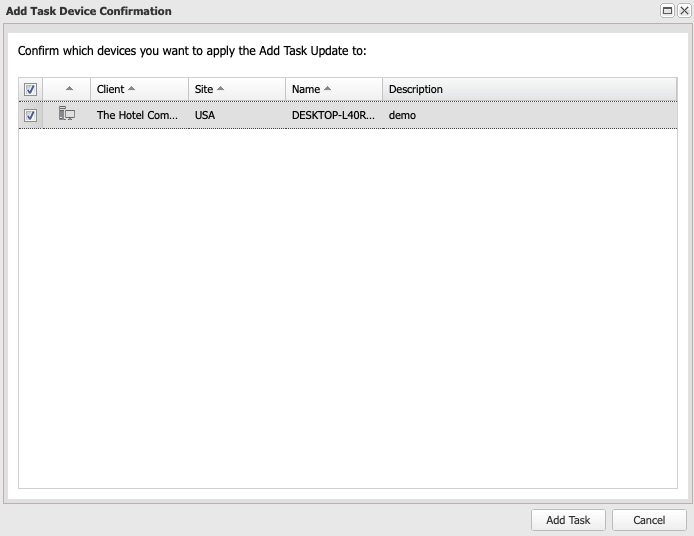
- In the Add Task Device Confirmation dialog box, deselect any devices you don't want the agent deployed to. Click Add Task.
Run the automated task on client device
- Right-click the desired client in the navigation pane, then select Task > Run.
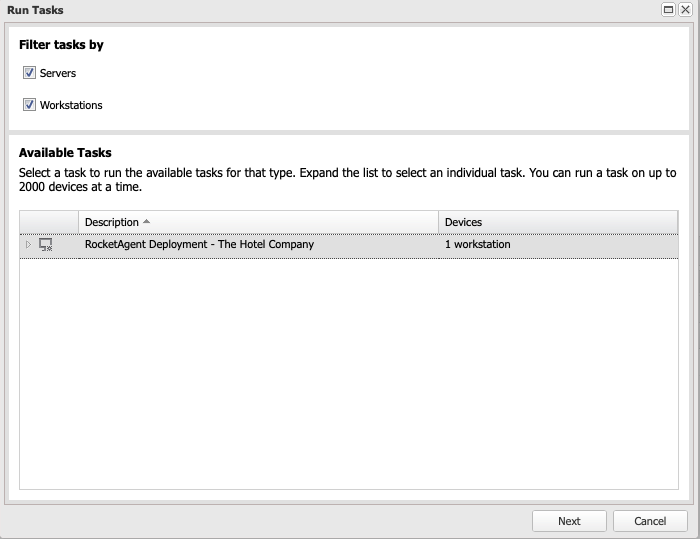
- In the Run Tasks dialog box, click the RocketAgent Deployment task and click Next.
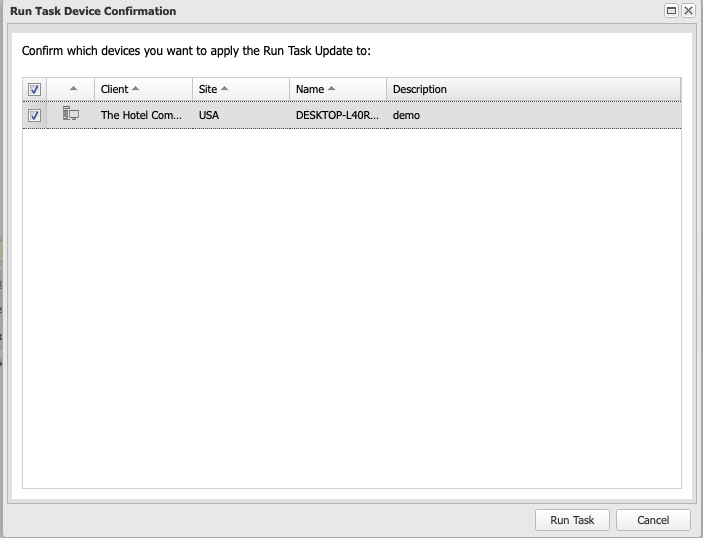
- In the Run Task Device Confirmation dialog box, review the selected devices and click Run Task.
The RocketAgent Deployment task will now execute on the selected devices. You can verify the execution by navigating to a device in the RMM Dashboard and viewing the Tasks tab.
Once the agents are deployed, they will automatically appear in the RocketCyber Console under the selected organization account.


