Configuring Passly
The Passly app is designed to monitor log data from the Passly dashboard. It is designed to operate across all tenants within your Passly dashboard. This means that you will not have to authenticate the app to each organization within RocketCyber.
To set up the integration, follow these steps:
-
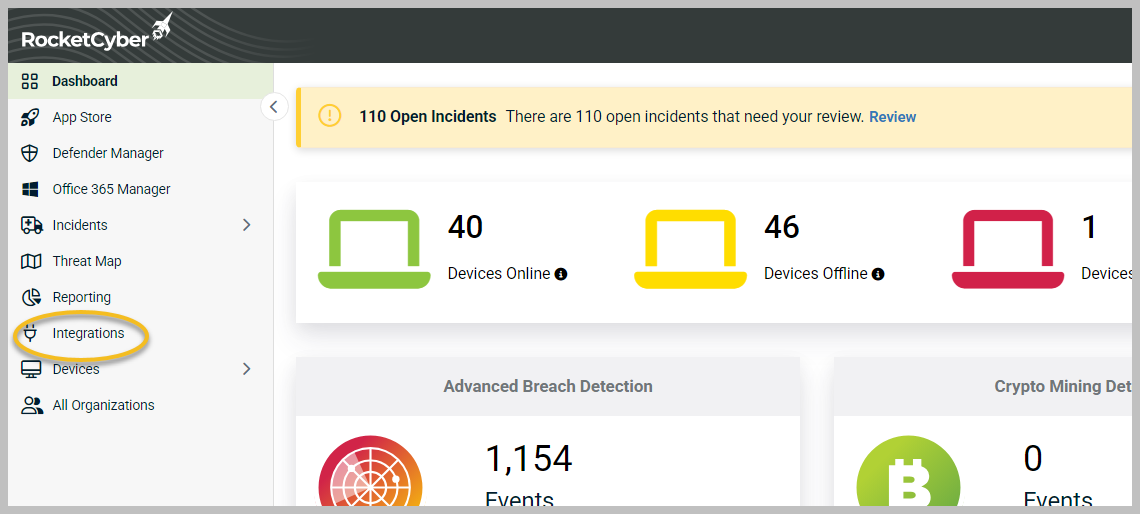
Log in to RocketCyber.
-
In the left menu, click Integrations.
-
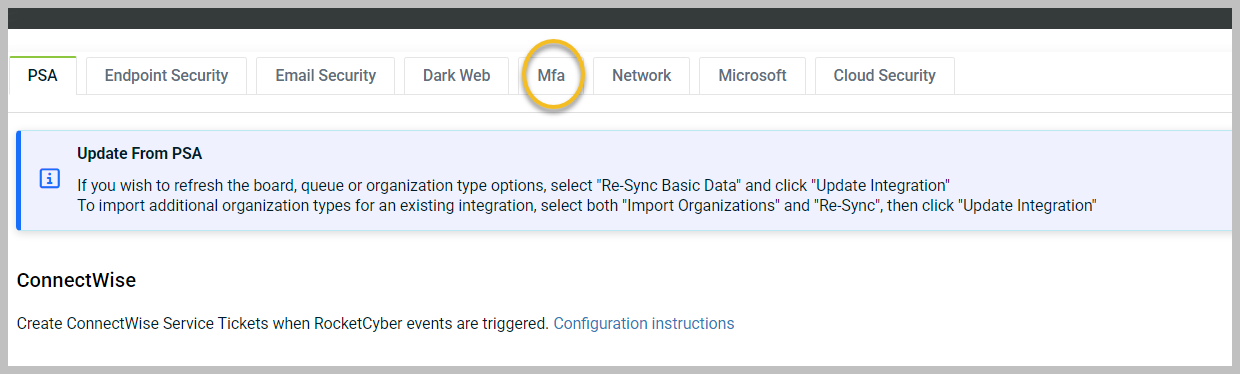
Click the Mfa tab.
-
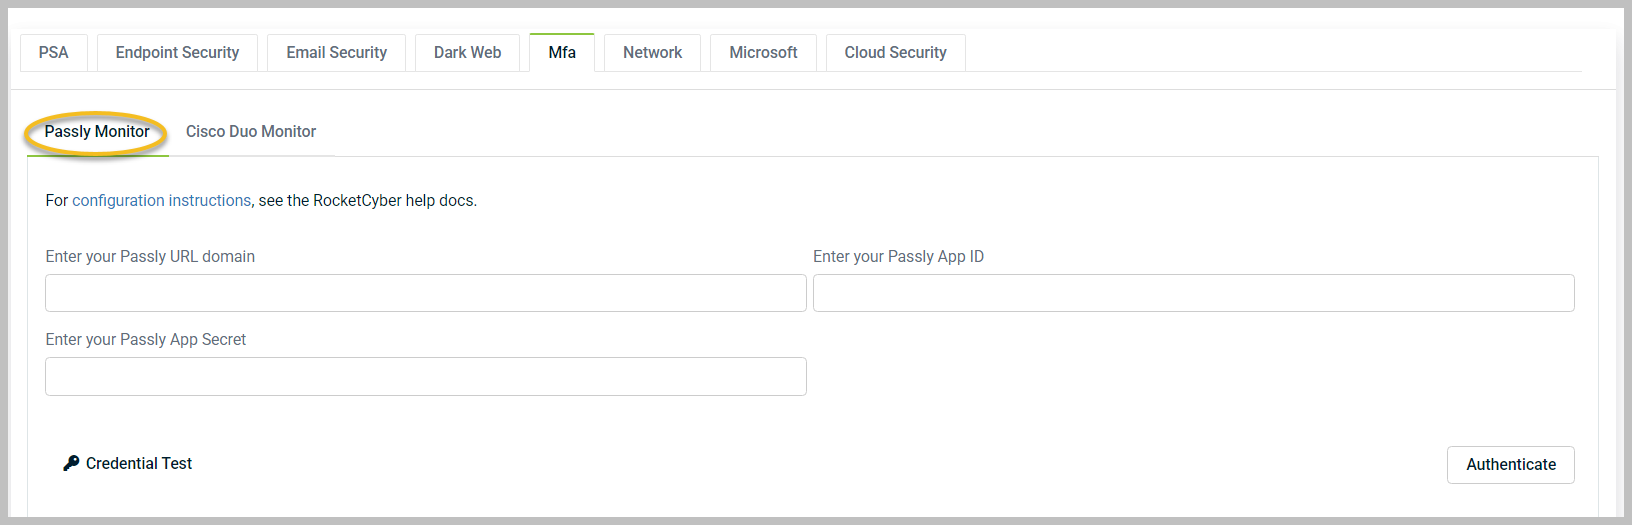
Click the Passly Monitor tab.
-
The 3 pieces of information needed for this integration are the following:
-
Your Passly Domain
-
Your Passly App ID
-
Your Passly App Secret
-
-
To find the above information, log in to Passly and make sure you are in context as your MSP (top-level account):
-
Go to Auth Manager.
-
Click Agents/Clients.
-
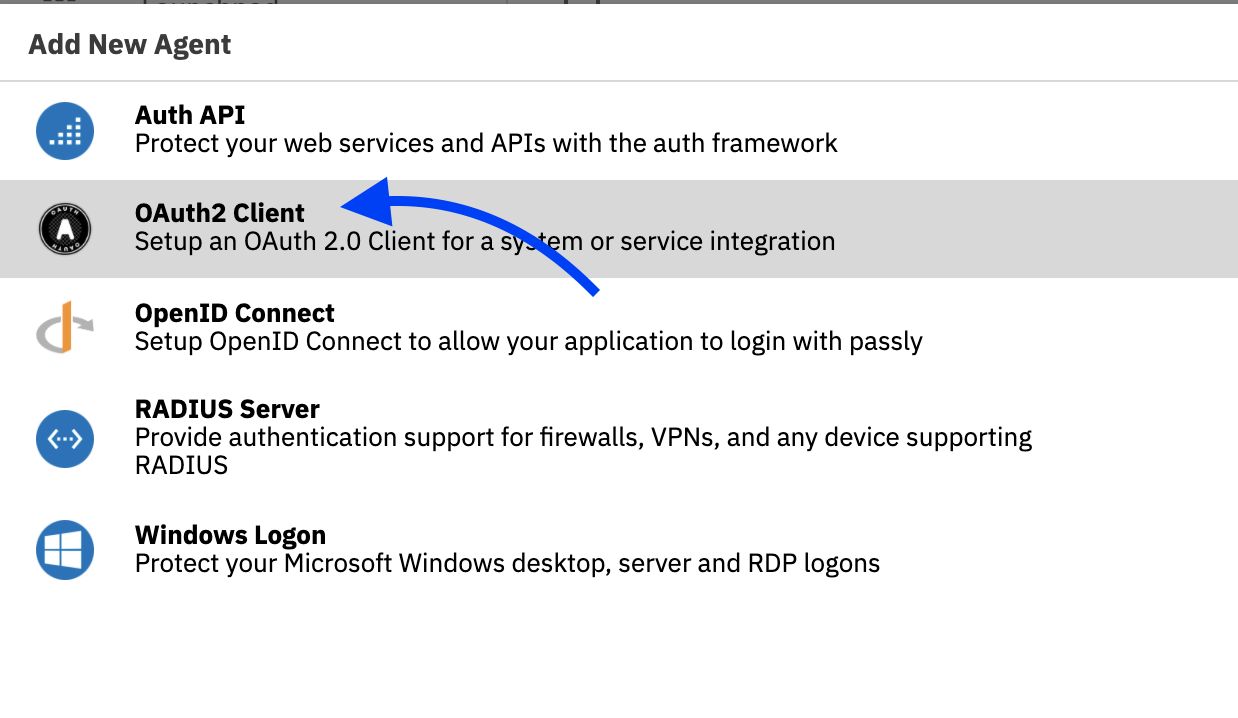
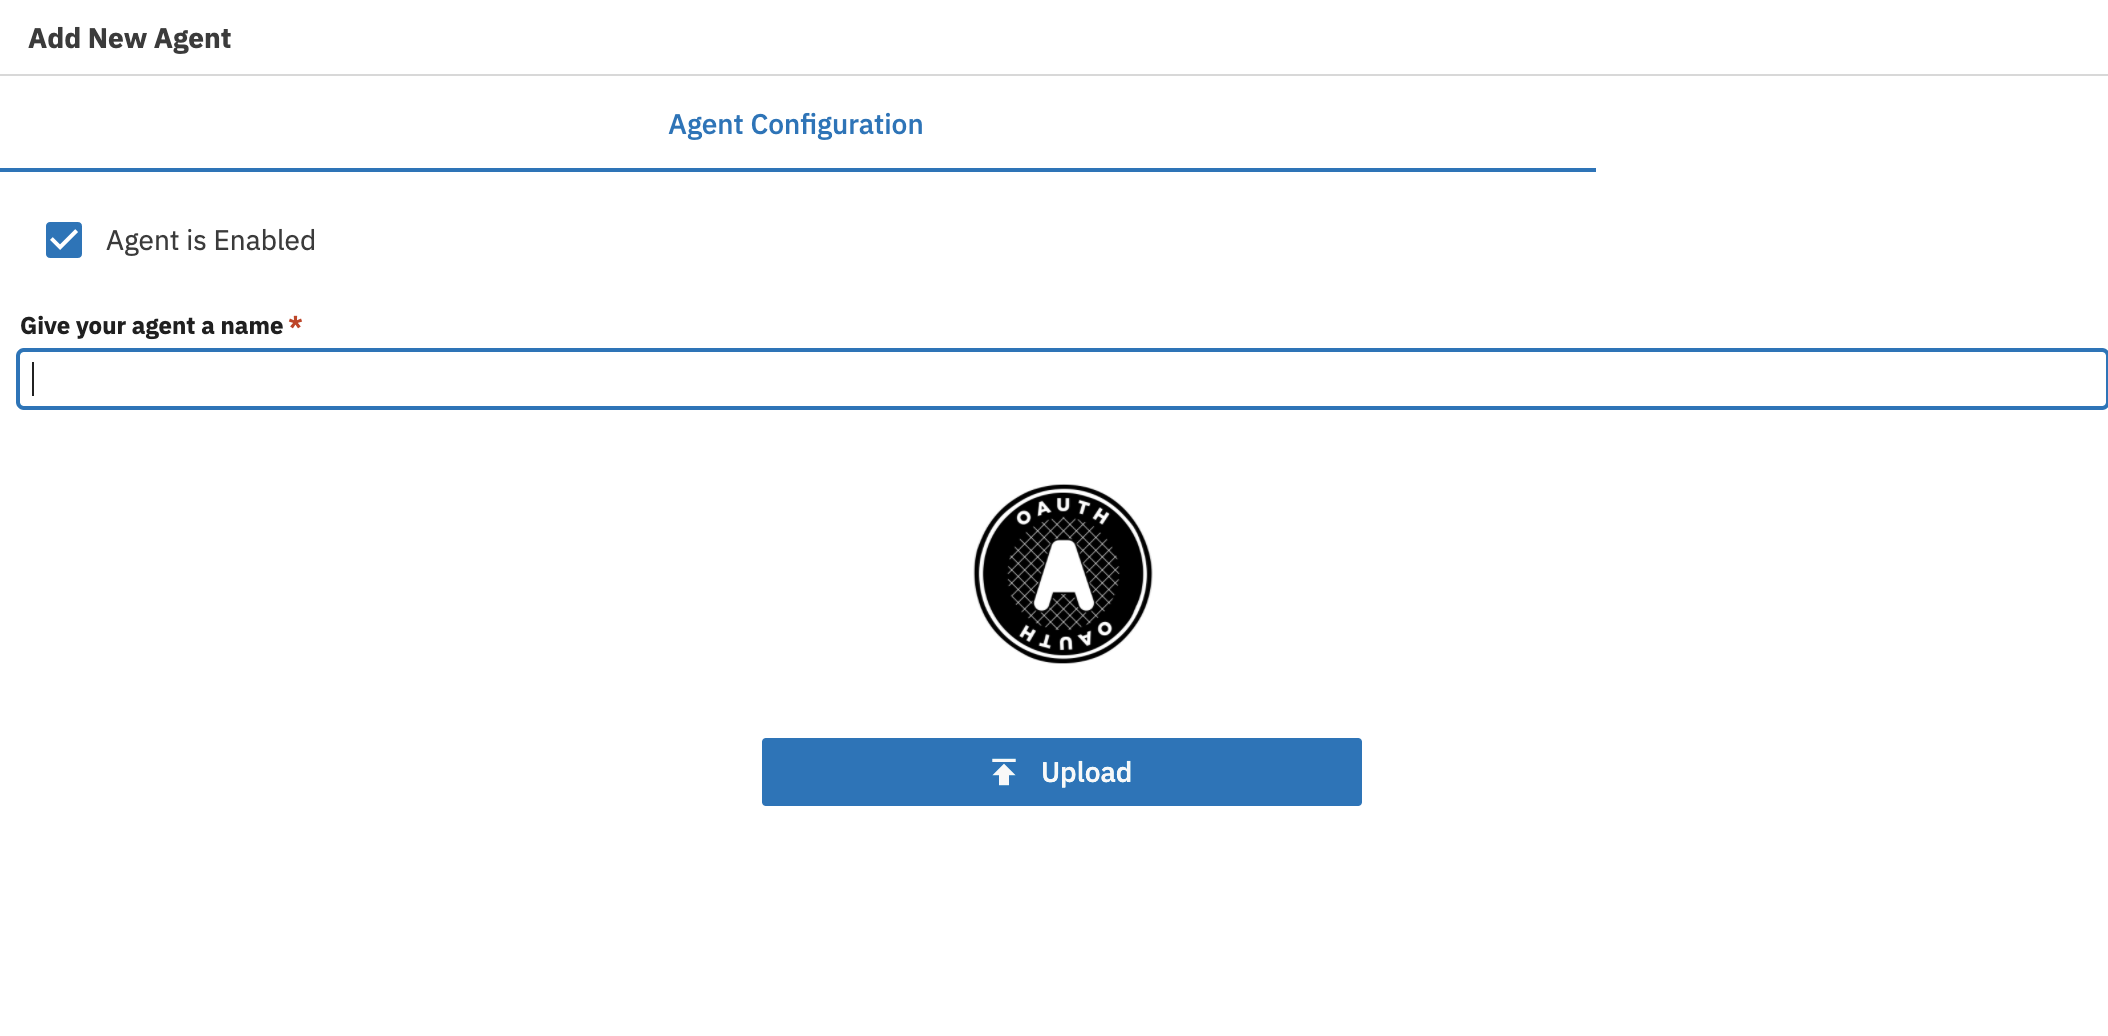
On the lower-right corner, click the blue + sign to add a new agent.

-
Select the type of agent, in this case, OAuth2 Client.
-
Name the Agent (RocketCyber), and upload a logo for it
-
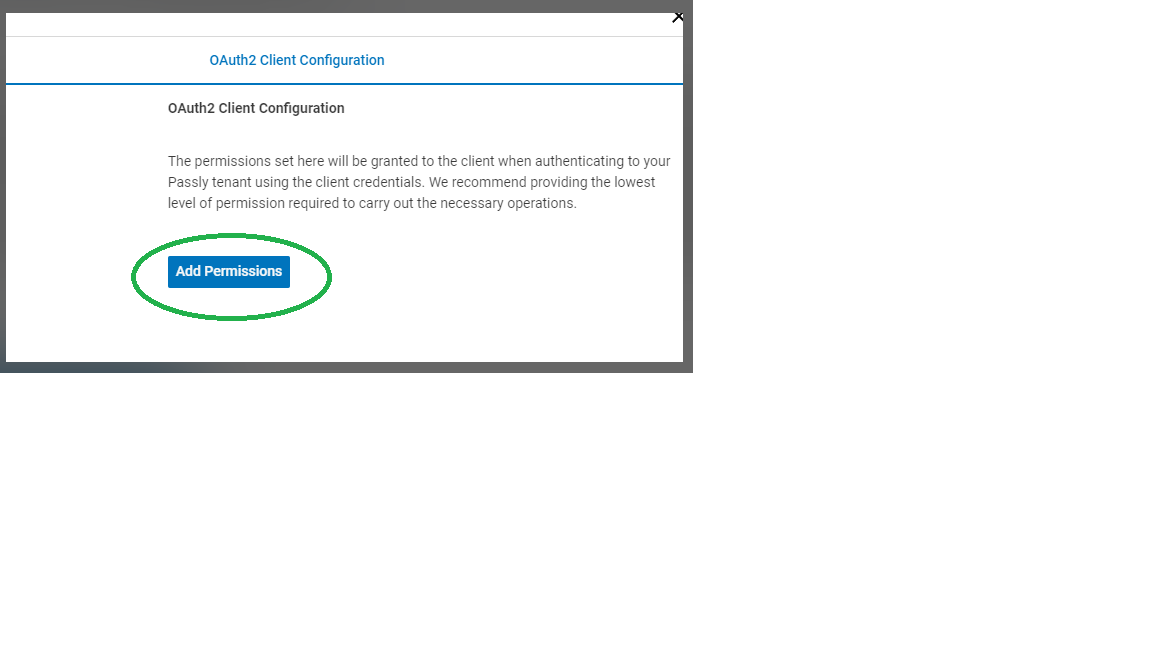
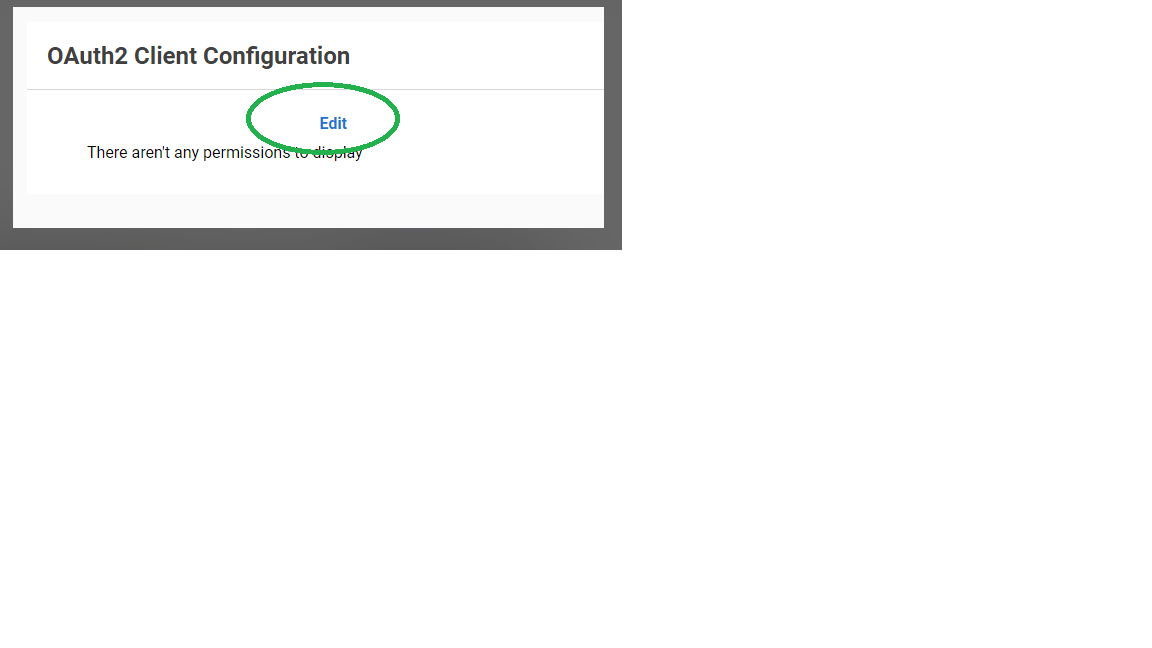
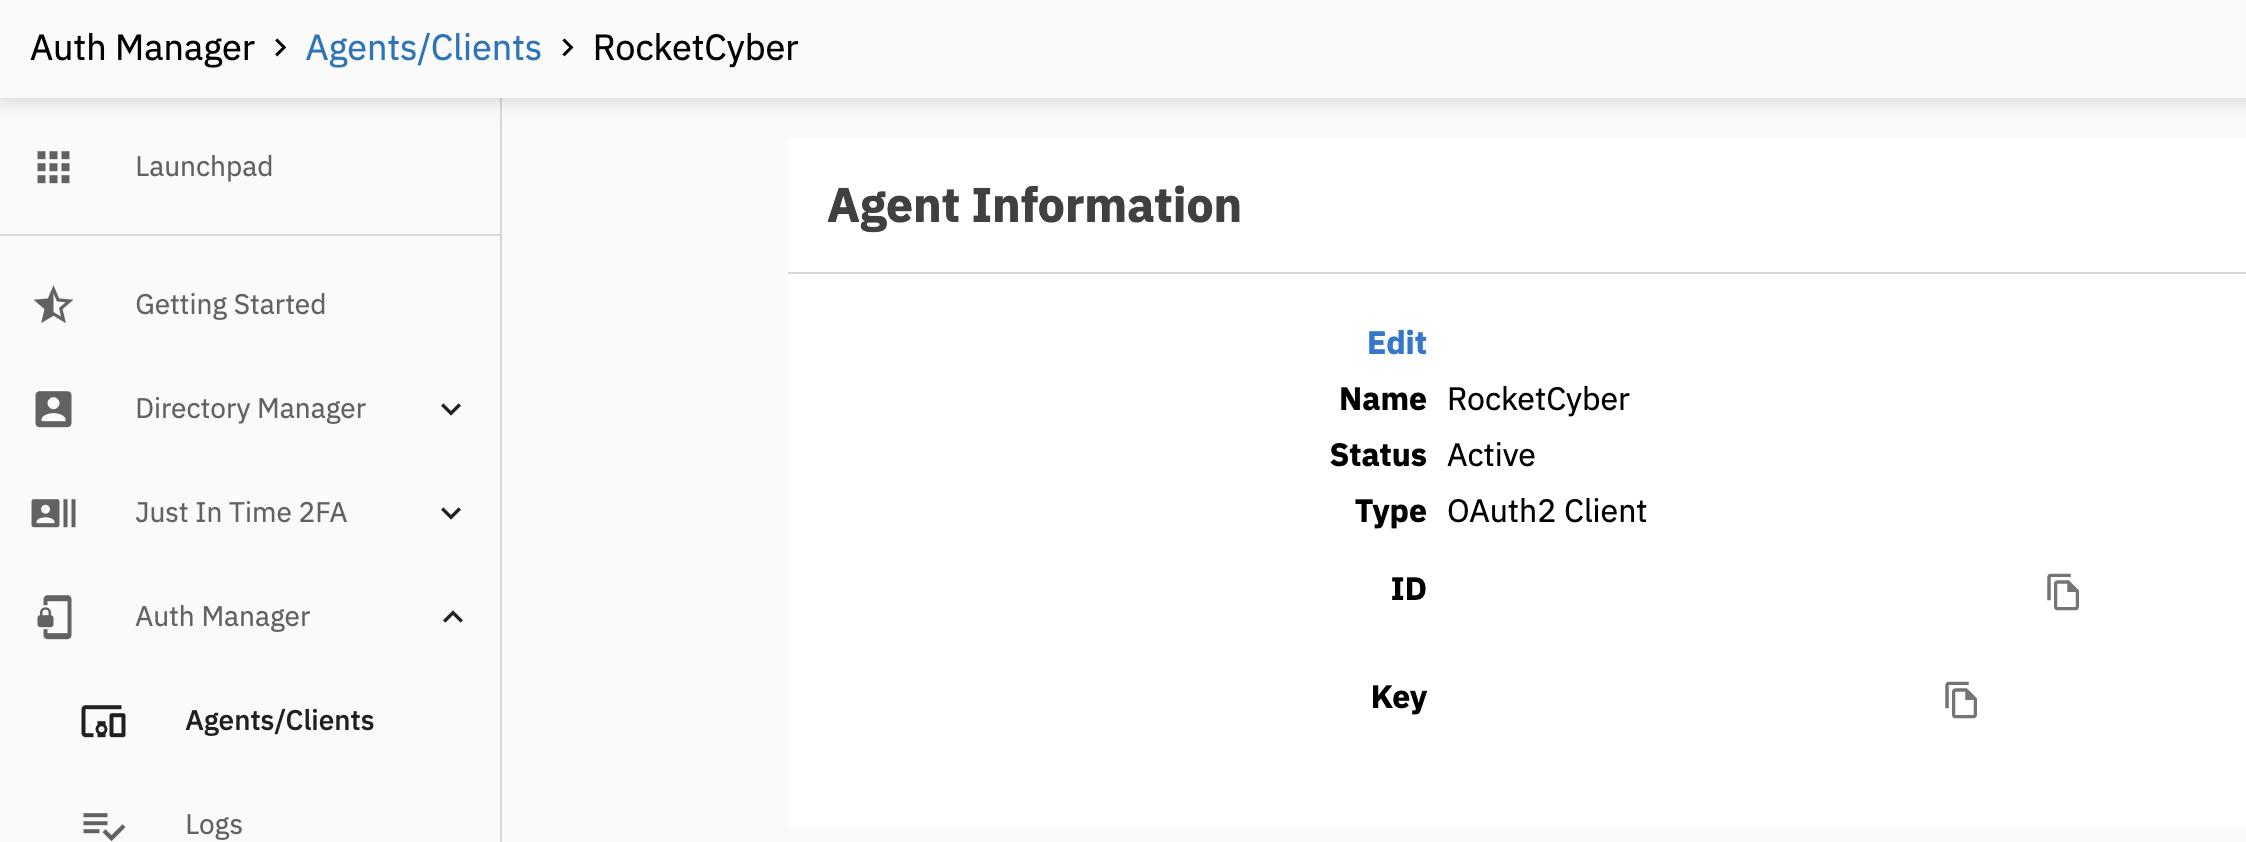
Click on Edit at the far right of the newly created Agent.

-
Copy the ID + Key, as you will need to enter it in the RocketCyber app (Picture is blank intentionally). From this page, you will find the 3 pieces of information to connect Passly to the RocketCyber SOC. For the domain, you only need the subdomain, NOT the entire URL.
-
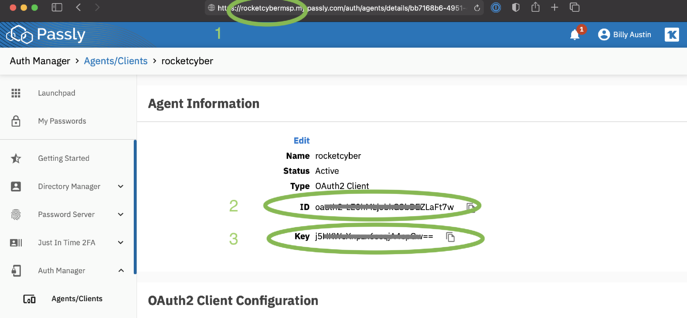
Make sure to copy the Subdomain, ID, and Key as shown below:
-
Paste in your credentials into the RocketCyber console and then click authenticate.
-
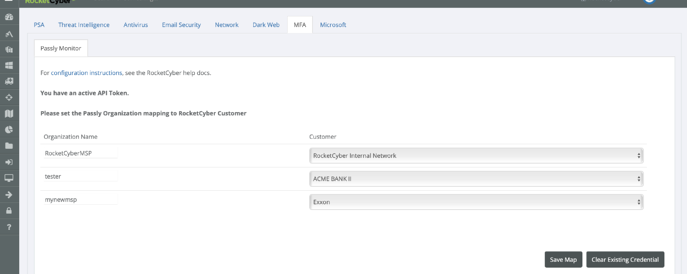
The final step is to map your organizations. Passly organization names will be pulled into RocketCyber enabling you to map between both vendors, then click Save.
Congratulations, Passly is now configured and the RocketCyber SOC now has insight into your MFA/SSO solution.


