Using Incident view
The incident view exposes more search features, allows for more items per page, and enables downloading of the incidents displayed from search results. Let's review the options available.
Search features - Simple and Advanced Search
Simple Search- the Incidents page loads with a simple search that will search for any text contained within a title of an Incident. It is not case sensitive, and supports partial searches.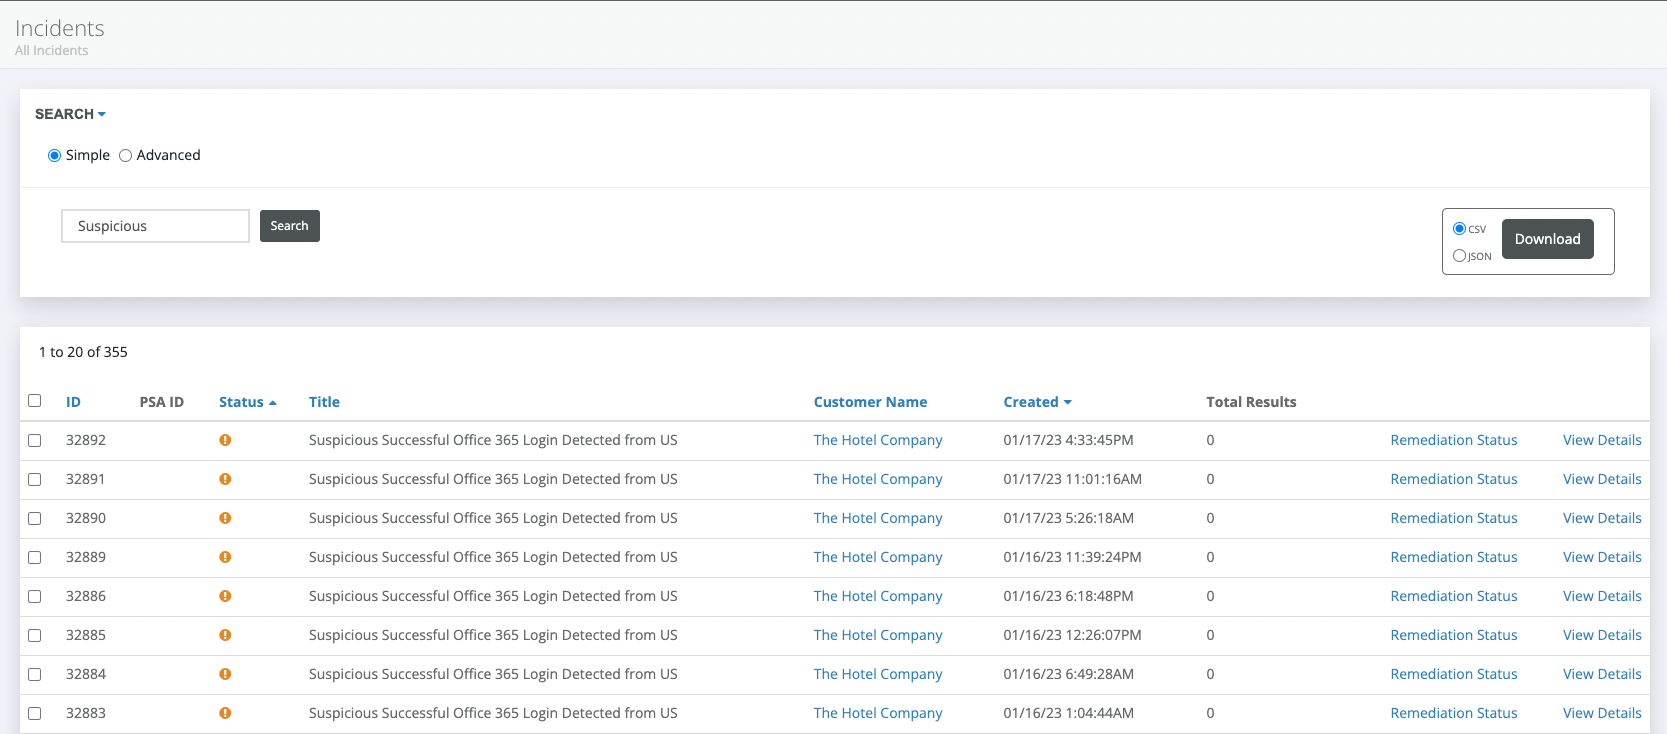
Advanced Search
If you have performed a simple search, clicking Advanced Search will load the term you have already searched for, and give you the ability to add additional filters such as Status, Created on Date, Resolved Date, and ID.
NOTE Note: If you want to start your search over, simply select Simple Search and type some text. The search will start over fresh.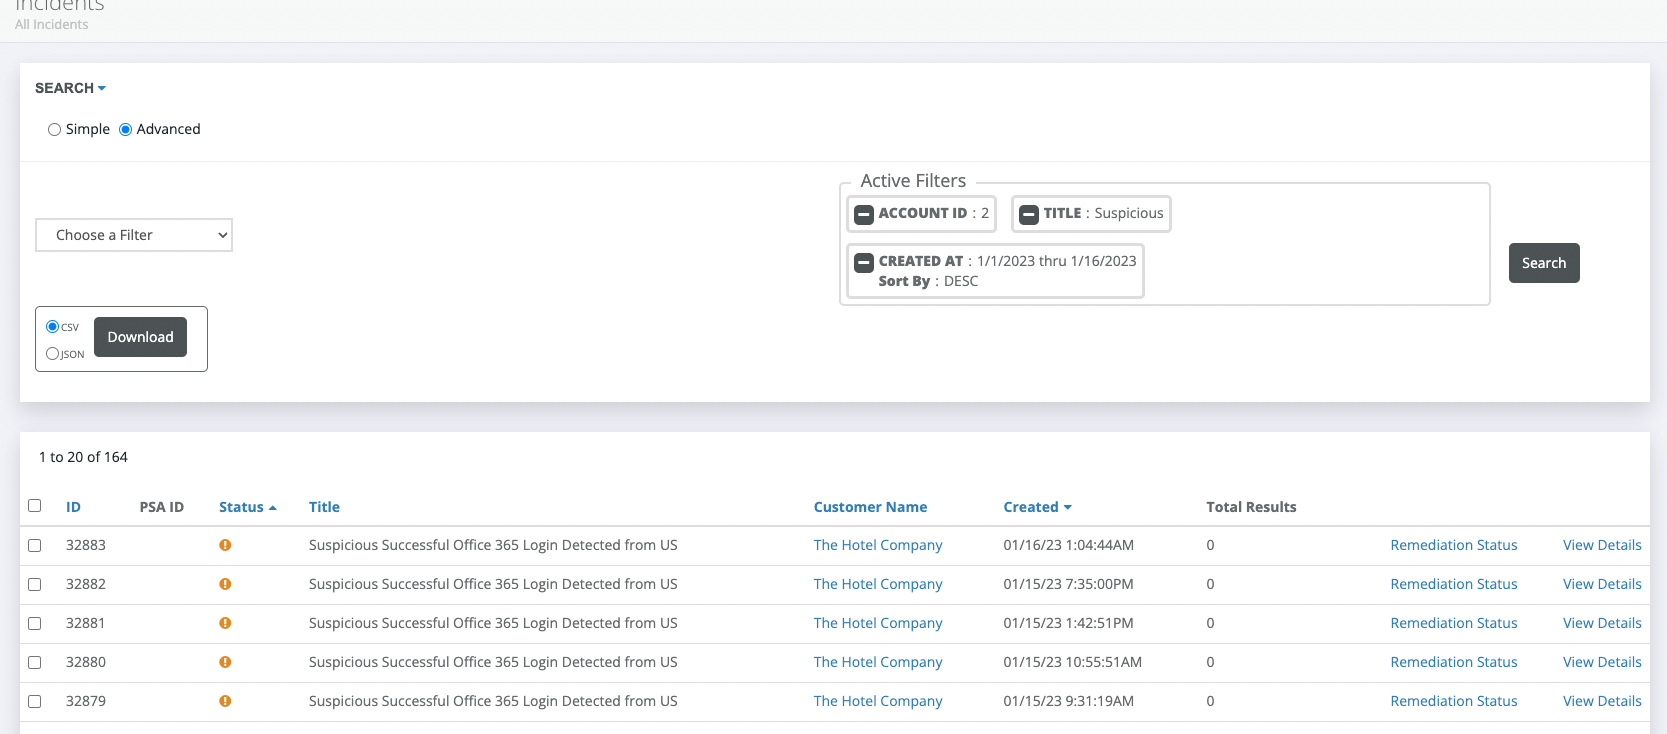
You will find a new drop-down menu with several options for creating searches. Note- you can "stack" several query options to narrow down your search results. Simply select a criteria, select Add Filter, and then Search.
- ID - numerical identifier of an individual incident. Good for jumping to an incident when you have the Incident ID available. Matches the number displayed in the "ID" column and at the top of your incident details
- Status - Selecting this option gives you a second drop-down to add a filter to view open and resolved incidents.
NOTE The "draft" option is used by the SOC, and you should not expect to see results from this filter.
- Title - This is a search for text contained within the title field of an incident.
NOTE This field is not case-sensitive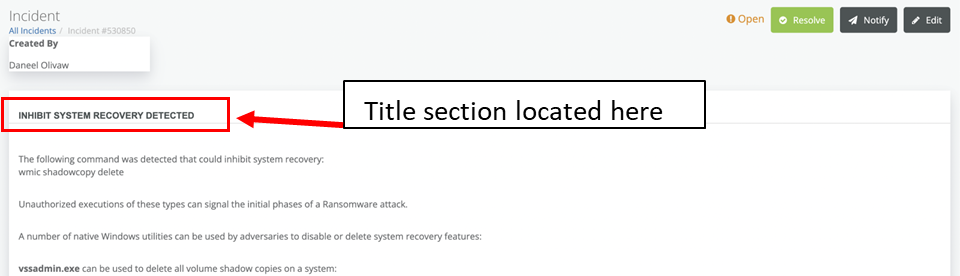
- Account ID - This is a numerical field that corresponds to a Provider or Organization level account. By default, the account ID for the level you are currently at is pre-populated in any query. If you are at the Provider level, and want to view all incidents for one organization, you can add that organization's ID to the query. Reminder you can always use the upper right menu to
NOTE You can find a organization's ID in the URL of the Incident page when at that organization's level. It should also be noted that you can click on the organization's name in the Organization Name column, and a new tab will open with that organization as a filter.
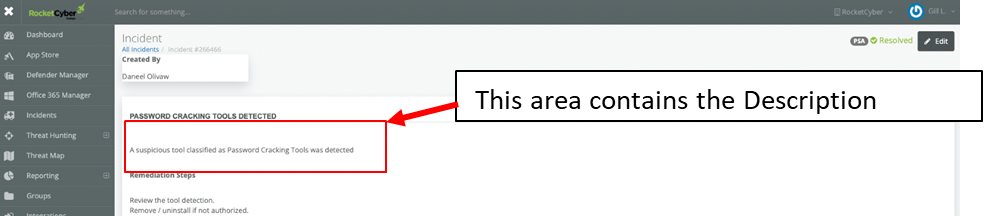
- Description - Searches for matching text present in the Description of any Incident.
- Resolved - loads a date picker that searches for all incidents resolved between the selected date range
- Created - loads a date picker that searches for all incidents created between the selected date range
Downloading Incident lists
This feature works much like the data downloads recently released in the individual app "triage view".
You can simply select download for the full list of incidents, or create a filtered search, and then download the results of that filter.
NOTE If you add a filter, you must first select Search before the download button is available.
When you select Download, you will be notified that an email will be sent to your email address with a link to download the data.
Fields shown in the Incident download:
ID, Title, Description, Remediation recommendations, Resolved Date, Published Date, Created Date, Updated Date, Account ID, Event Count, Creator First Name, Creator Last Name, Account Name
Items Per Page selection
You can now choose to view more items per page in the Incident view. While the default is 20, you can select 20, 40, 60, 80, or 100 items per page.
This can reduce time spent when reviewing particular types of incidents without having to switch pages. Items per page combined with the improved search options will decrease the amount of time spent managing incidents.


