Managing incident suppression
The RocketCyber platform collects millions of events from various sources daily, which are then analyzed by the Security Operations Center (SOC). When an event appears suspicious or malicious, it may be escalated to an incident. However, some incidents can be considered acceptable risks, such as during a maintenance window or specific system changes, where executed commands may look suspicious. This is where Incident suppression comes into play.
After reading this article, you will be able to answer the following questions:
-
What is Incident suppression?
-
Is Incident suppression the same as allowlisting?
-
How do I suppress an incident?
-
What is the scope of incident suppression?
-
How can Incident suppression rules be configured to run for a specified duration?
-
How do I manage Incident suppression rules?
What is Incident suppression?
Incident suppression is a feature that allows users to silence notifications for specific incidents based on defined criteria and an optional duration. For instance, if an Office 365 user logs in from an unusual country while on vacation, it typically triggers an incident. With Incident suppression, you can create a rule for that user and country, specifying a duration for notifications to be paused. The incident will still be recorded but marked as suppressed. Notifications will resume after the set duration expires.
Is Incident suppression the same as allowlisting?
No, they differ. Allowlisting prevents events from being generated and thus stops incidents from being created, which can inadvertently block critical detection events for SOC analysts if configured incorrectly.
How do I suppress an incident?
To suppress an incident, please follow these steps:
-
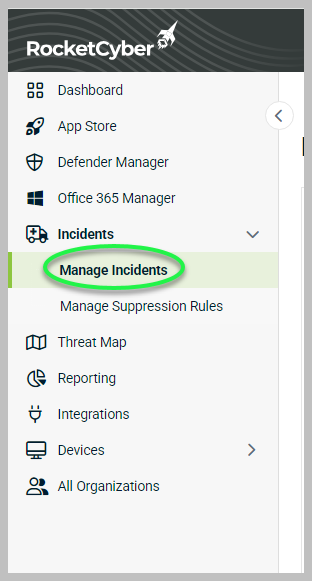
Click Manage Incidents located under the Incidents section in the side navigation menu.
2. In the row of the incident you wish to suppress, click View Details.

3. Click Suppress.
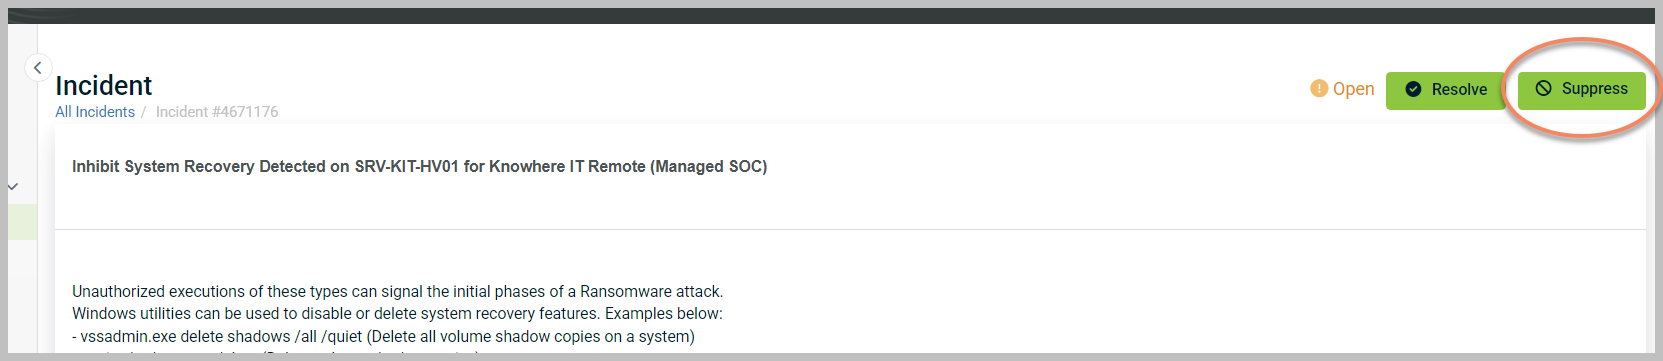
4. Clicking Suppress will direct you to the Create Suppression page.
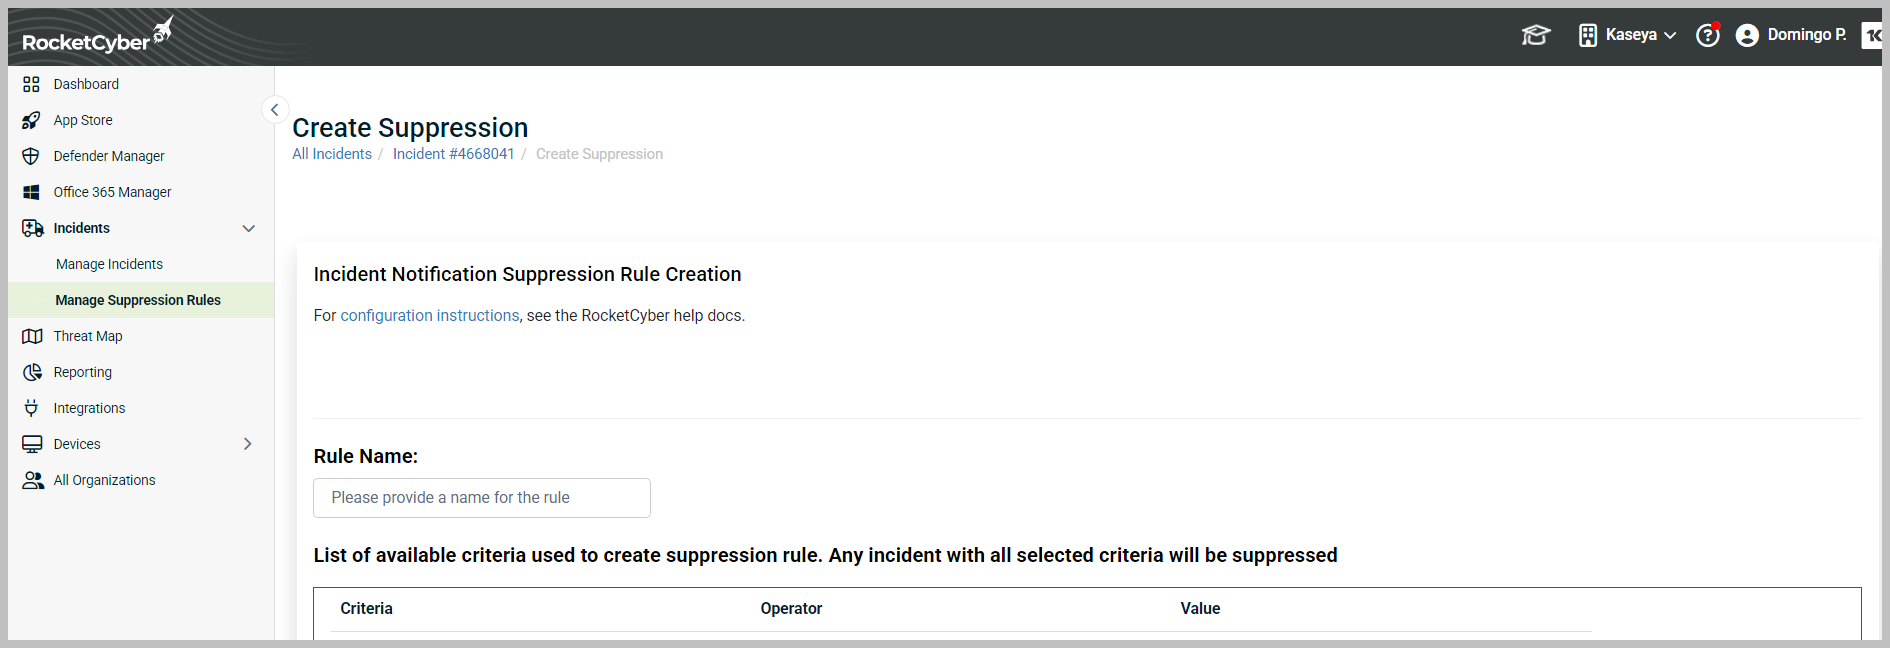
5. In this page, you'll find several attributes from the incident available for suppression, along with a Rule Name field where you can specify a descriptive name for the suppression rule. Additionally, you can set a duration for the Incident suppression Rule further down the page.
6. Begin by entering a name for the suppression rule in the Rule Name field. For this example, enter External Country User.
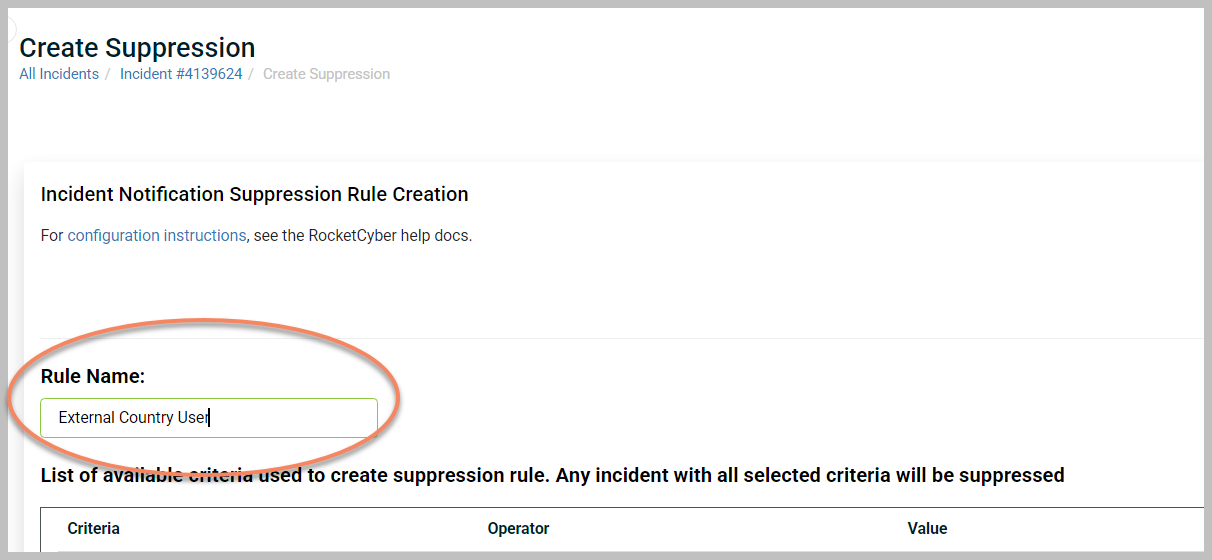
NOTE New suppression rules cannot have the same Rule Name as an existing active suppression rule.
7. Choose the criteria that you want the rule to evaluate from the available options. In this scenario, the user connects from a known IP address, so we will use the IP Address attribute to specify that IP address. This field should already be pre-populated with the IP address that generated the incident.

8. Determine the type of comparison operator the Incident suppression rule will use for this criterion. For this example, we will select the equals operator to indicate that the rule should evaluate the specified IP address as an exact match.
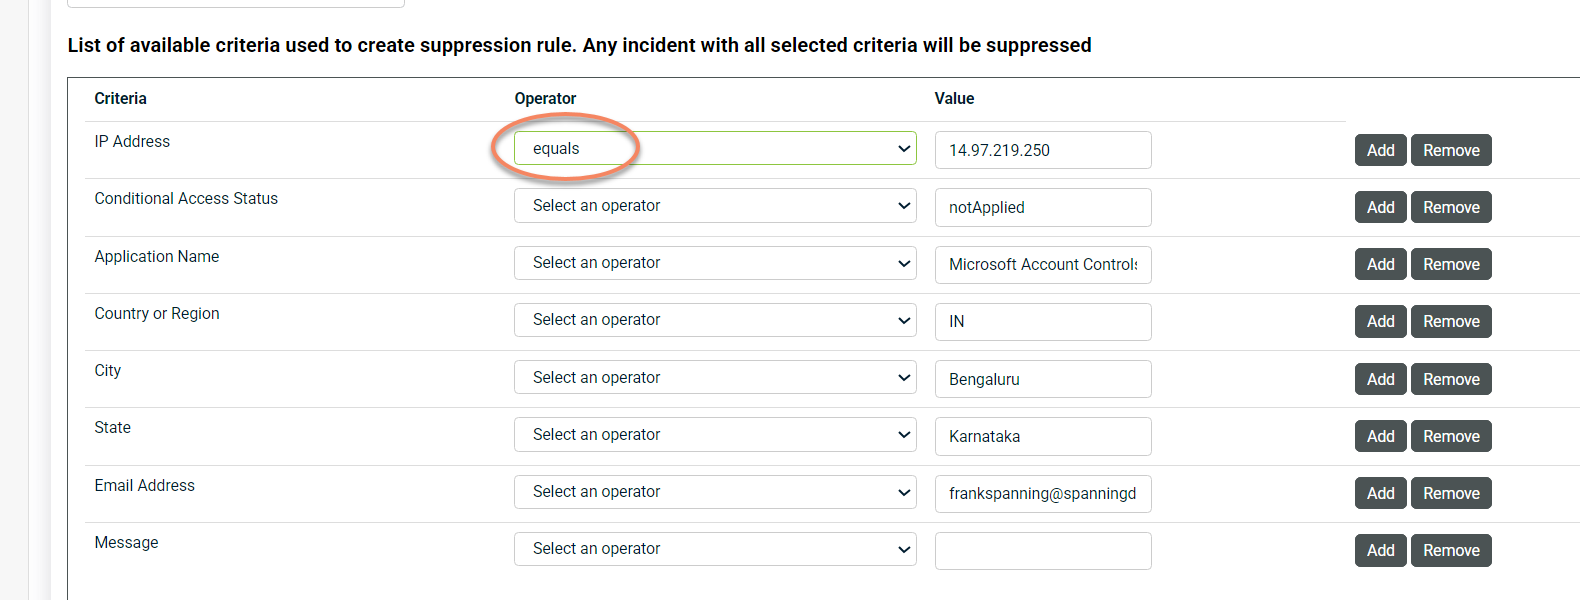
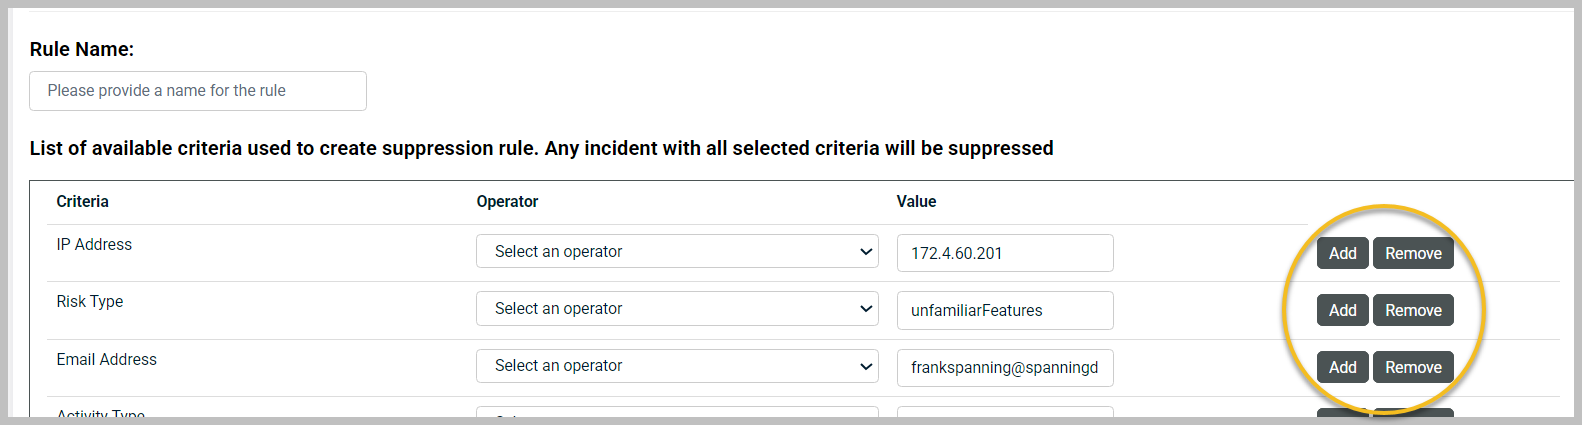
9. Once you have selected the criteria and the operator, click Add to incorporate the criteria to the rule. For any criteria you do not want to add to the rule, click Remove.
Suppression criteria reference
Incident suppression rules can only be created using the criteria available on the Create Suppression page for the incident you are suppressing. These criteria represent structured attributes associated with the incident.
The set of available criteria can vary depending on the incident type and the data source that generated the alert. Not all incident details are exposed as suppression criteria.
If a specific detail shown in an incident does not appear as a selectable criterion, it cannot be used directly in a suppression rule. Suppression can only be applied using the criteria that are available for that incident type.
Available suppression criteria
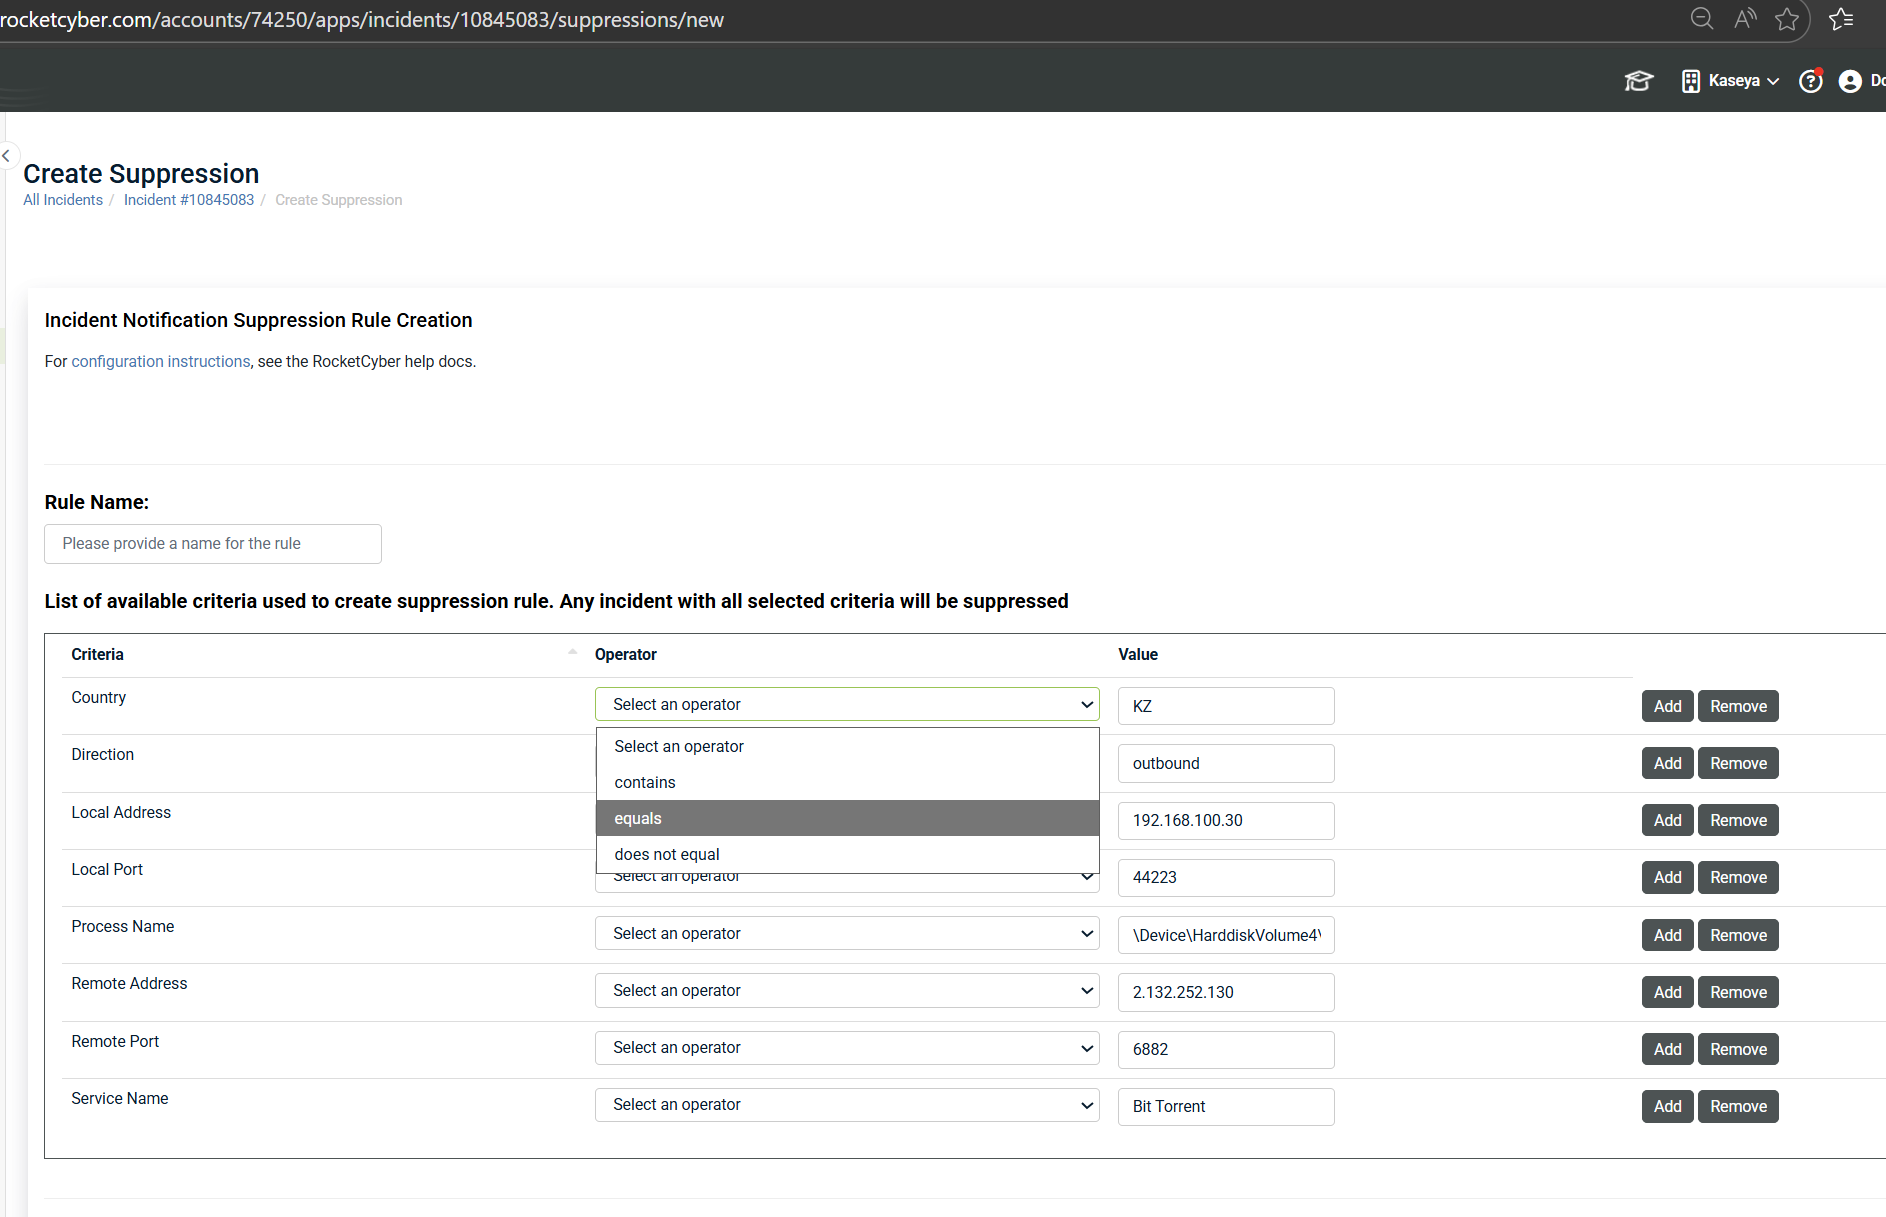
The following criteria may be available when creating an Incident suppression rule. The exact set of criteria can vary depending on the incident and the data source that generated it.
-
Country: The country associated with the activity, typically derived from network information
-
Direction: The direction of the activity, such as inbound or outbound traffic
-
Local Address: The local or internal IP address involved in the incident
-
Local Port: The local or internal port involved in the activity
-
Process Name: The process name or path associated with the activity, when available
-
Remote Address: The remote or external IP address involved in the incident
-
Remote Port: The remote or external port involved in the activity
-
Service Name: The service associated with the activity, when available
Each criterion can be configured using:
-
A comparison operator (such as contains, equals, or does not equal)
-
A value to match against
-
Add or Remove actions to include or exclude the criterion from the rule
How matching works
On the Create Suppression page, you select one or more criteria from the available options and add them to the rule. The suppression rule is evaluated based on the criteria you include.
The Create Suppression page indicates that incidents are suppressed only when they meet the criteria defined in the rule. Adding more criteria narrows the scope of incidents the rule applies to.
Important limitation
Suppression rules can only use the criteria available for the specific incident type you are suppressing. If a desired incident detail does not appear as a selectable criterion, it cannot be targeted directly by a suppression rule.
What is the scope of incident suppression?
Incident Suppression can be applied at various levels within an account. By default, when you create an Incident Suppression, it is scoped to your current context, which may be at the provider or organization level.
If you are at the provider level, you also have the option to target specific accounts for Incident Suppression to apply to.
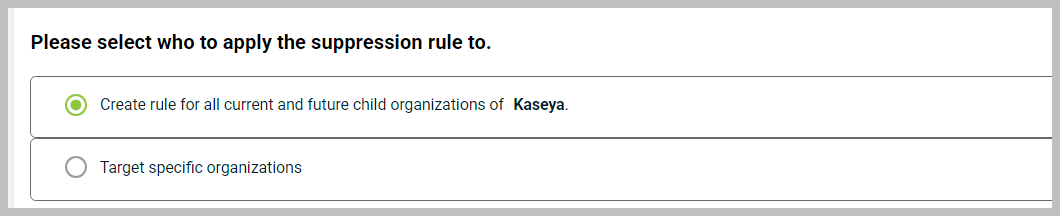
When selecting Target specific organizations, you will see the following options:
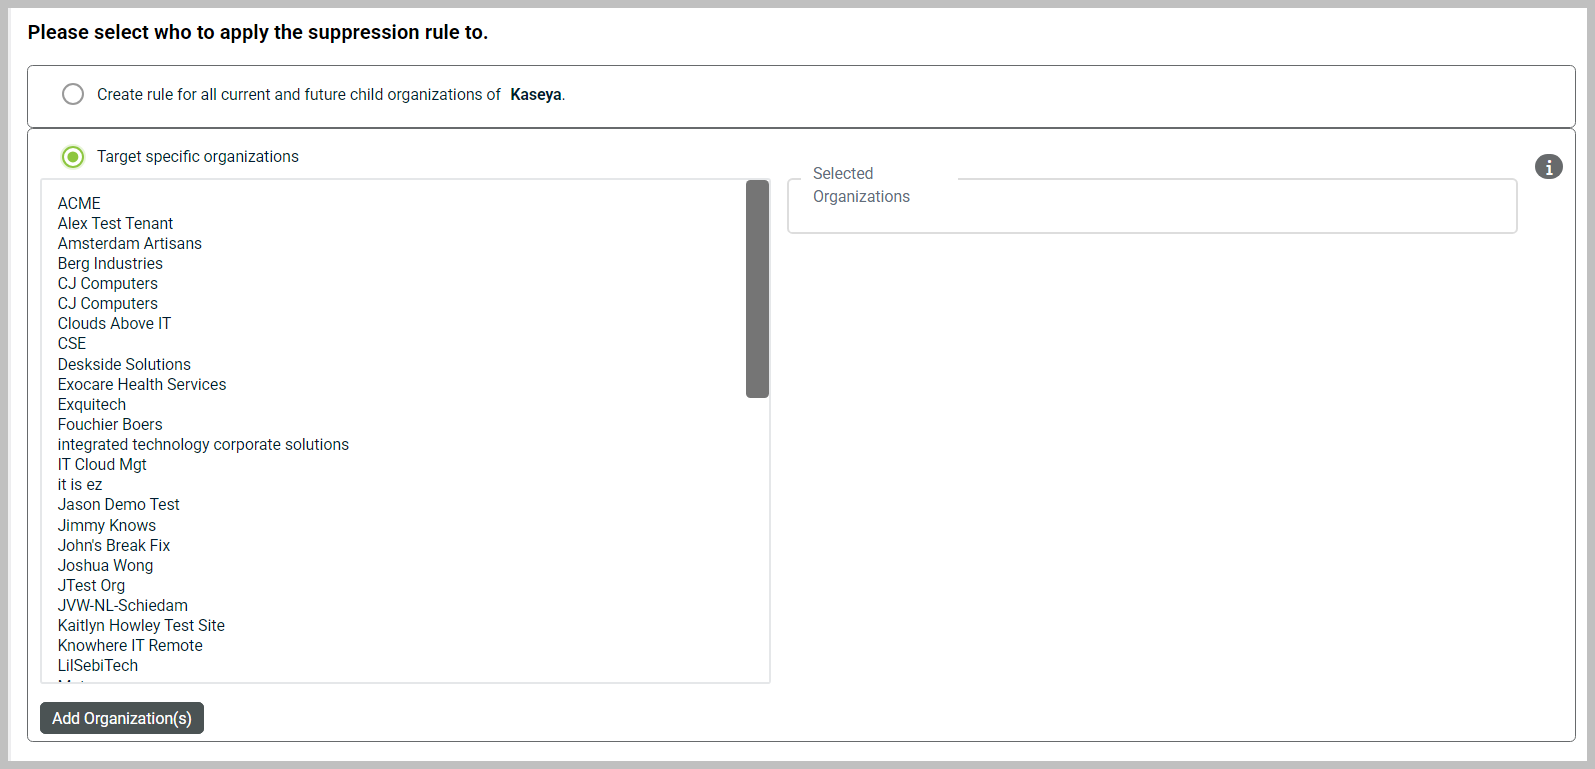
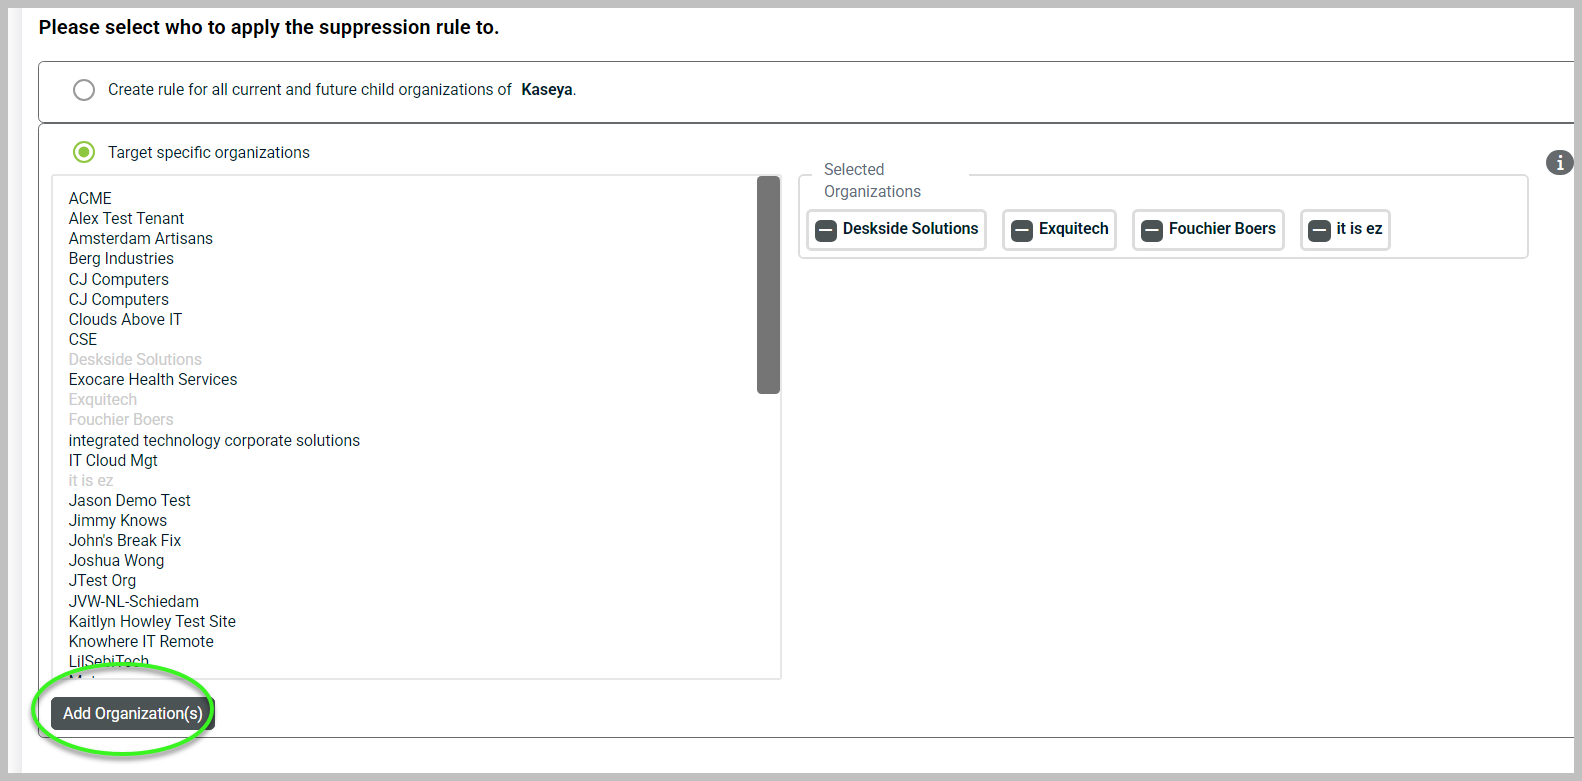
On this screen, you can choose the organizations you want to target. After making your selections, click Add Organization(s) to include them in the Selected Organizations list.
How can Incident suppression rules be configured to run for a specified duration?
Incident suppression rules can be configured to run for a specified duration. During this time, you will not receive notifications about incidents that meet the criteria set in the rule. Notifications will resume as usual once the duration has elapsed.
Setting a duration for incident suppression is particularly useful during maintenance windows or for users who are traveling. To configure this, follow these steps:
1. Click the drop-down menu and select an appropriate interval.
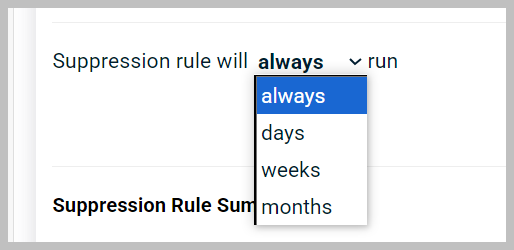
2. After selecting the interval, you can enter the corresponding duration.
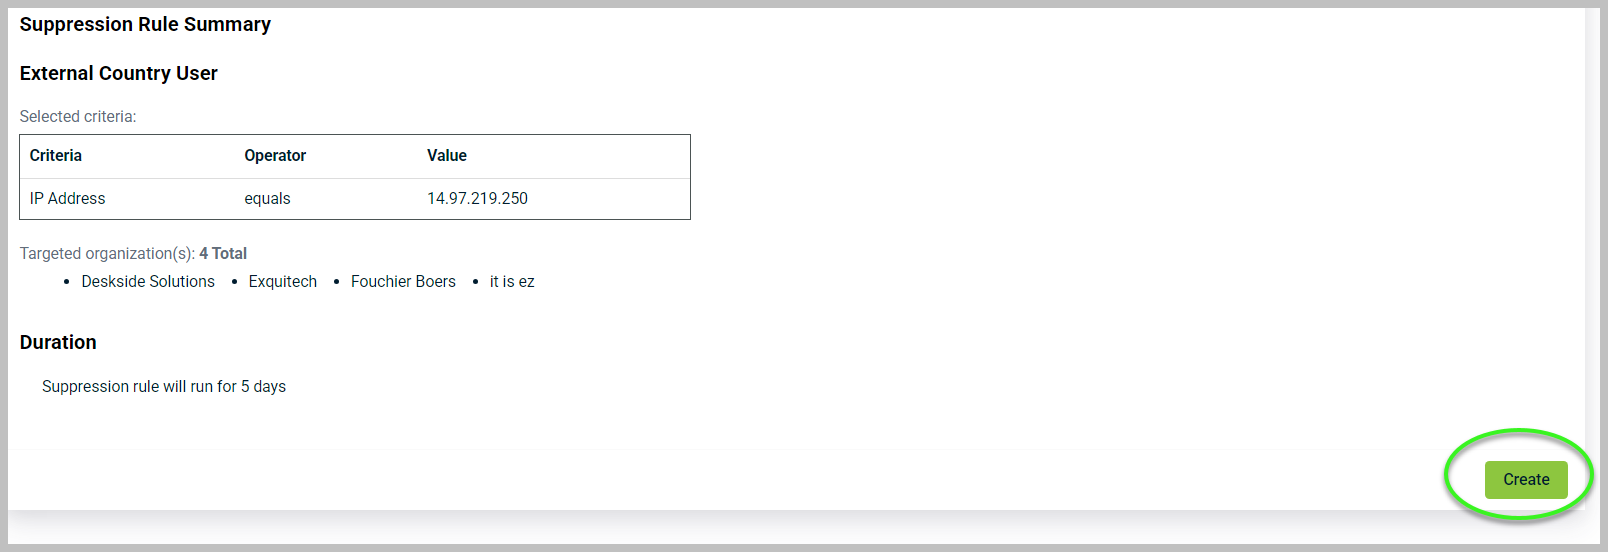
3. A summary of the Incident suppression settings will be displayed at the bottom of the page.

4. To save the Incident suppression rule, click Create.
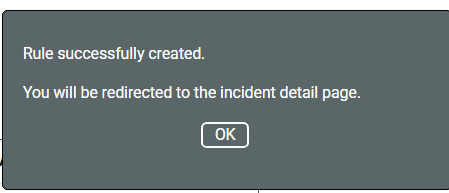
5. A pop-up message will appear to confirm that your rule has been successfully created. Click OK.
NOTE After saving the Incident suppression rule, you must update any matching incidents to a Resolved status. If the incidents remain unresolved, the suppression rule will not take effect.
How do I manage incident suppression rules?
To manage incident suppression rules, follow these steps:
1. From the side navigation menu, click Incidents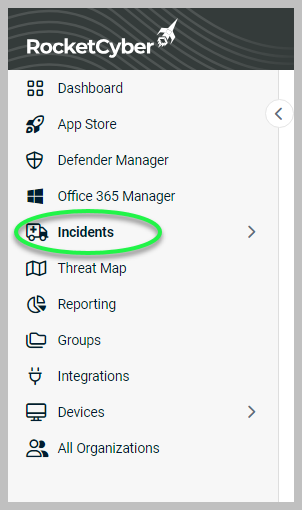
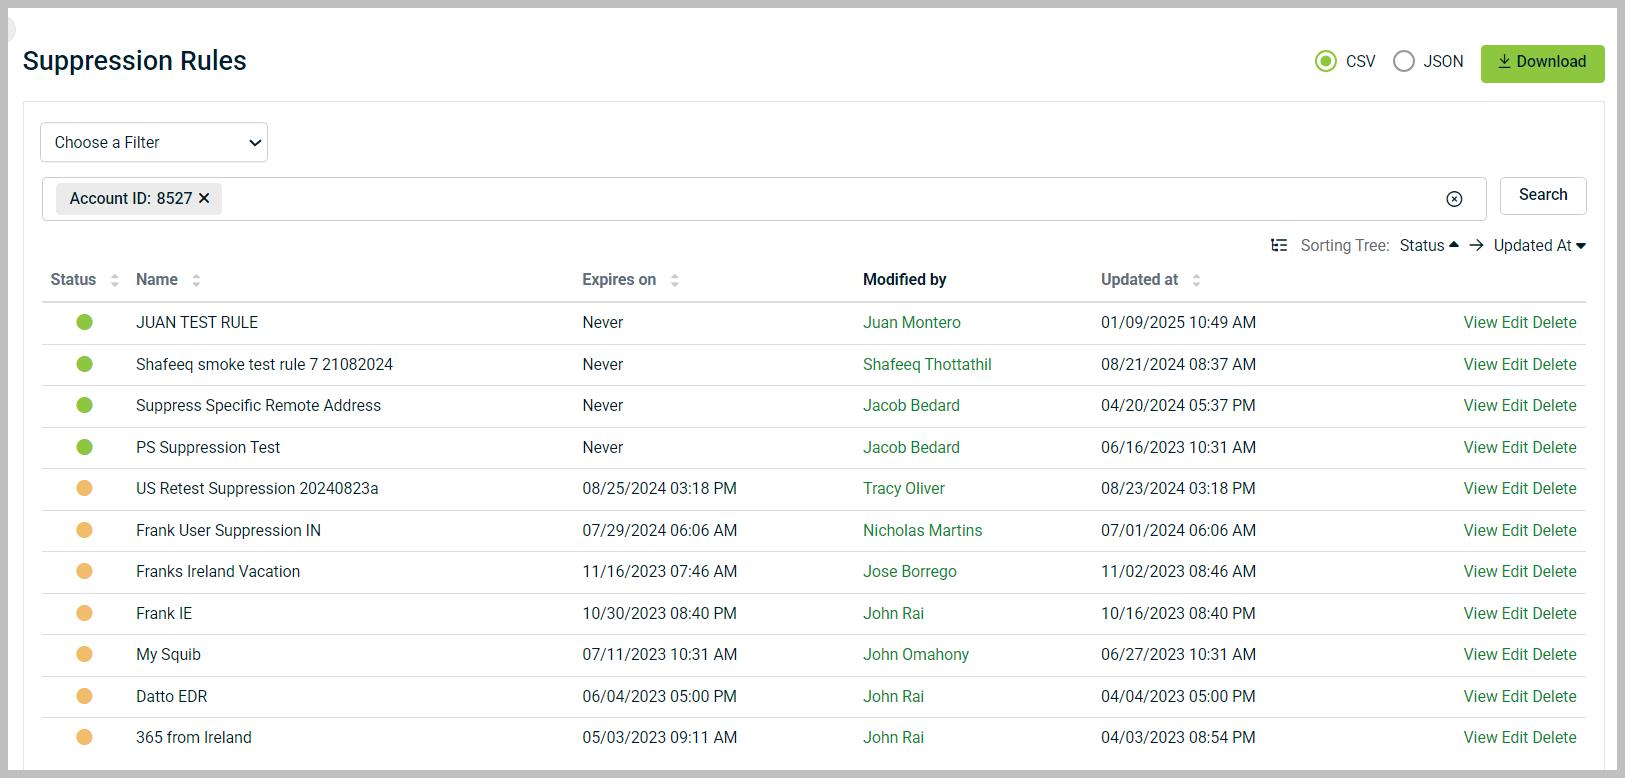
2. Select Manage Suppression Rules.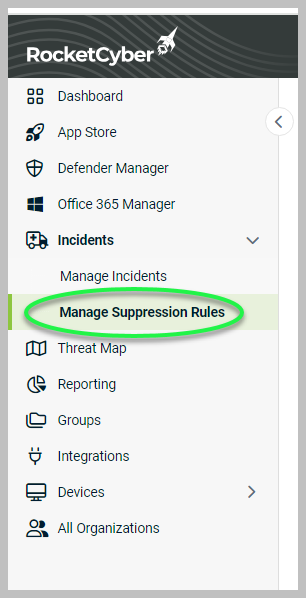
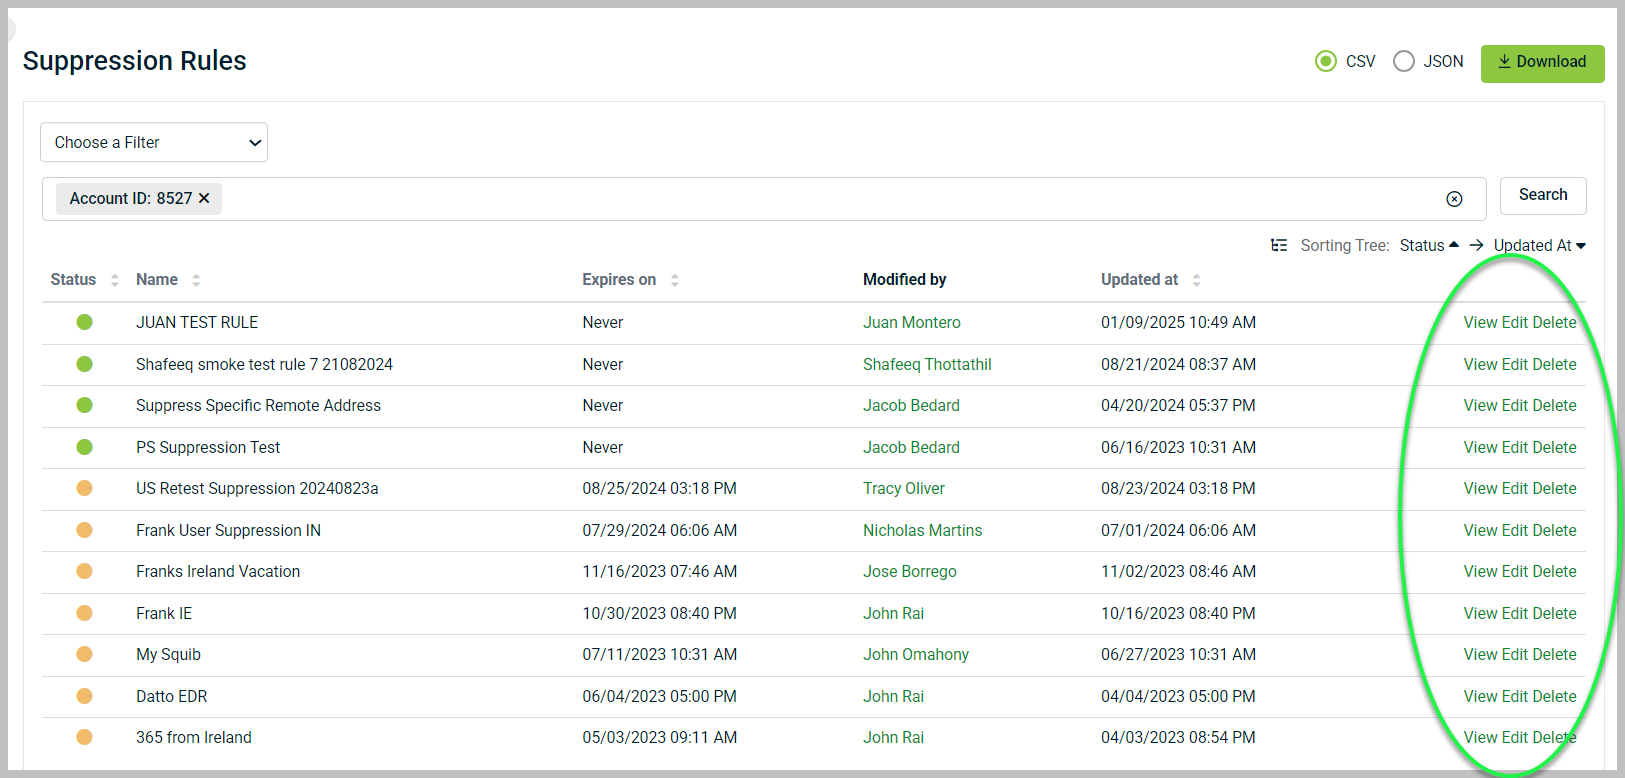
3. On the Suppression Rules page, you will find a list of all suppression rules. The Status column indicates which rules are currently active or expired, when or if they expire, the user that created or modified the rule, and the date and time of the last update.
4. Click View to see the details of a specified Incident suppression rule. You can click Edit to modify the rule or Delete to remove it.