Configuring Autotask
Overview
This article explains how to configure Autotask to import organizations and automatically create tickets from RocketCyber. It also covers best practices for maintaining integration integrity.
Prerequisites
Before starting, ensure you have:
-
Autotask API credentials (for guidance, refer to Creating an API User in Autotask).
-
RocketCyber agent installed with Firewall Analyzer app enabled.
-
Access to Autotask Admin settings.
Step 1: Create Autotask integration
1. Navigate to the Integrations tab in the side navigation menu.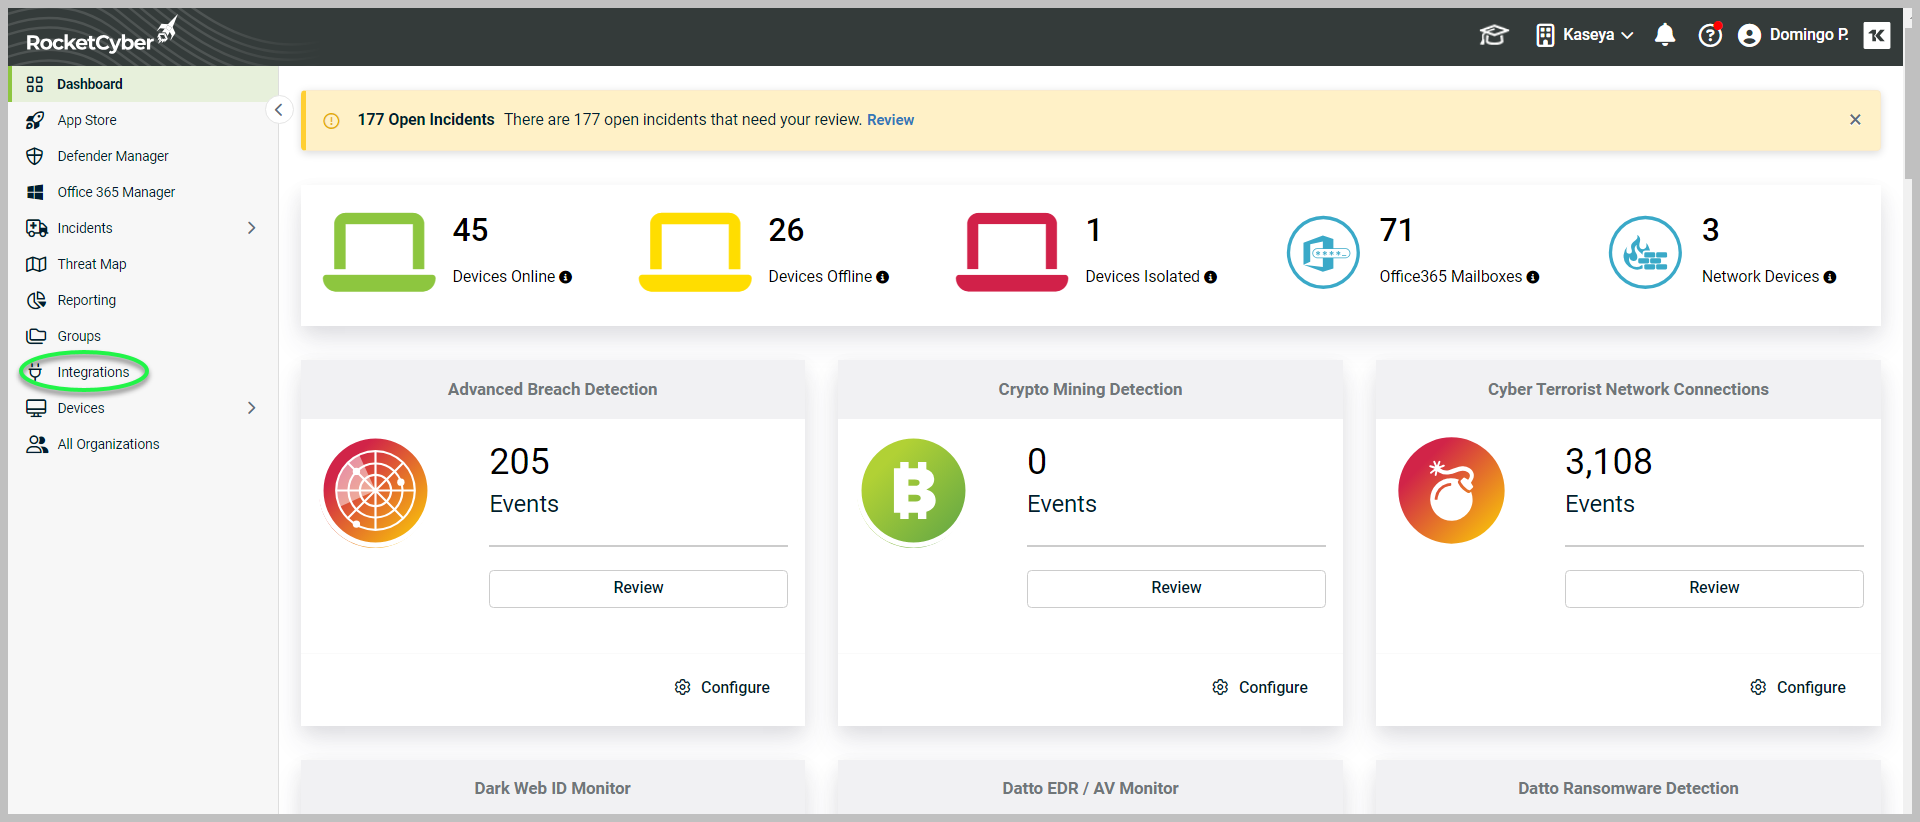
2. In the PSA tab under the Datto (Autotask) section, enter your Datto API User Username and Datto API Secret.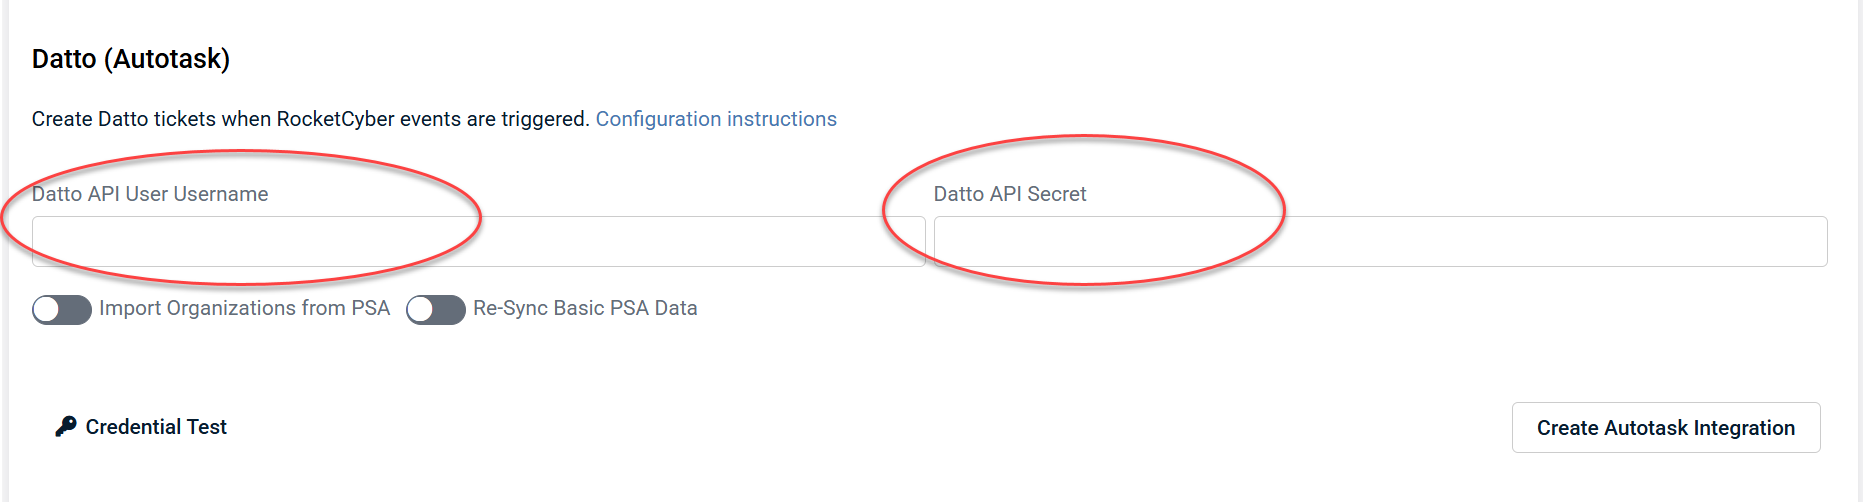
3. Click Create Autotask Integration.
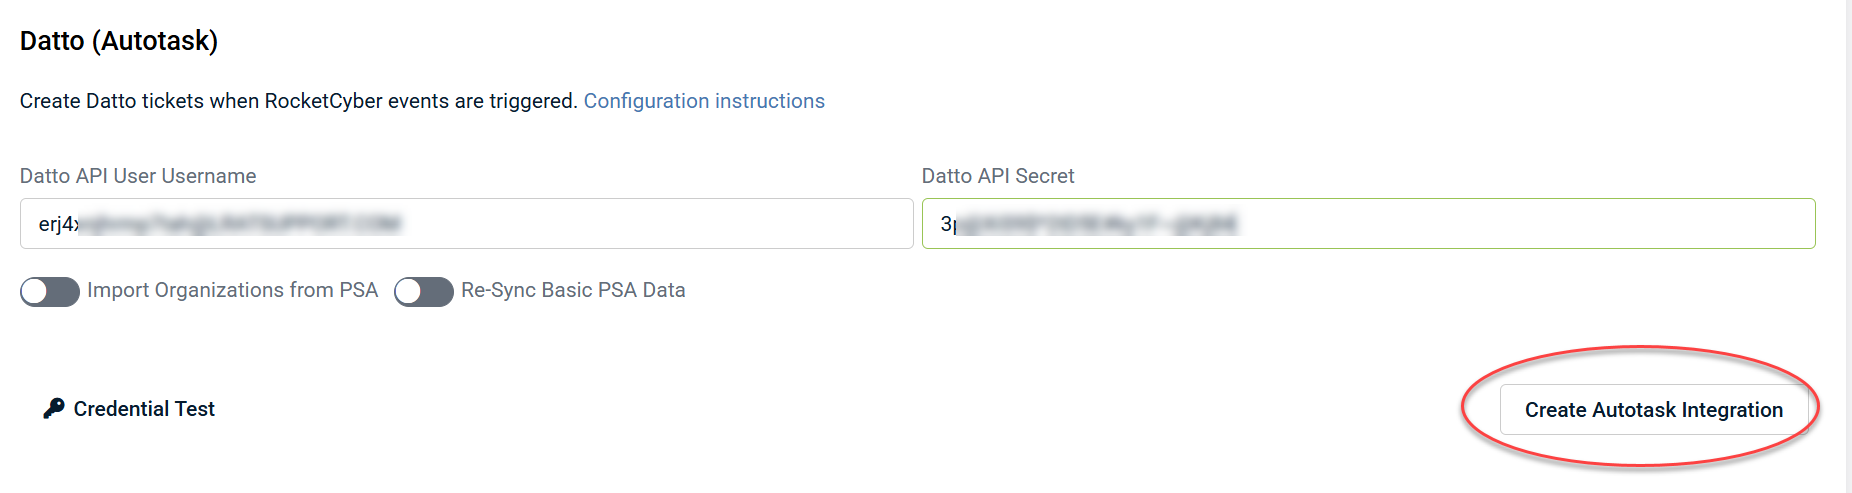
4. A confirmation message will appear in the lower-right corner.

IMPORTANT If there is a problem with your credentials, a pop-up error message will appear.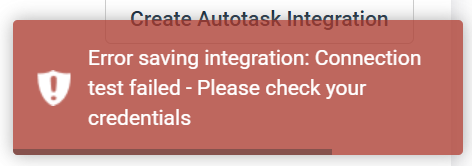 If you have double-checked that all information is entered correctly and still receive an error message, please submit a support ticket.
5. If your credentials are accepted, you will see a confirmation message.

Step 2: Configure ticket queue and status
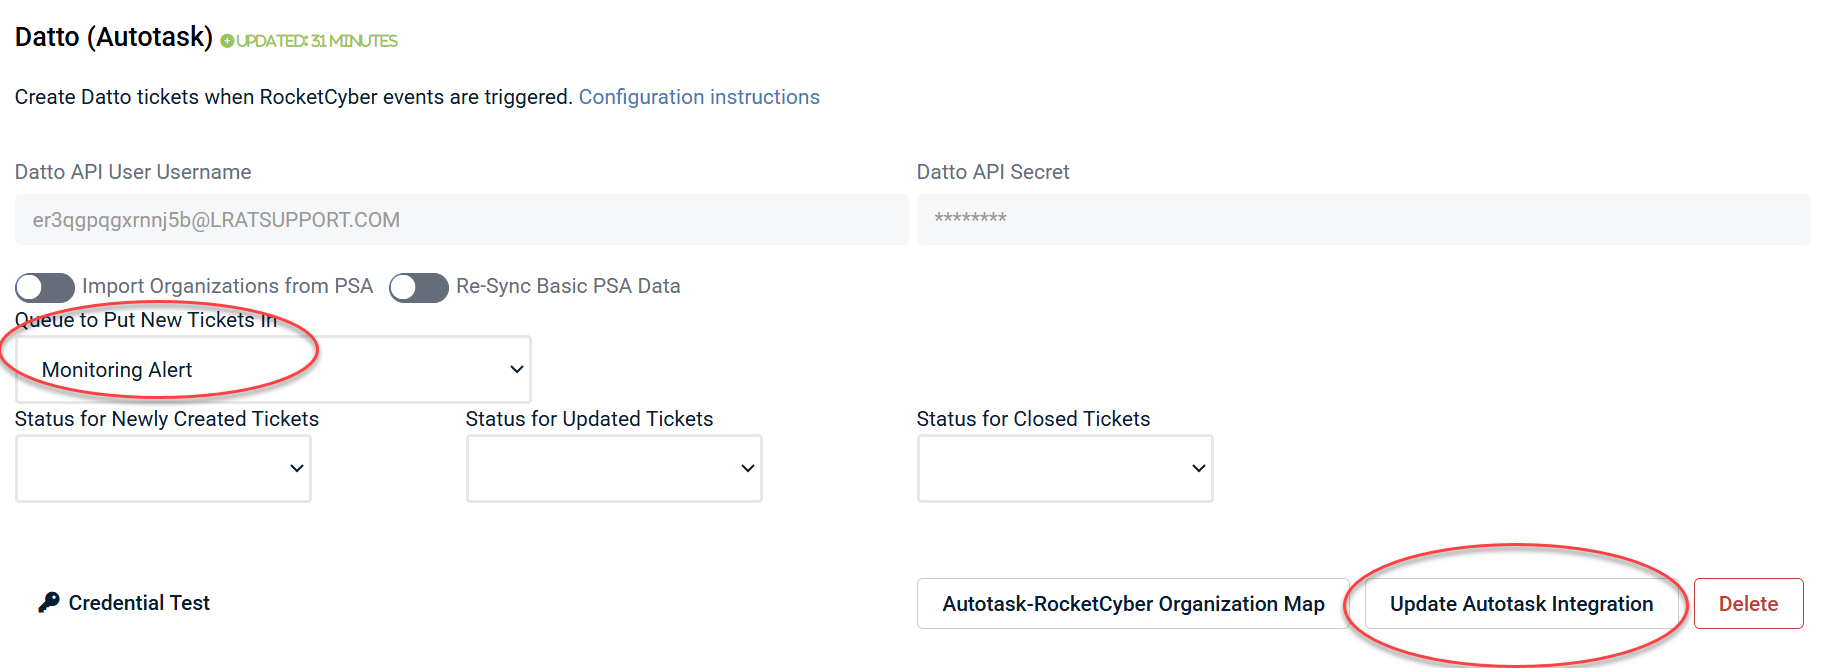
1. Select a queue from the Queue to Put New Tickets In drop-down menu.
2. Click Update Autotask Integration. New security tickets from RocketCyber will appear in the selected queue.
3. You will notice a message in the lower right corner indicating the update process is in progress.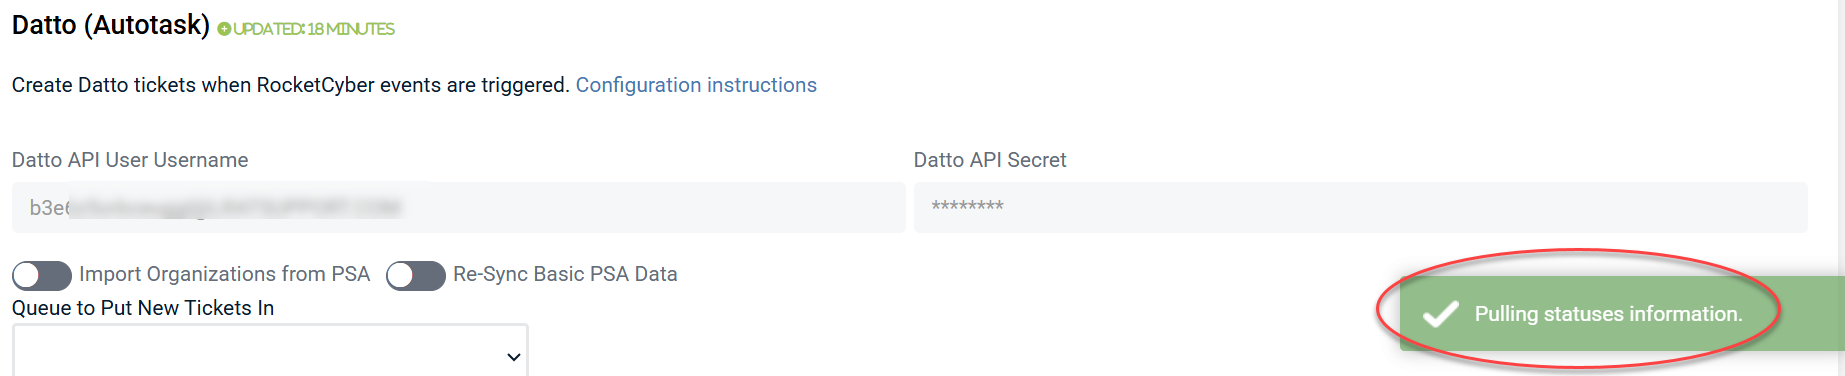
4. Once the update process is completed, you will see a confirmation message.

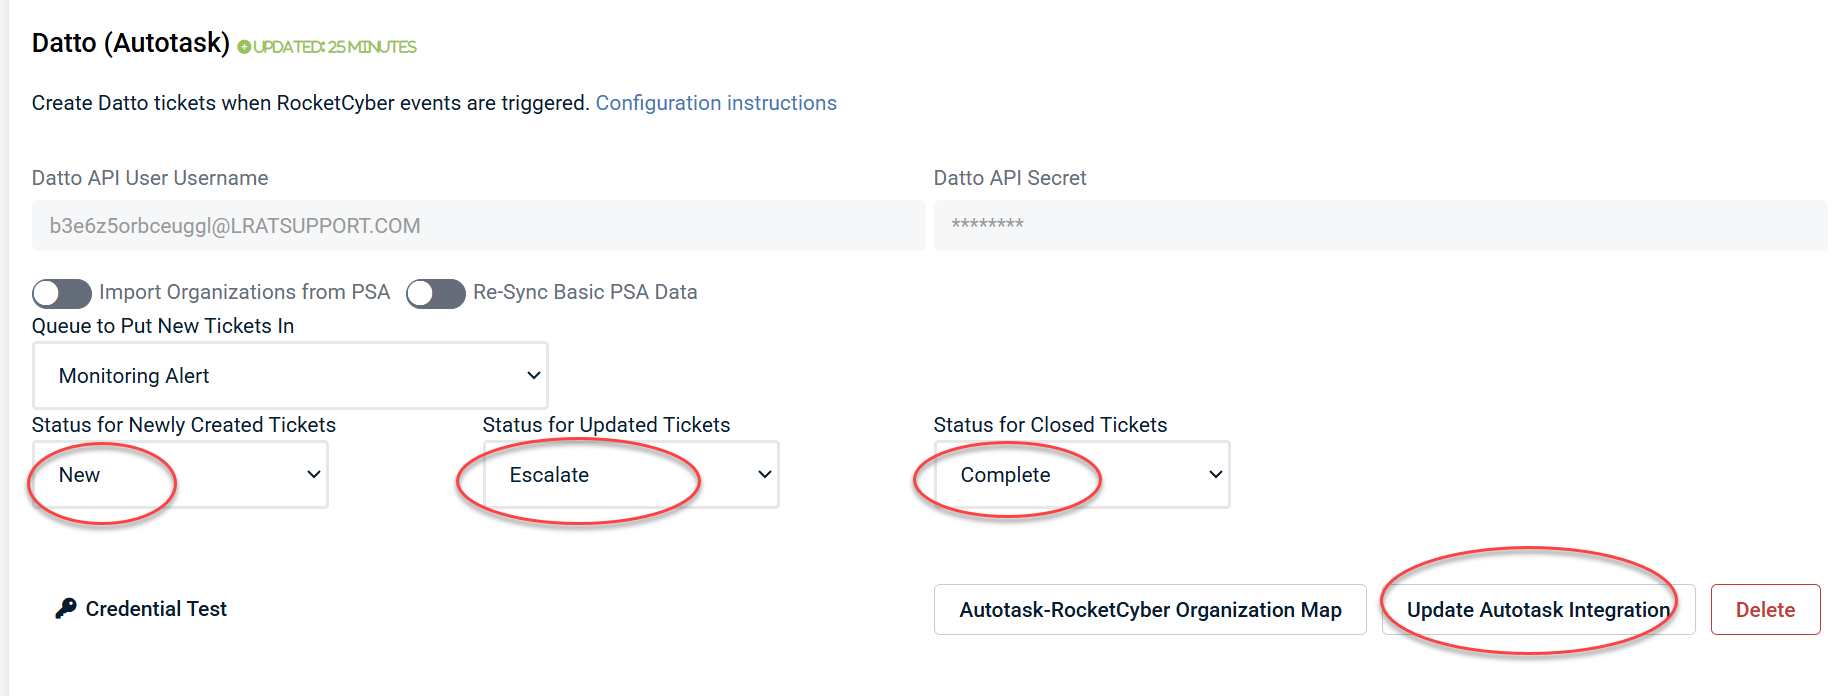
5. If the update is successful, the drop-down menus for Status of Newly Created Tickets, Status of Updated Tickets, and Status of Closed Tickets will show a list of possible statuses based on the selected board. You must select a status from the drop-down menus for both Status of Newly Created Tickets and Status of Closed Tickets. For the Status of Updated Tickets, selecting a status is optional. Once you have made your selections, click Update Autotask Integration.
Step 3: Map organizations
1. Autotask cannot create a service ticket unless it is associated with a specific company. Click Autotask-RocketCyber Organization Map.
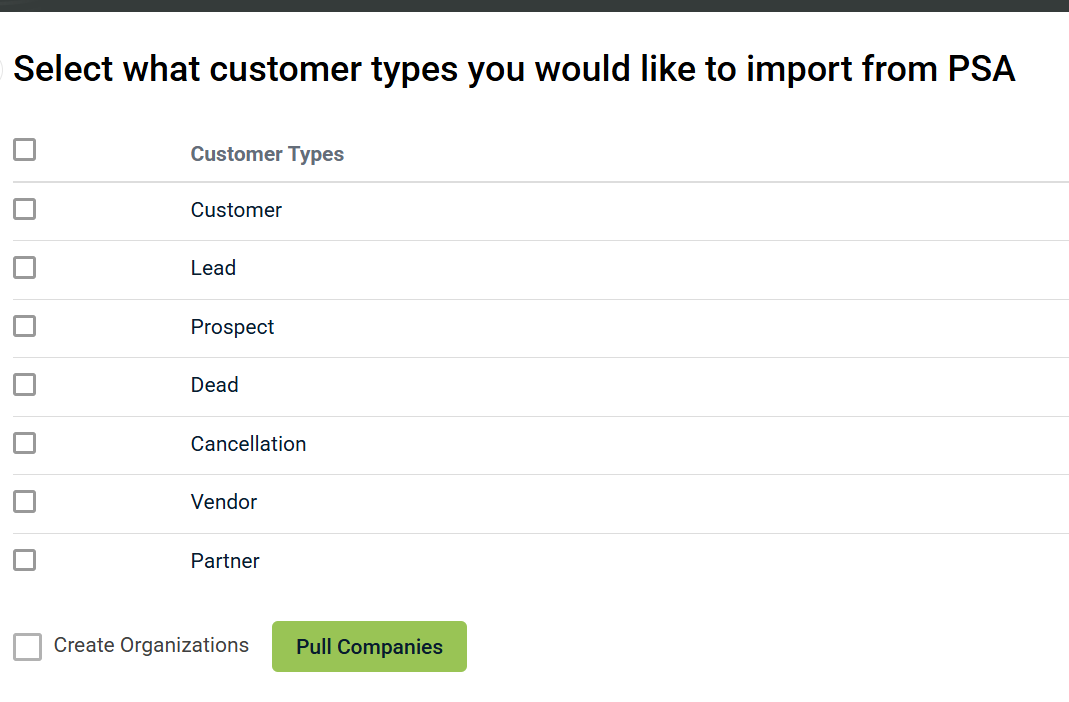
2. Select organization types and select Create Organizations.
3. Click Pull Companies. This will import a list of companies to choose which organizations to pull into RocketCyber.
4. Select which organizations to add and then click > to add to theSelected Companies list, select all and then click Create Companies. It is not necessary to select companies that were added manually into RocketCyber; this will create a duplicate. 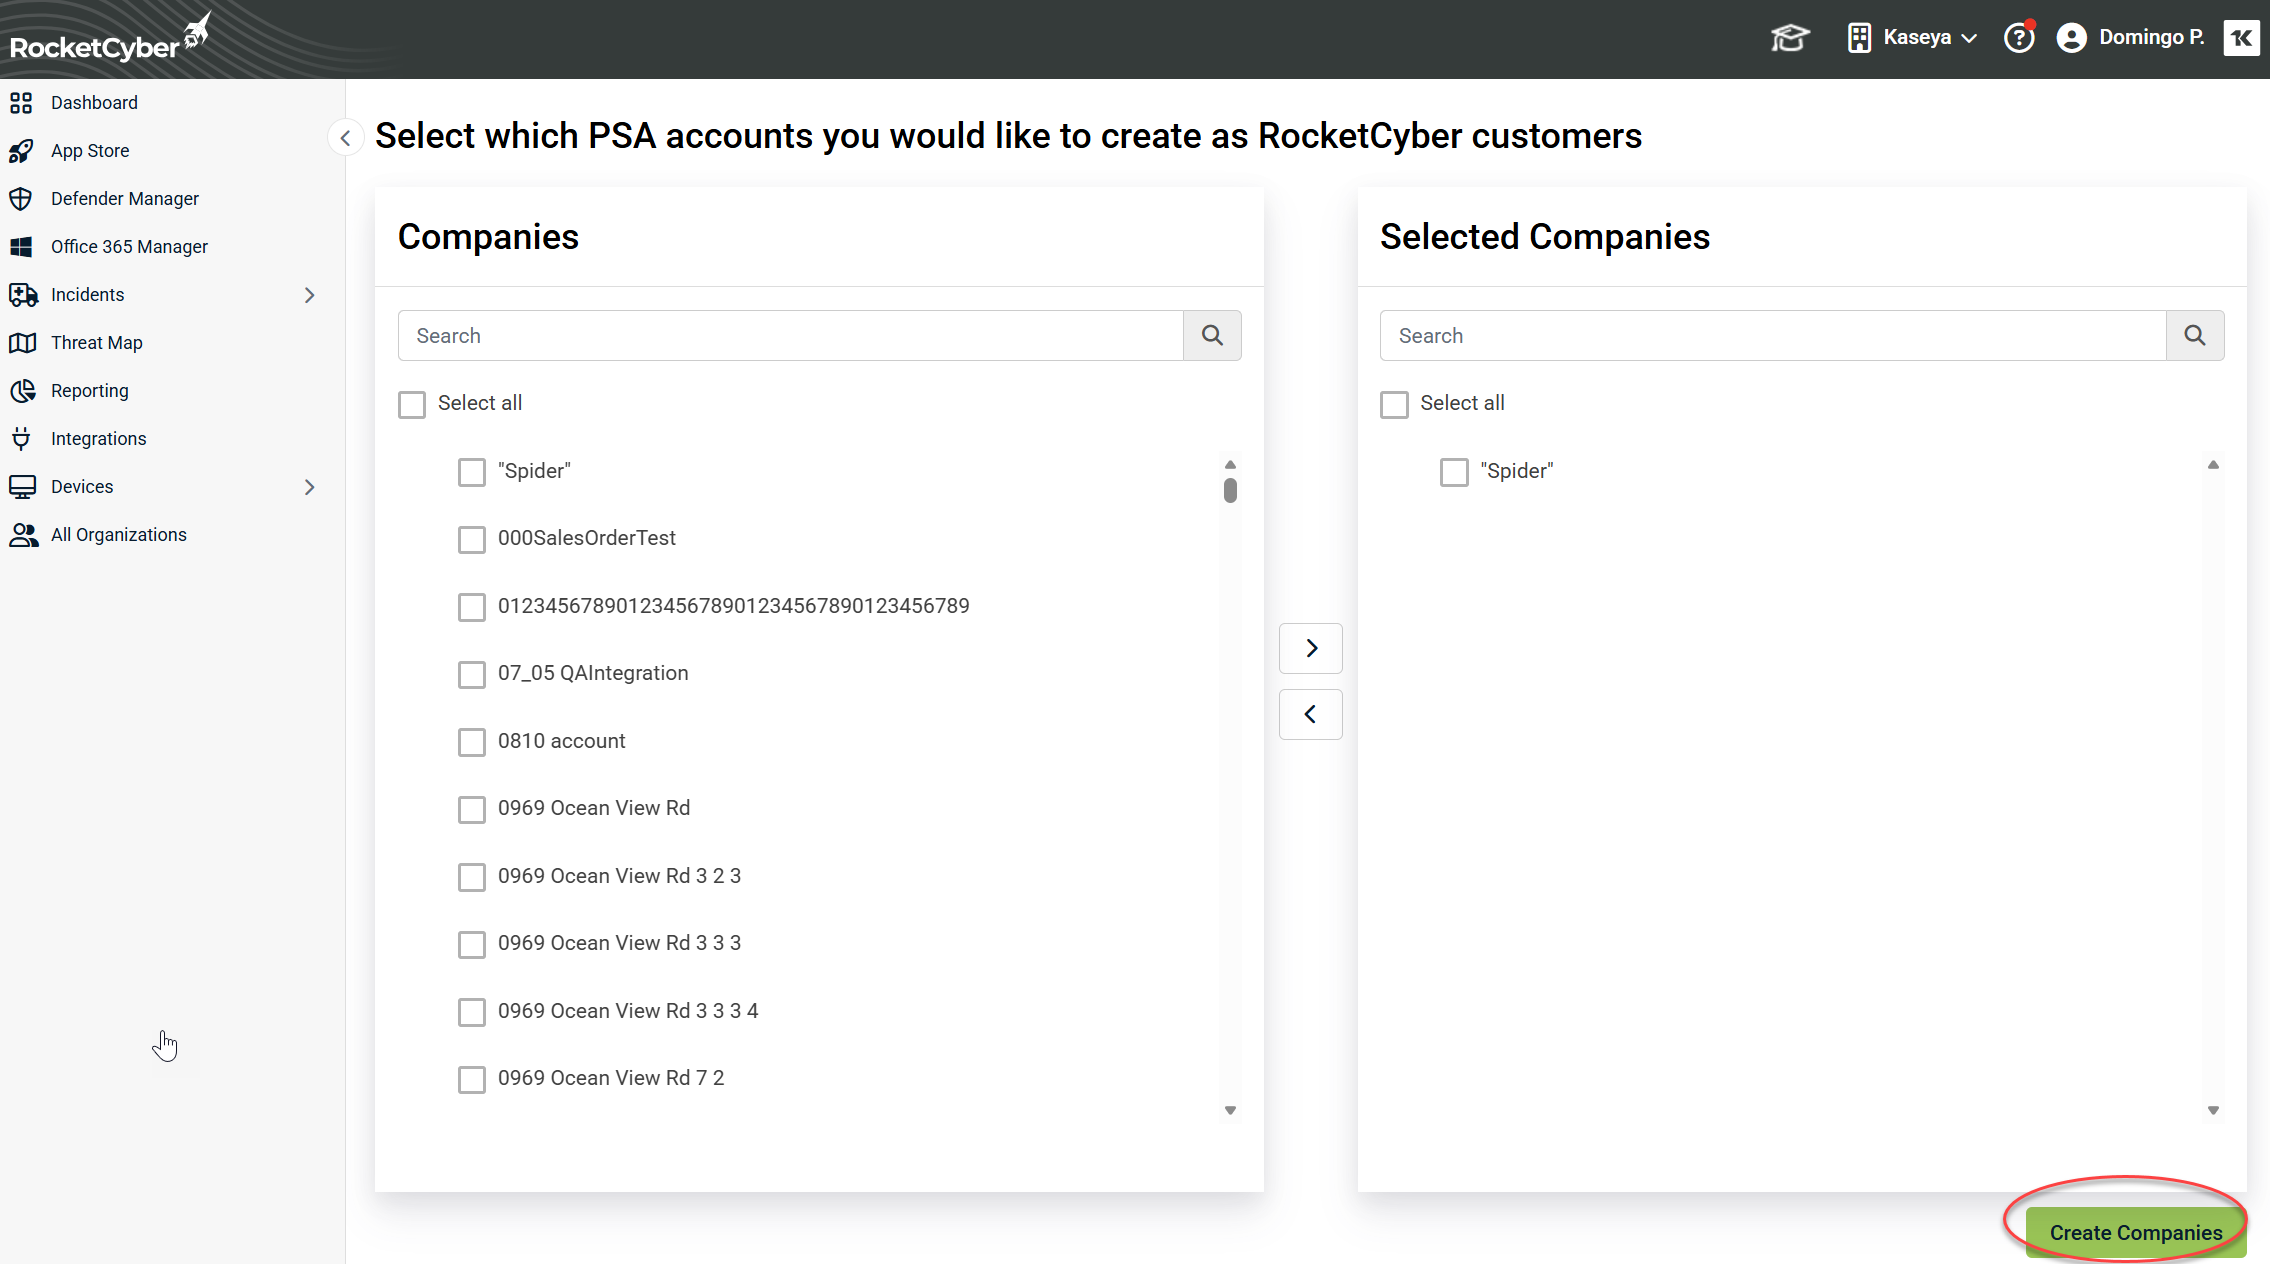
NOTE Do not select companies already added manually in RocketCyber to avoid duplicates.
5. Once completed, click Autotask-RocketCyber Organization Map to see the list of organizations. For organizations entered manually in RocketCyber, the mapping will be blank and will need to be selected in the PSA Account drop-down menu.
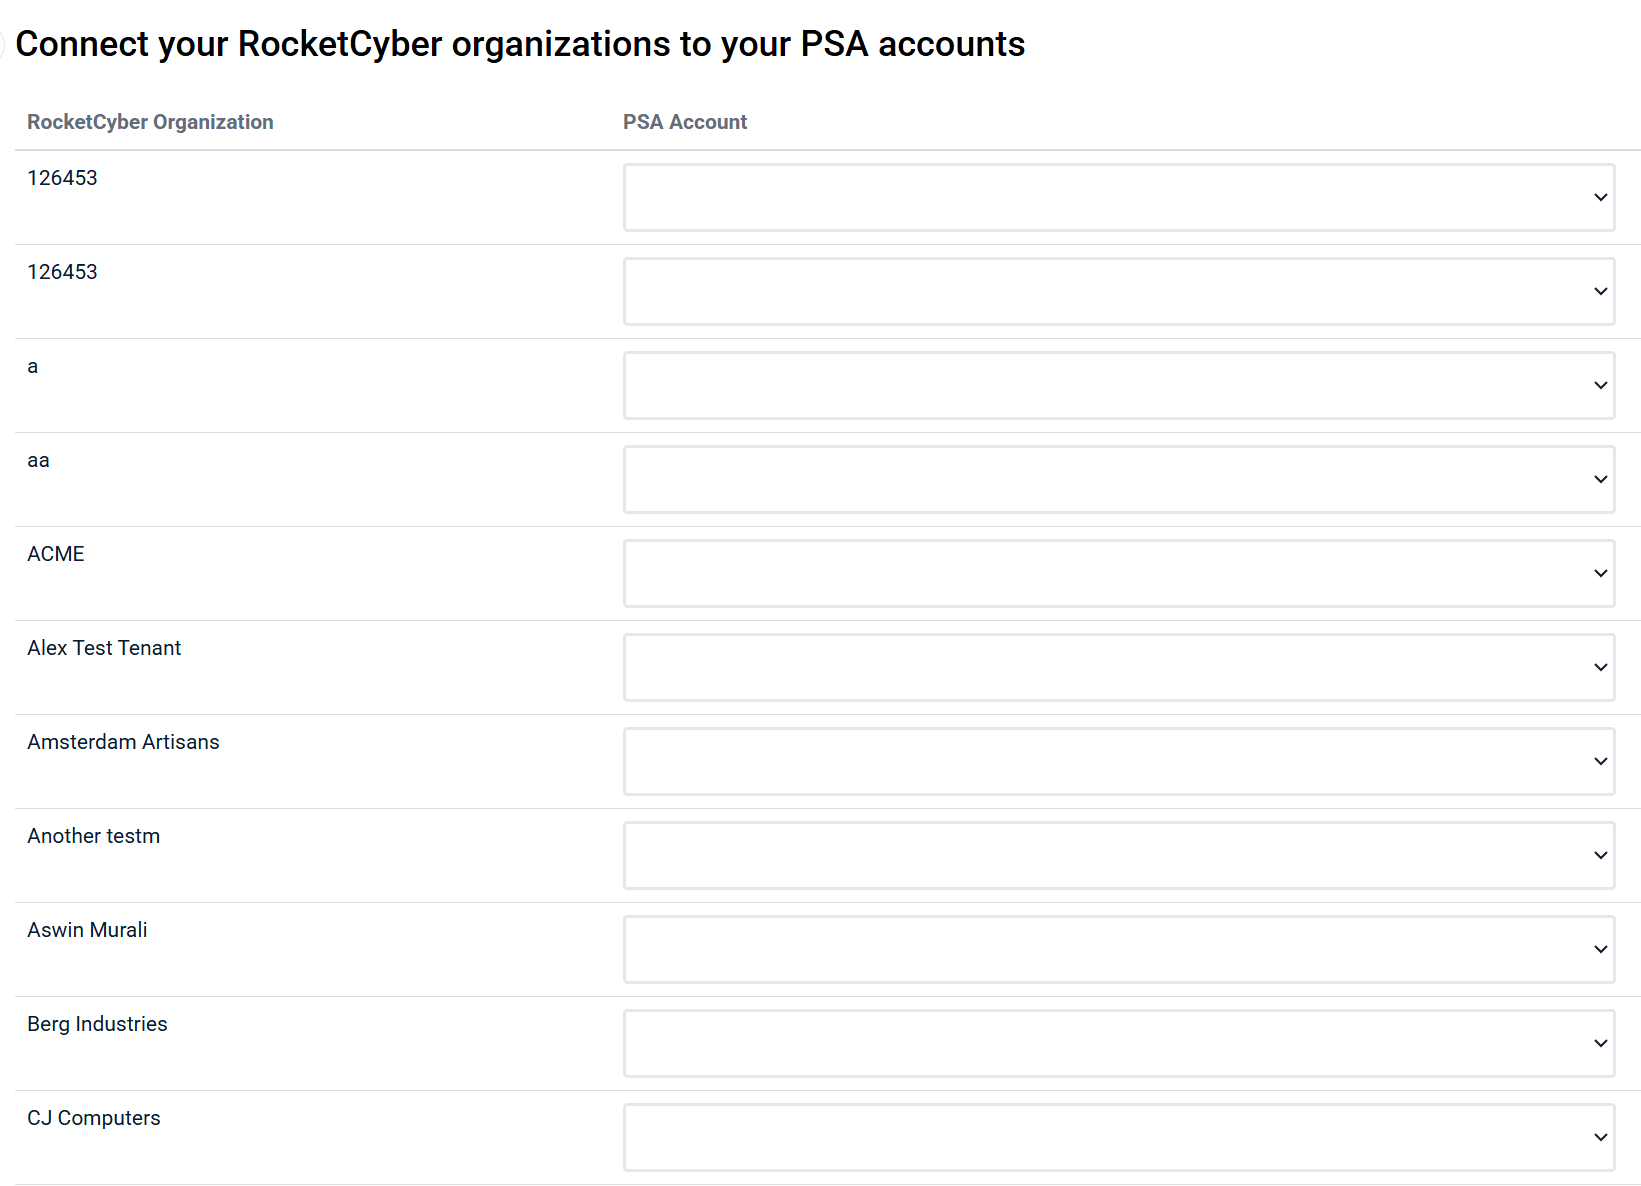
6. Click Save integration settings.

7. Once the organizations are mapped, you can configure the Status for Closed Tickets to enable two-way ticket sync. By default, the field is set to Complete, so any RocketCyber incident tickets marked as Complete in Autotask will automatically resolve the corresponding incident in RocketCyber. You can customize this field to use a different status if you'd like.

NOTE If you wish to refresh the board, queue, or organization type options, turn on Re-Sync Basic PSA Data and click Update Integration. You will see this message once the process is complete.
NOTE To import additional organization types for an existing integration, turn on both Import Organizations from PSA and Re-Sync Basic PSA Data, and then click Update Integration. 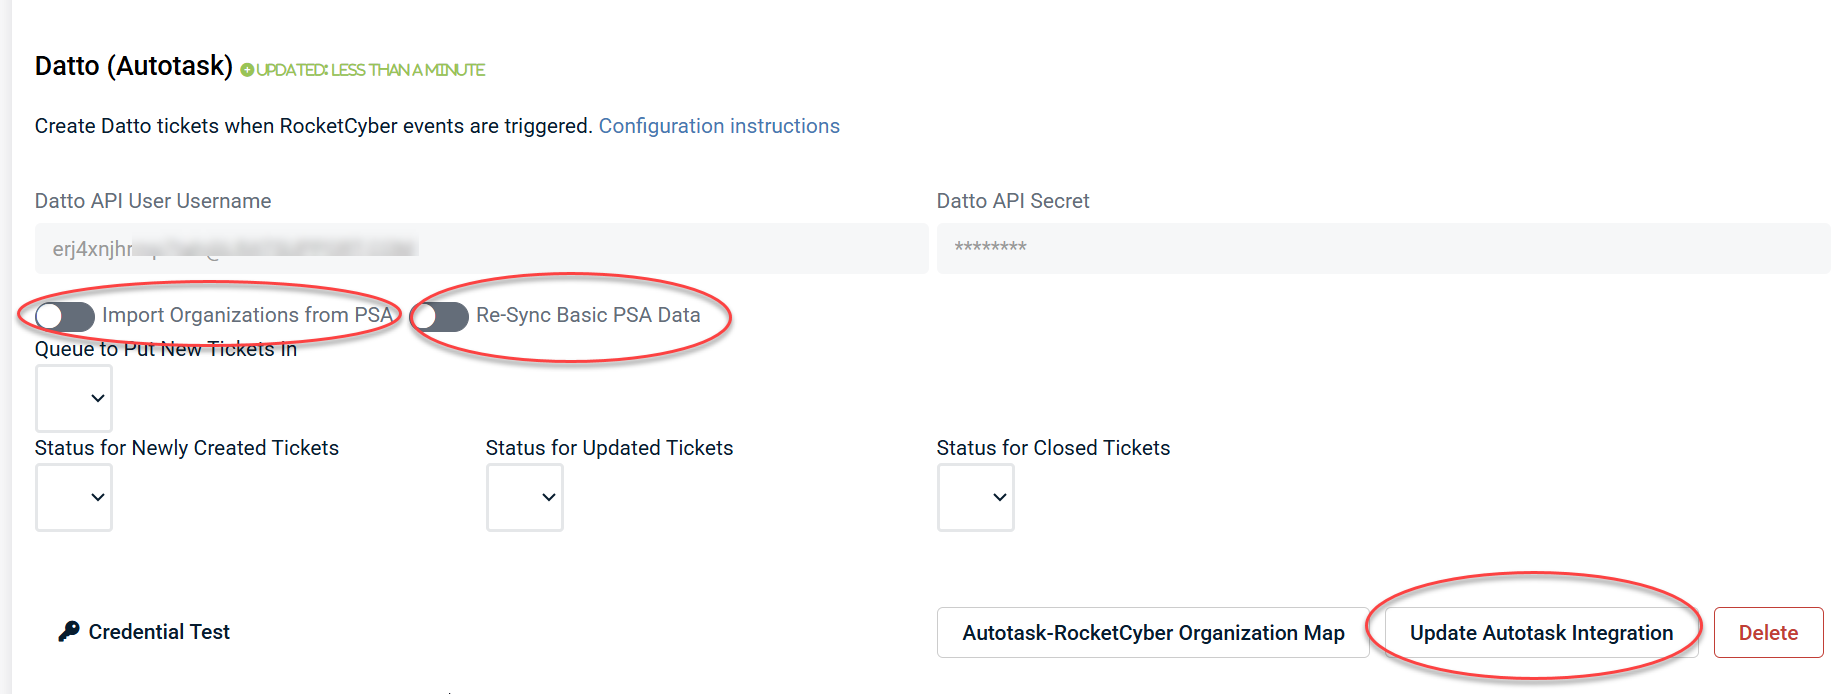
Step 4: Configure default Due Date and Due Time
Autotask requires default Due Date and Due Time for automatic ticket creation. If these are missing or not configured properly, RocketCyber cannot create tickets.
To verify and configure these settings, follow these steps:
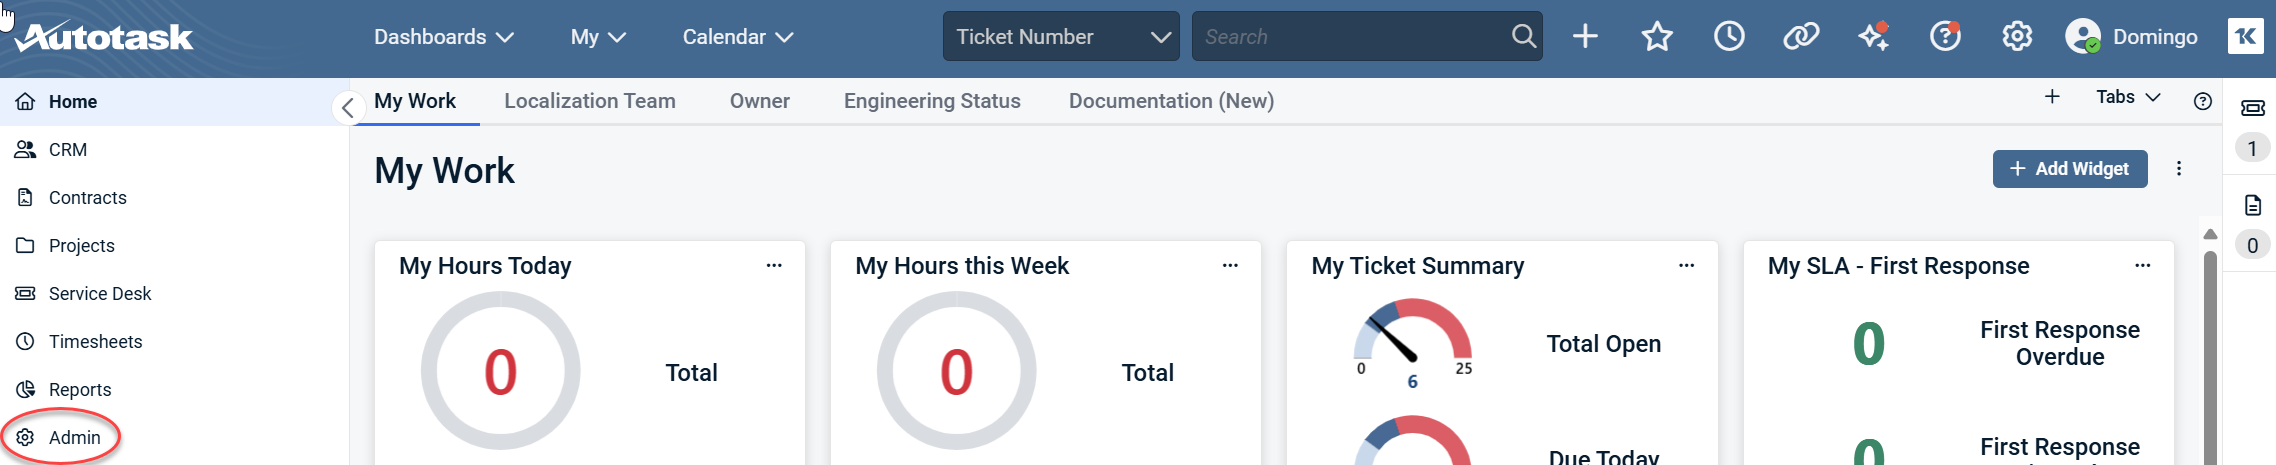
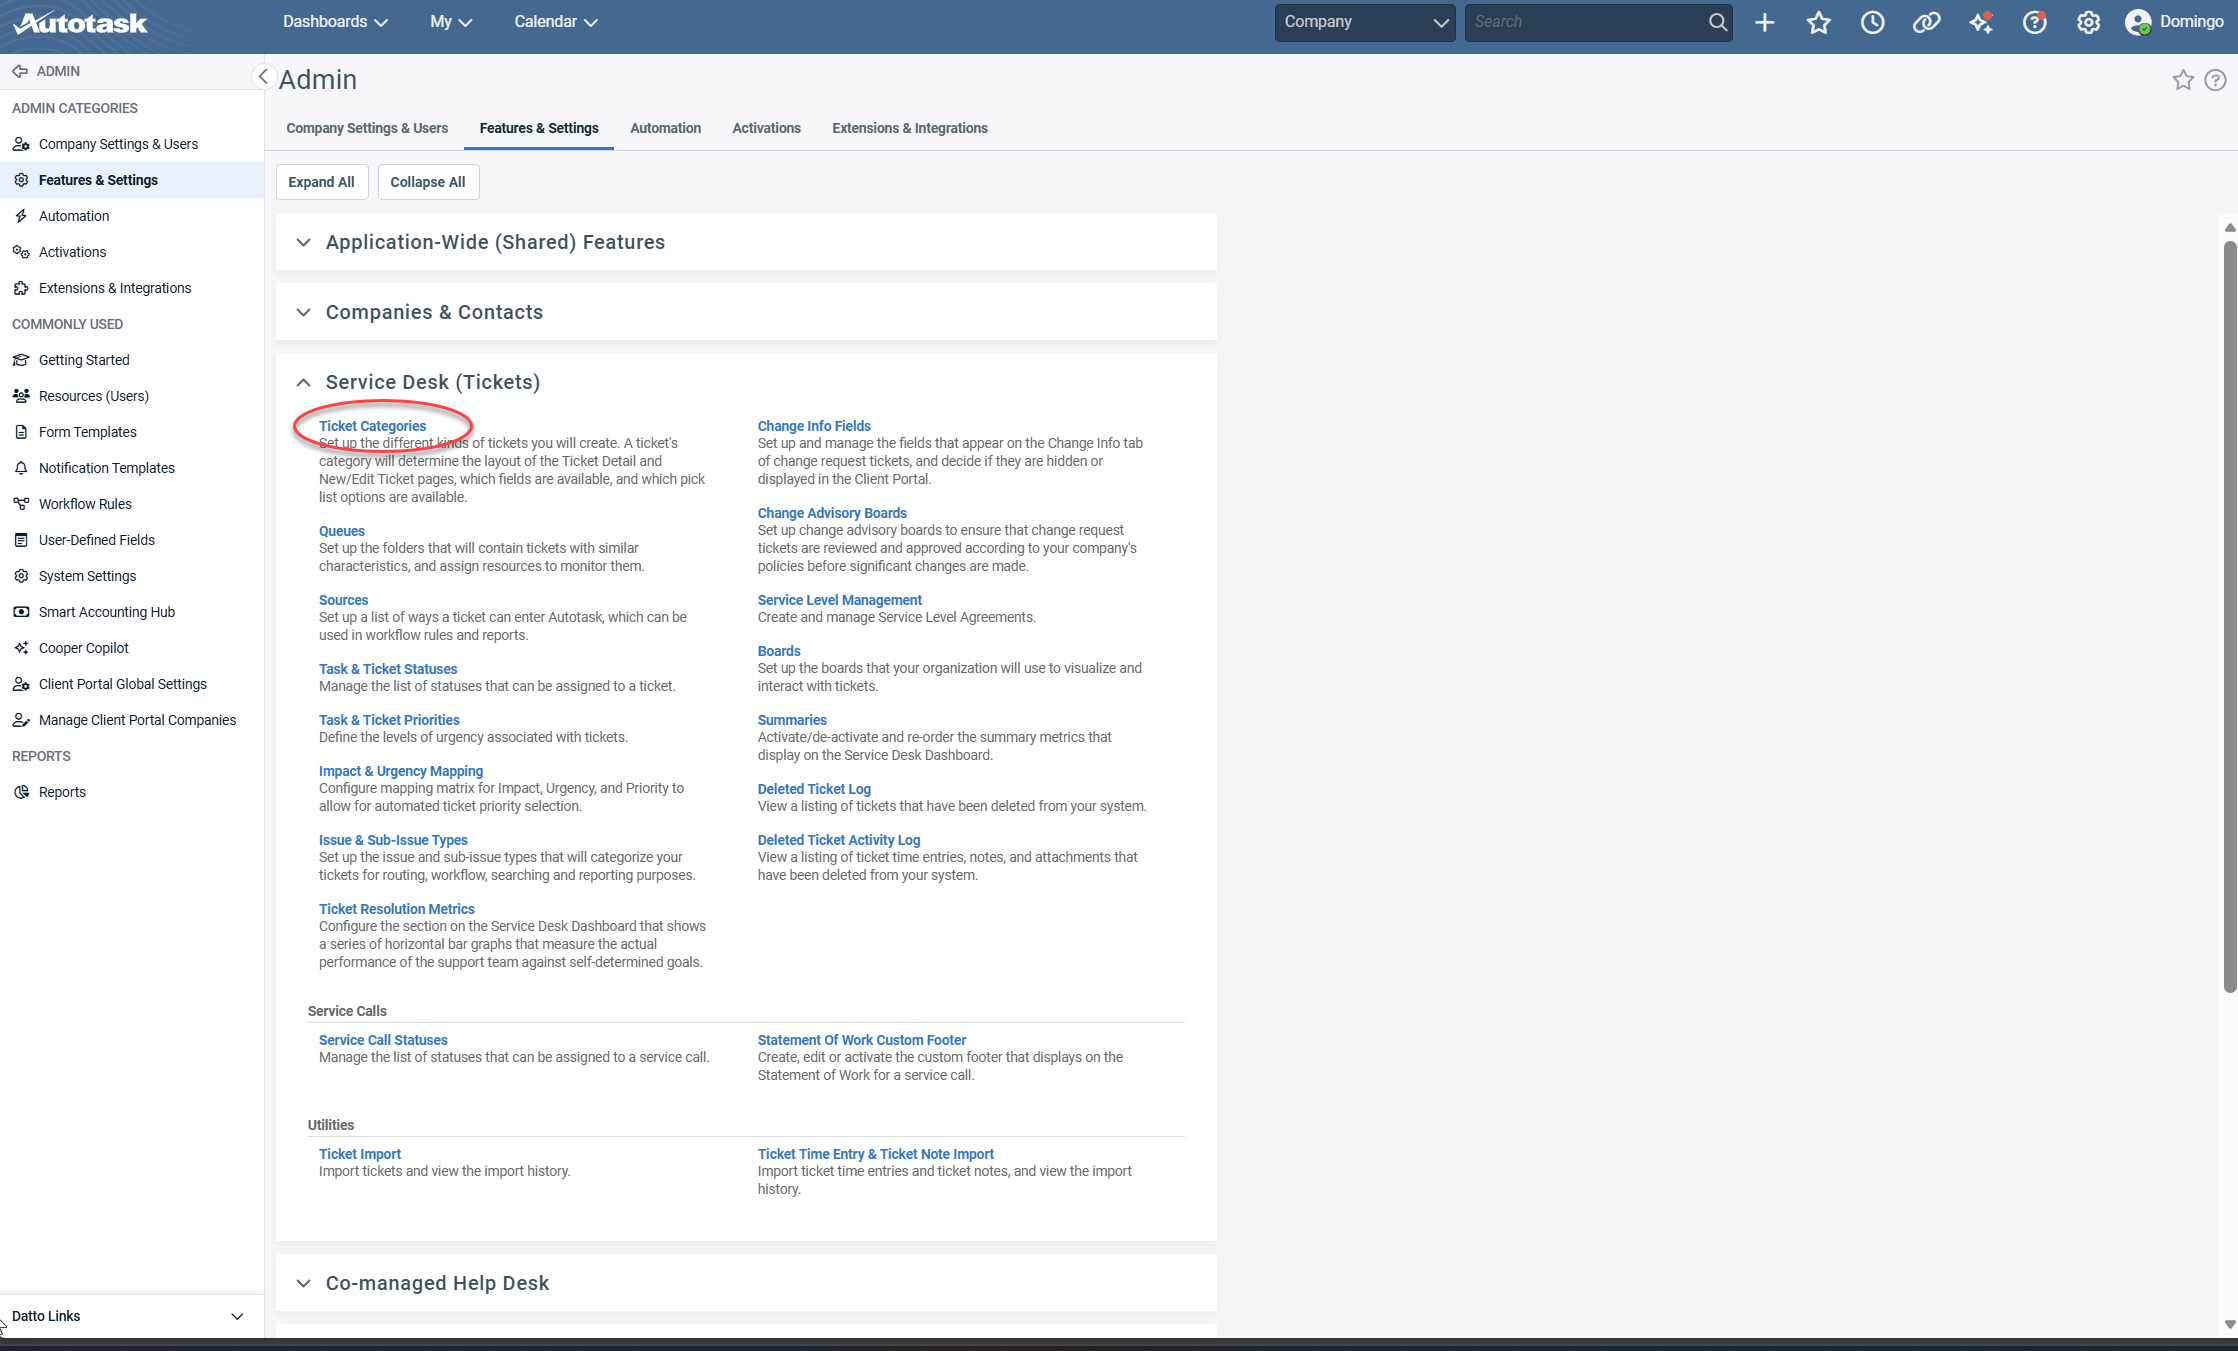
- Log in to Autotask and click Admin.
- Click Features & Settings.

- Expand the Service Desk (Tickets) heading.
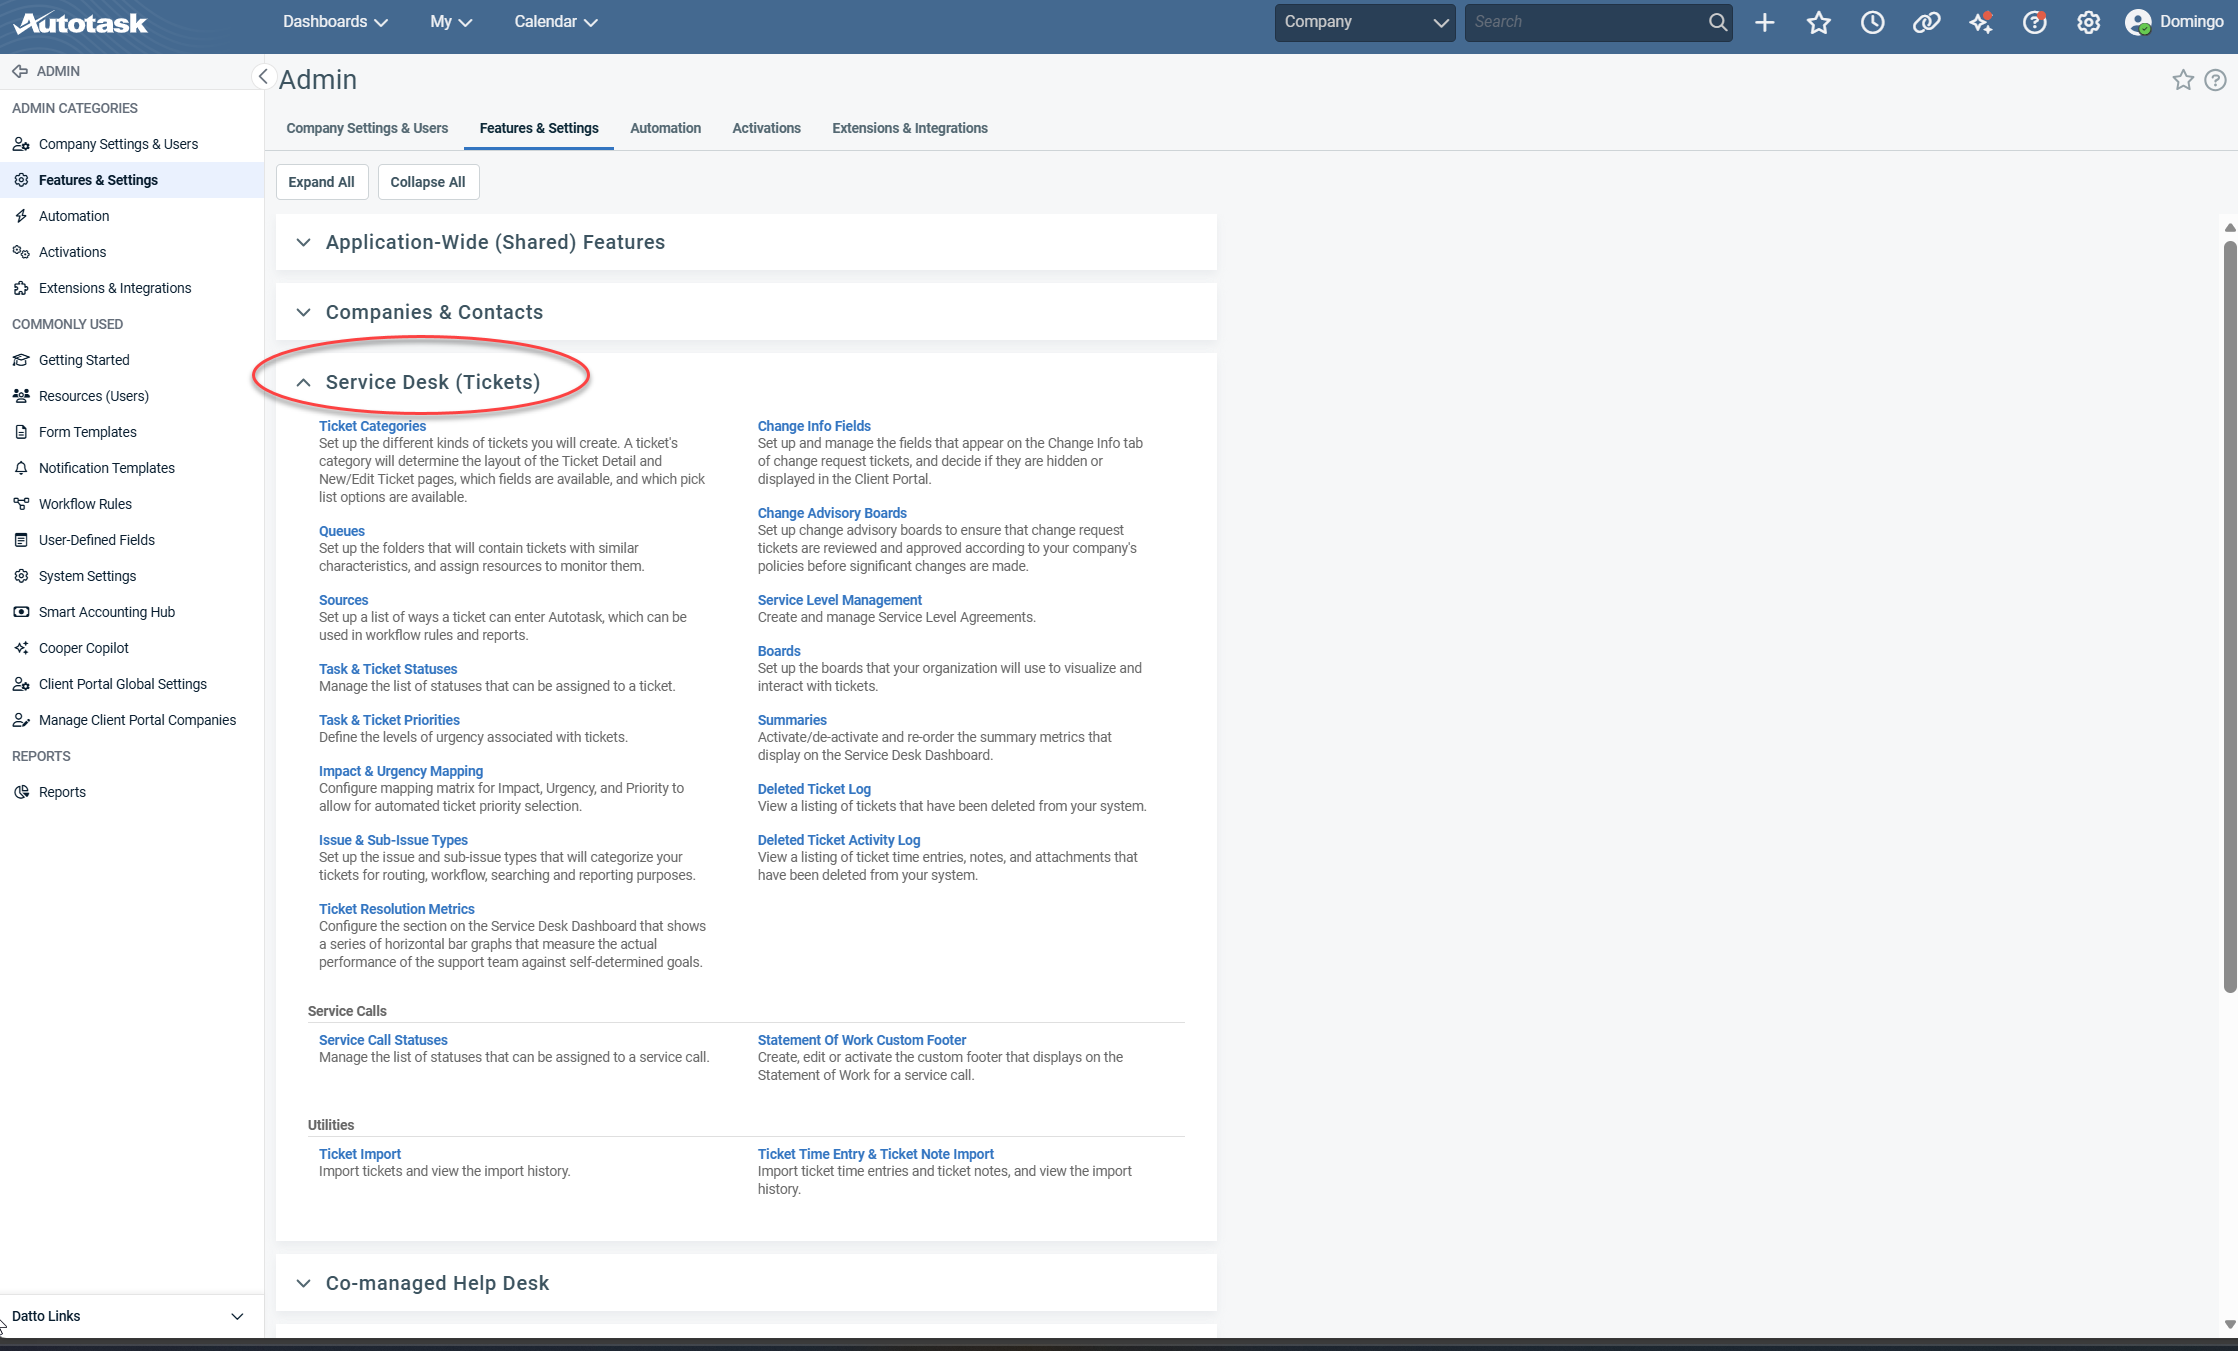
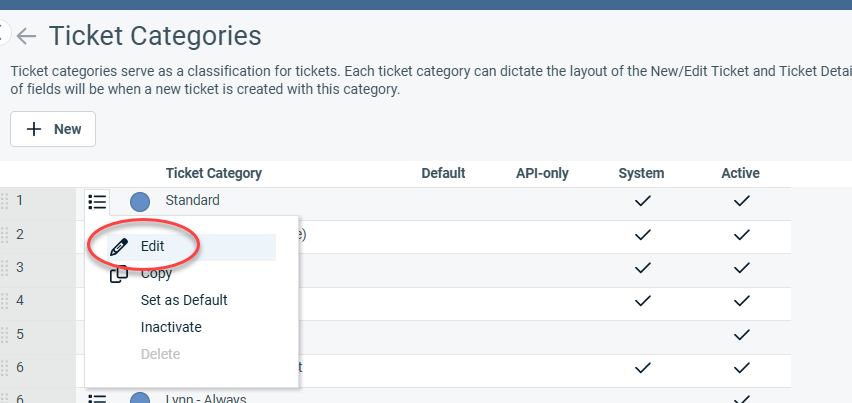
- Click Ticket Categories.
- Hover over the context menu bar next to the Standard category and click Edit.
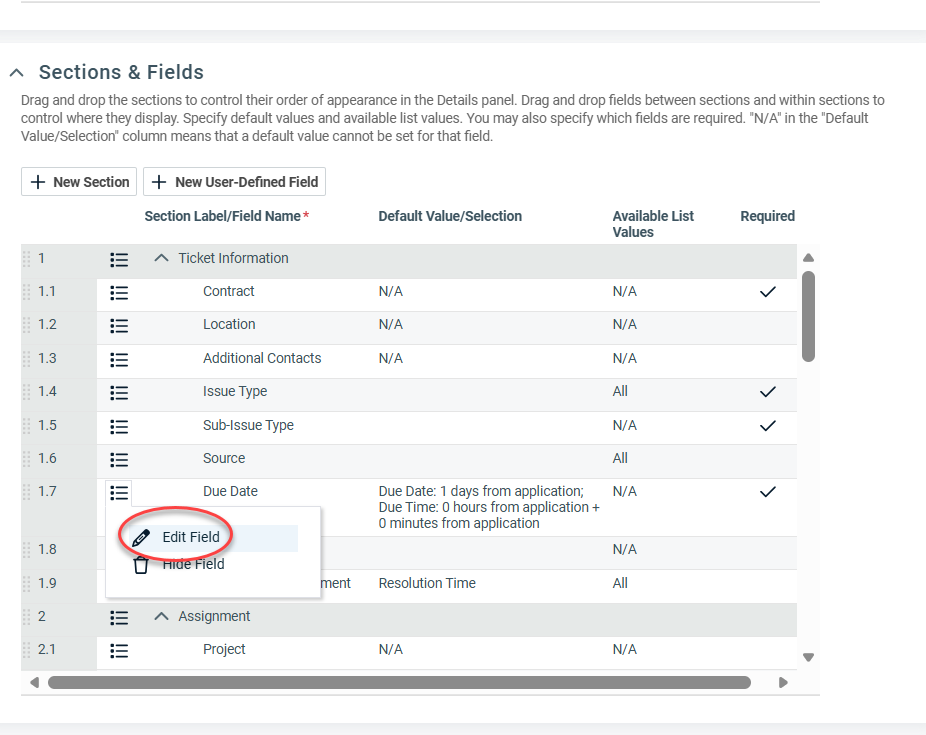
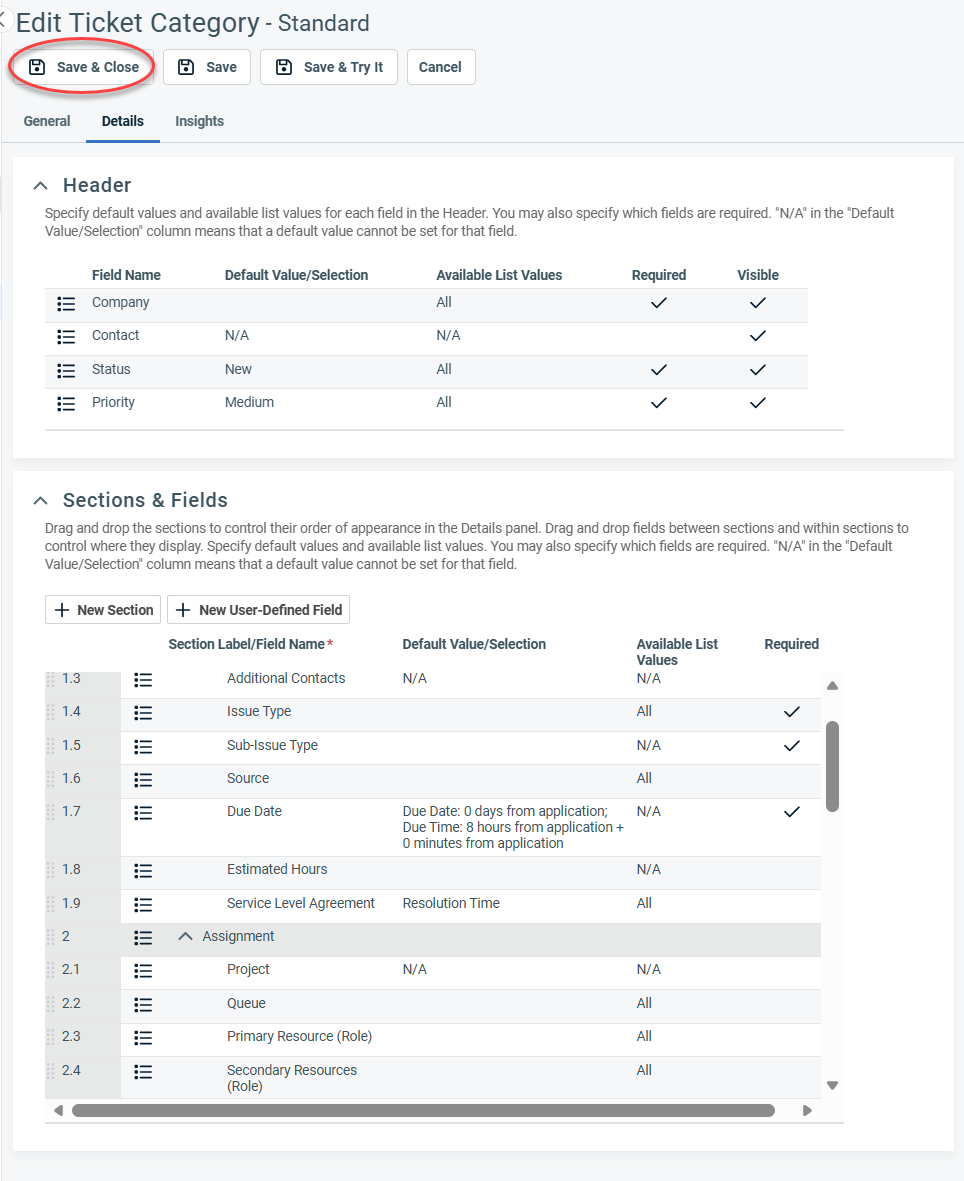
- Click the Details tab and scroll down to the Section & Fields section.

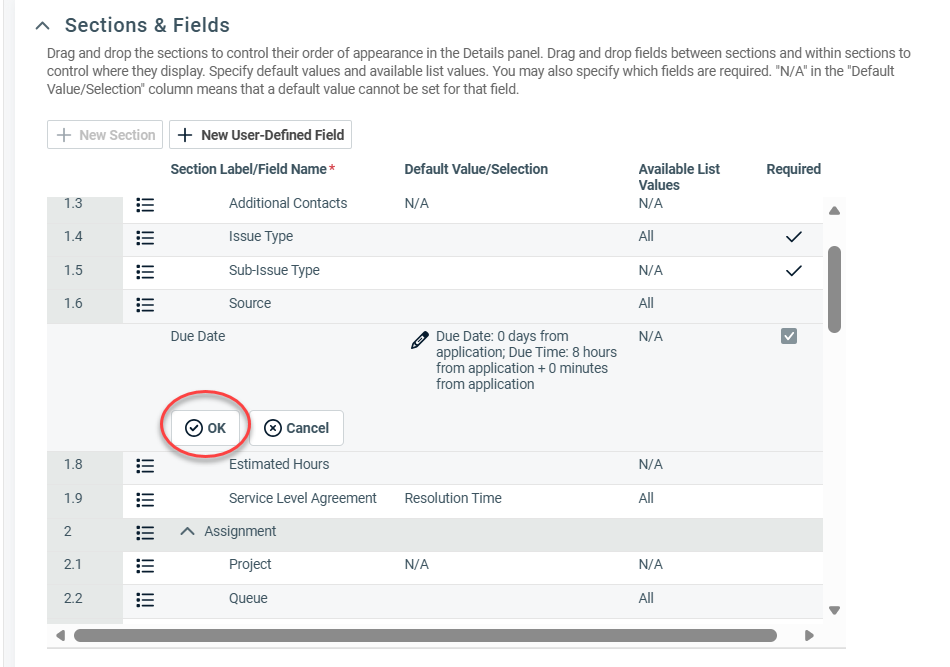
- On the context menu next to Due Date, click Edit Field
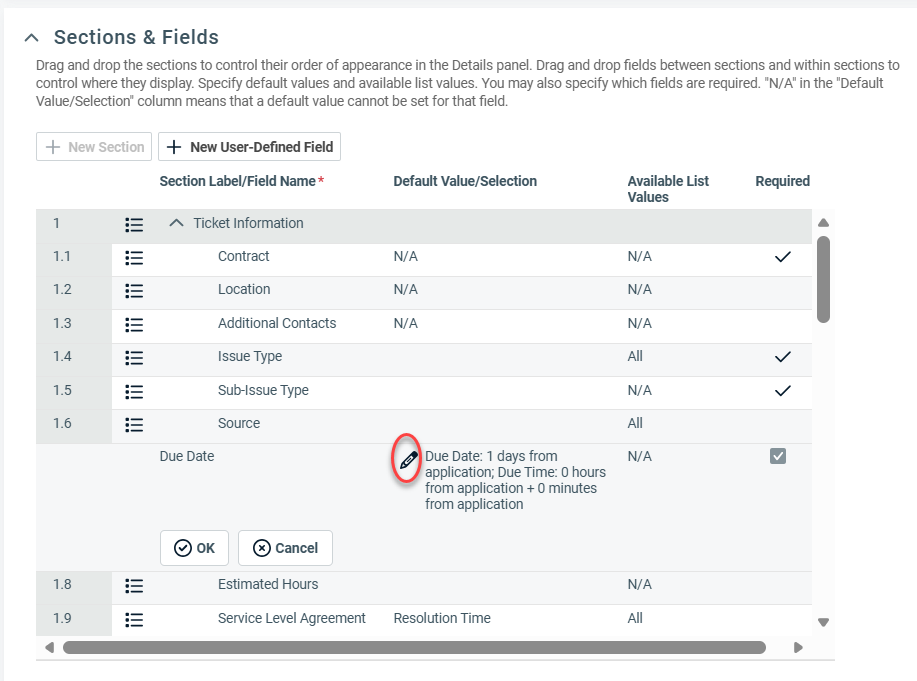
- Click the pencil icon to edit the values.
- In the Configure Default Value: Due Date dialog, set the expected Due Date and Due Time. In this example, we set the default Due Date to 0 days from ticket creation and the Due Time within 8 hours of ticket creation. Please adjust these values as needed for your organization. When you finish modifying the values, click OK.
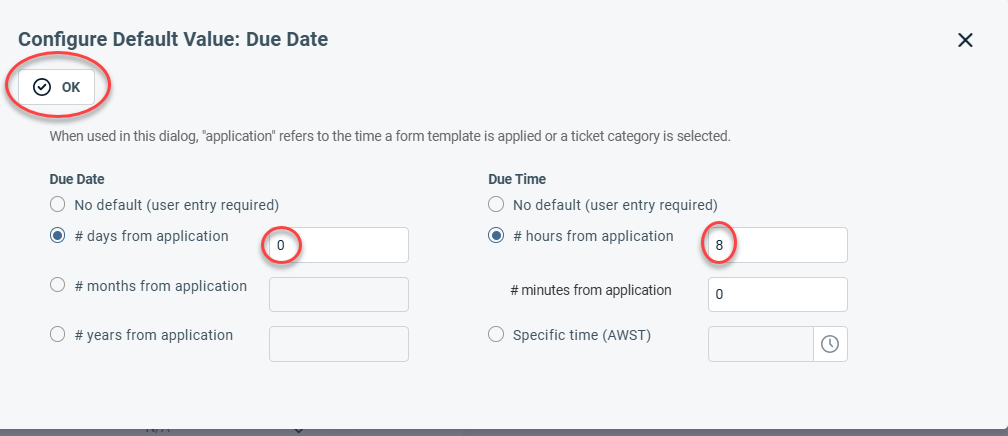
- Then, click OK once again.
- Finally, click Save & Close on the Edit Ticket Category view. Changes will be lost if this step is not completed.
Step 5: Verify Integration
Confirm tickets appear in the selected Autotask queue.
Check organization mapping.
Test two-way sync by closing a ticket in Autotask (status should update in RocketCyber).
Should you wish to also receive email notifications, please refer to the instructions provided in Enabling email notifications


