Getting started with RocketCyber
This article provides guidance on the recommended steps to begin the onboarding process with RocketCyber.
What is RocketCyber?
RocketCyber is a cloud-based cyber threat monitoring platform. It detects and responds to malicious activity that evades traditional cyber defenses, like firewalls and antivirus systems.
RocketCyber provides 24/7 threat detection across three key entry points (attack vectors) used by an adversary when attempting to penetrate and compromise corporate assets:
- Endpoint: RocketCyber monitors for suspicious and malicious activity across Windows, macOS and Linux devices. It examines event logs, user behaviors, and anomalous device activities. RocketCyber proactively seeks cyber threats (threat hunting), detects intrusion, and monitors 3rd-party EDR and Antivirus integrations.
- Network: Critical network components, including firewalls, DNS, IDS, log data, and TCP/UDP connections are monitored for security threats.
- Cloud: For the cloud attack vector, RocketCyber continuously monitors Microsoft 365 and Entra ID services for malicious logins and email compromise attempts.
Benefits
RocketCyber provides the following benefits to you and your organizations:
- The platform is cloud-based. Therefore, no hardware is required. Data is collected through a lightweight software agent.
- RocketCyber integrates with your existing security stack. It offers popular PSA and RMM integrations for ticketing, provisioning, and deployment.
- It triages threat data and escalates threats that require immediate attention as security incidents. The incident record includes suggested steps to remedy the situation and the ability to isolate the threats.
- The platform includes a built in app store so MSPs can easily enable applications that are necessary to secure their environment. Some of the featured apps include Breach Detection, Event Log Monitoring, Office 365 threat detection, and Firewall Monitoring.
- RocketCyber is SOC compliant. It is certified and audited SOC for SOC II and HIPAA.
RocketCyber Managed SOC
RocketCyber’s Managed Security Operation Center (SOC) is a managed detection and response (MDR) service supporting the RocketCyber platform. This service is comprised of an elite team of security veterans and experts who proactively hunt and investigate threat activity, triage detected threats, and work with your team to address actionable threats that are discovered. To learn more about RocketCyber's Managed SOC and its key features, refer to Managed SOC-Brochure.
Onboarding process
It is recommended that you perform the onboarding process in the order in which the sections are listed.
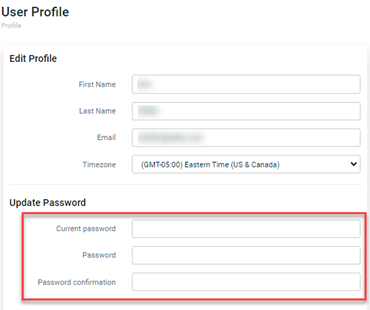
You should have received an account activation email from RocketCyber. After activating your account, you can select your User Profile settings.
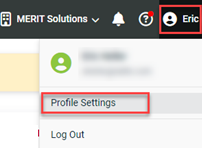
- In the upper-right corner, select your name> Profile Settings.

- If desired, you can update your password.

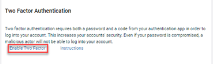
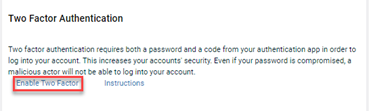
- Click Enable Two Factor. For step by step instructions for enabling two-factor authentication, click Instructions.
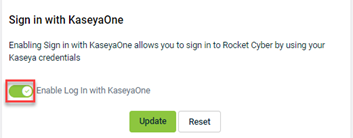
- If you would like to be able to sign in to RocketCyber using your Kaseya credentials, click the Enable Log In with KaseyaOne toggle.
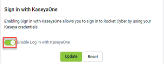
- Click the Update button.
It is recommended that you configure the following settings at the MSP/ level. However, it is critical that you provide contact information on the Notifications tab. This is required if the SOC needs to contact the MSP regarding a security incident. Settings configured at the MSP level are inherited by your SMB organizations.
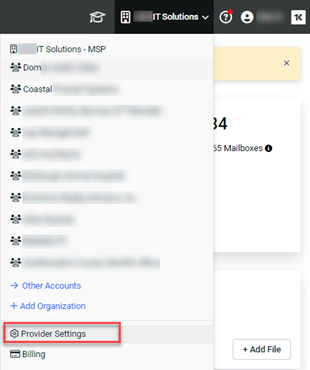
- In the upper-right, select the name of your MSP.

- In the menu, select Provider Settings.

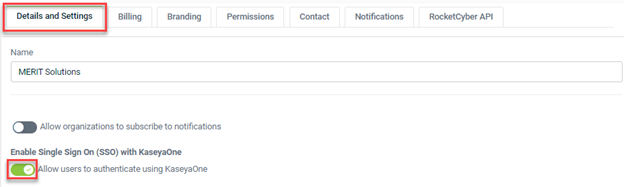
- On the Details and Settings tab, enable the following settings if desired:
- Allow users to authenticate using KaseyaOne: This allows users to sign into RocketCyber using their Kaseya credentials.

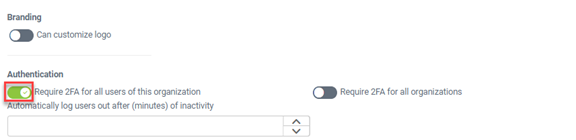
- Require 2FA for all users of this organization: Each user you add to your MSP will be required to setup 2FA to access RocketCyber.

NOTE For more information about logging in with Kaseya credentials, see the following articles: Unified Login and Configure Single-Sign-On with KaseyaOne.
- In the lower-right corner of the page, click Update.
- Allow users to authenticate using KaseyaOne: This allows users to sign into RocketCyber using their Kaseya credentials.
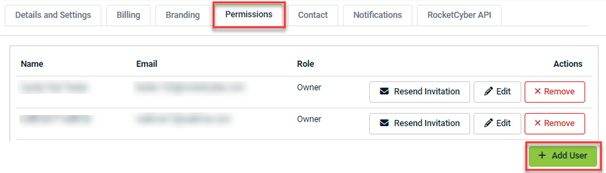
- On the Permissions tab:
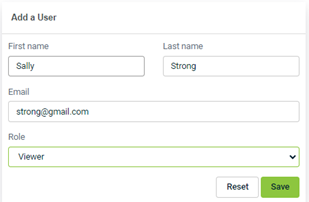
- In the lower-right corner of the page, click the + Add User button.
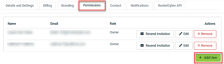
- Complete the Add a User form and click Save.

- For each user you would like to add, perform steps 4a - 4b.
NOTE For information about roles and access permissions, see the article Roles and Access Permissions in RocketCyber.
- In the lower-right corner of the page, click the + Add User button.
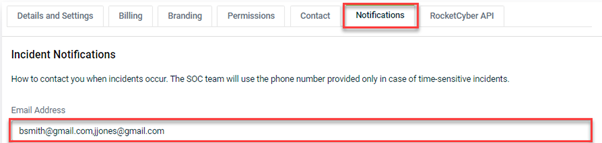
- On the Notifications tab:
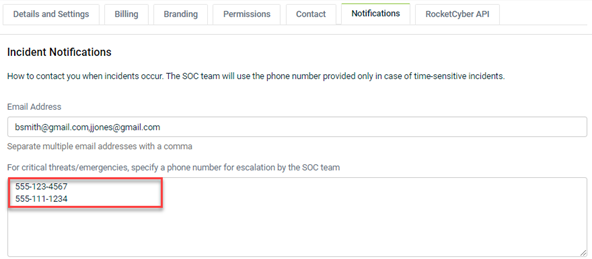
- In the Email Address field, enter the email addresses for which incident notifications will be sent. Each address must be separated by a comma with no space between them.

- In the critical threats/emergencies field, enter the phone numbers where the SOC team can notify you of incidents that have been escalated.
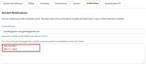
- In the lower-right corner, click the Update Notification button.
- In the Email Address field, enter the email addresses for which incident notifications will be sent. Each address must be separated by a comma with no space between them.

You can integrate RocketCyber with your existing security apps to provide centralized threat monitoring. See the RocketCyber Integrations Guide for more information.
Integrating your PSA enables you to have a fully integrated ticket communication from the RocketCyber SOC. For provisioning, the PSA integration offers a bulk import wizard that gives you the option to onboard all of your organizations or only the organizations you select. See the article Import Organizations From PSA.
M365 Configuration
An Entra ID P1 or P2 license is required to set up threat detection for Microsoft Cloud. See the article Configuring Office 365 Apps.
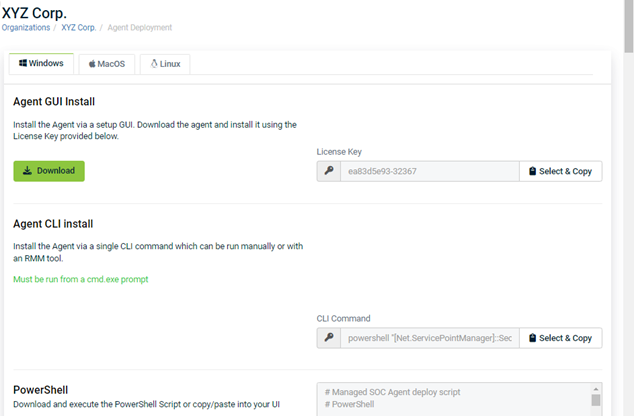
You can SMB organizations manually in RocketCyber. When doing so, the system automatically navigates to the Agent Deployment page. The RocketCyber Agent must be deployed to an organization's devices for security monitoring to begin on each device.
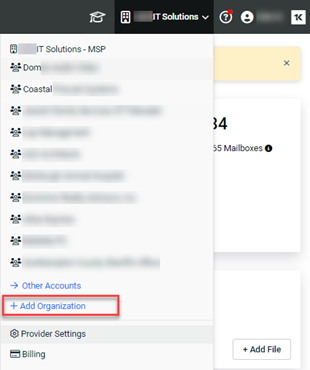
- In the upper-right, select the name of your MSP.
- In the menu, select + Add Organization.

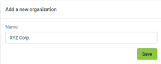
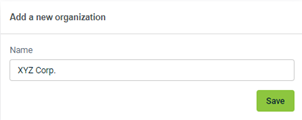
- In the Name field, enter the organization's name and click Save.
- On the Agent Deployment page, select a deployment method. See the RMM section in the RocketCyber Integrations Guide for more information.

Configure the Firewall Log Analyzer app to send firewall logs to one of your RocketCyber-connected computers that is running the firewall analysis software. The software looks for malicious traffic and data leaks across a wide variety of attack methods.
See the article Configuring the Firewall Analyzer. It includes information for configuring specific brands of firewalls to send syslog messages to the RocketAgent Syslog Server.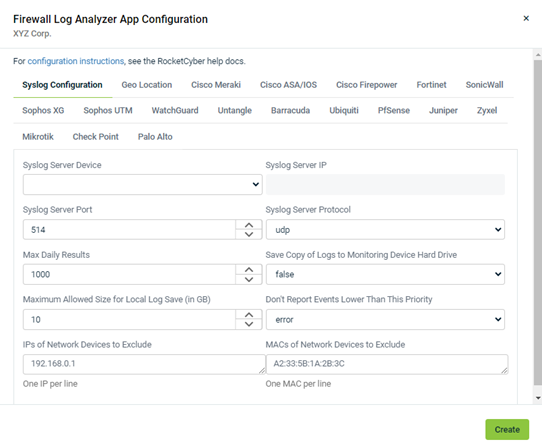
Browse the AppStore to disable/enable apps for your environment. The selections you make in the AppStore are inherited by your SMB organizations.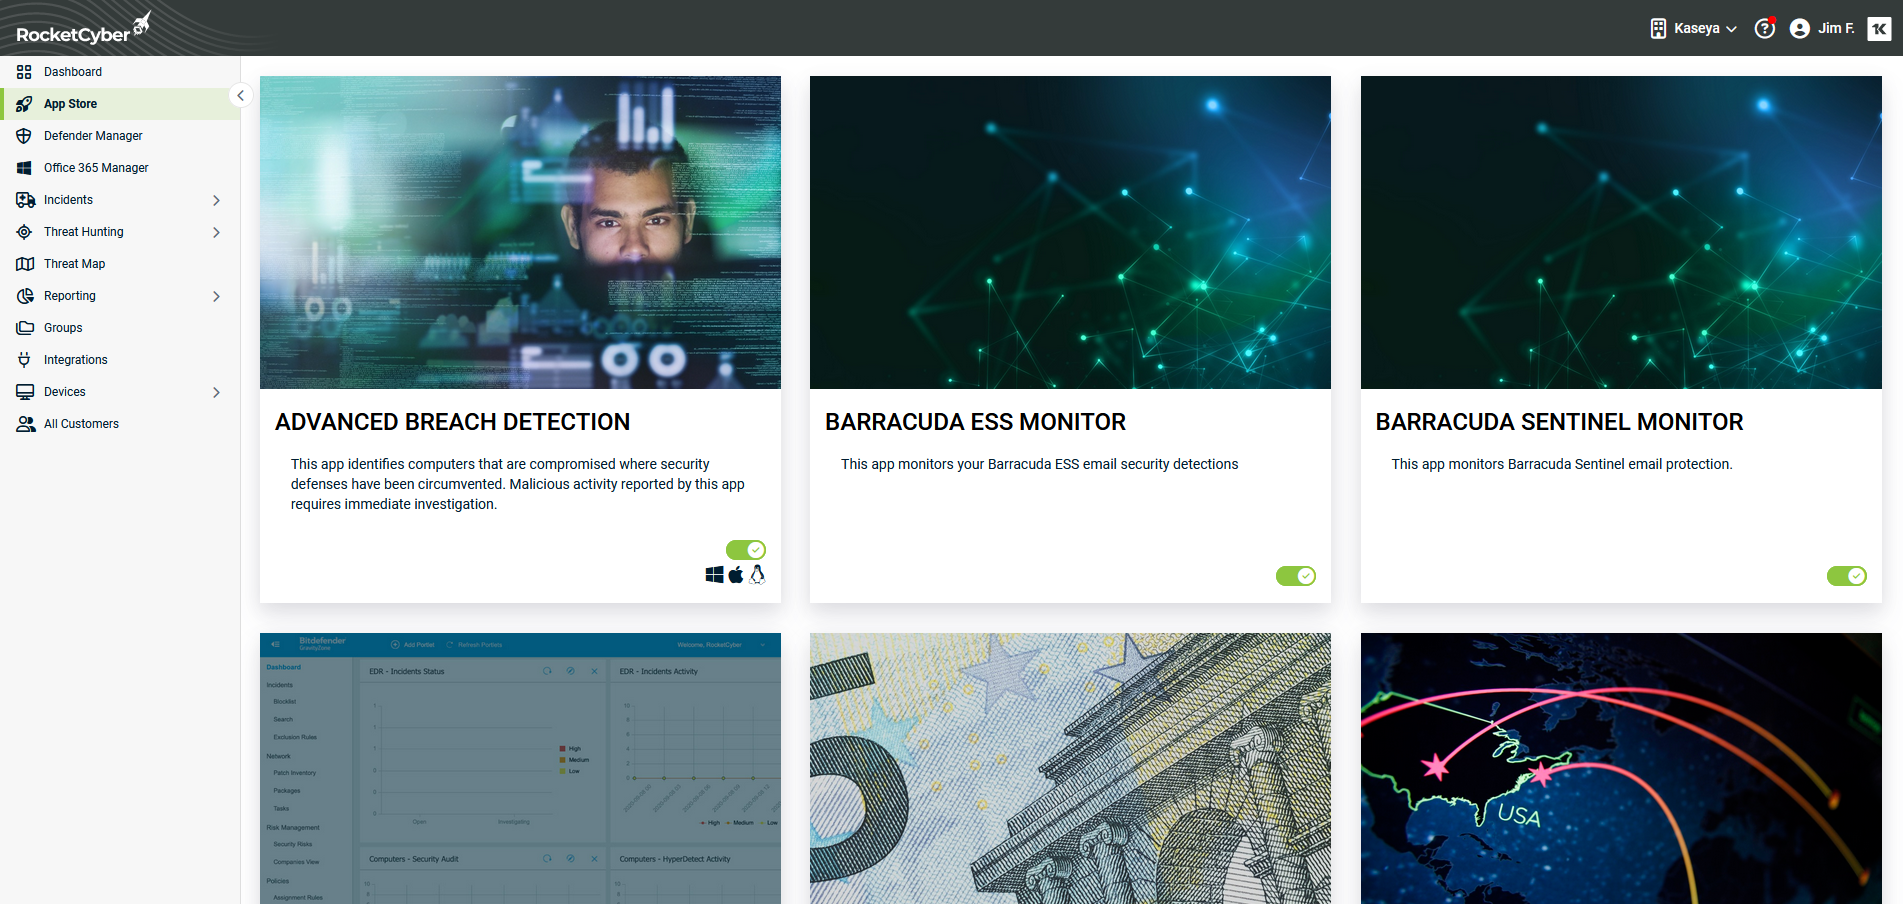
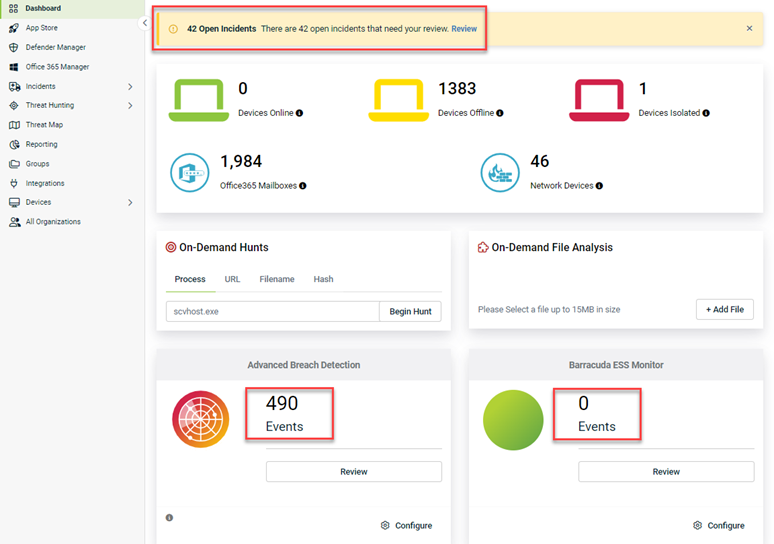
The Dashboard is where you configure your apps. The Events on each card indicate the number of items the application monitored for suspicious activity. You really don't need to be concerned with Events. However, you do need to review and take action on items that have been identified as incidents.