Kaseya 365 Endpoint Pro: Getting started with RocketCyber
Accessing RocketCyber
This article helps you get started with RocketCyber when it is included in your Kaseya 365 subscription. It explains how to access RocketCyber through KaseyaOne, complete required setup steps, and begin onboarding.
NOTE If you purchased RocketCyber as a standalone product and do not access it through KaseyaOne, see Standalone: Getting started with RocketCyber.
Accessing RocketCyber through KaseyaOne
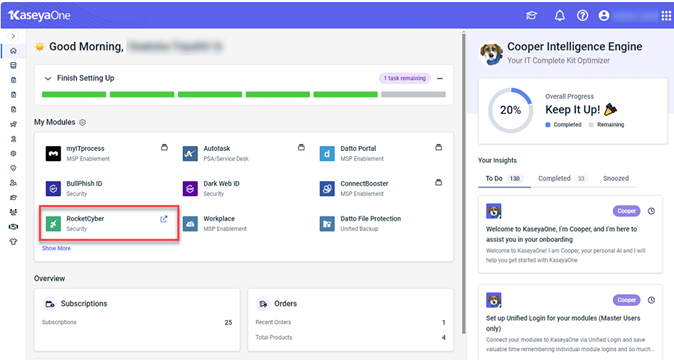
When RocketCyber is part of a Kaseya 365 subscription, KaseyaOne is your starting point. KaseyaOne is the central hub where you manage subscriptions and access your Kaseya 365 products.
After purchasing Kaseya 365, the designated implementation contact receives one or more welcome emails with instructions to access KaseyaOne and begin setup.
Understanding welcome emails
Depending on your subscription and existing KaseyaOne usage, you may receive the following emails:
-
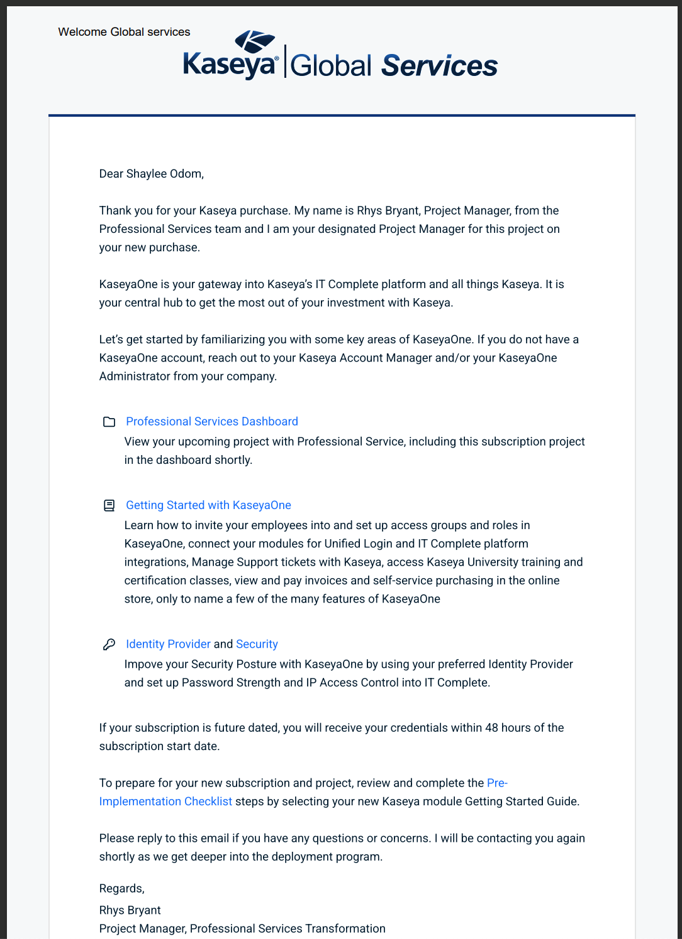
Welcome to Kaseya: This email is sent to the designated implementation contact within 24 hours following the subscription purchase. It contains the contact details for the Project Manager assigned to your subscription from Kaseya's Professional Services team, along with links to documentation and your pre-implementation checklist.
-
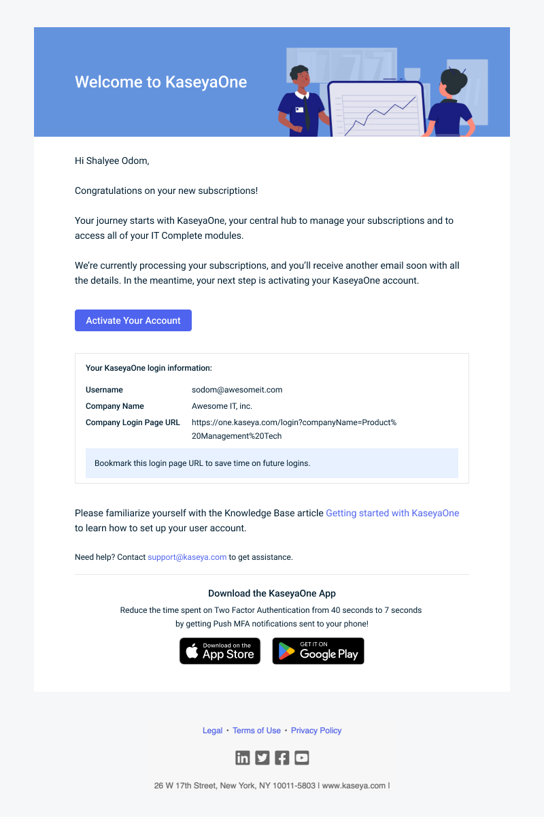
Welcome to KaseyaOne: This email is sent to the designated implementation contact within 24 hours following the subscription purchase. It is only sent for new KaseyaOne instances (not for organizations already using KaseyaOne.) Click Activate your account to enable your KaseyaOne account.
-
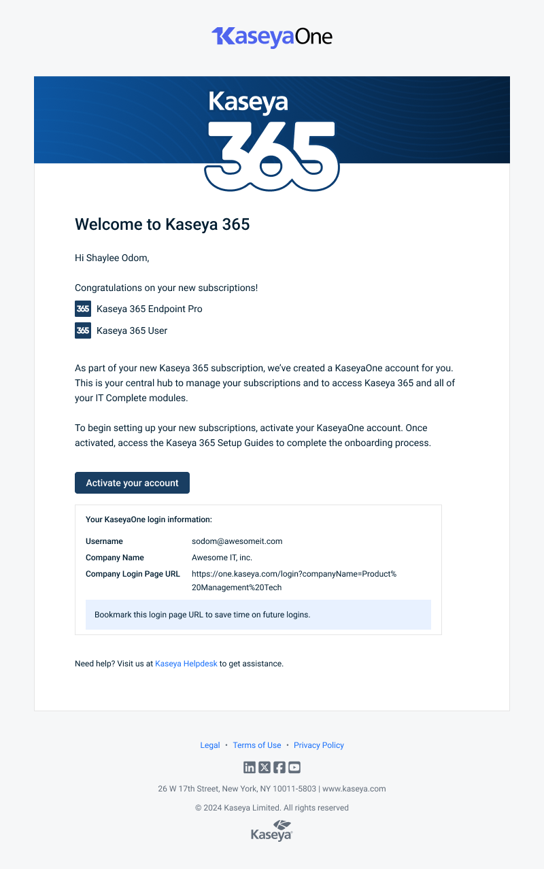
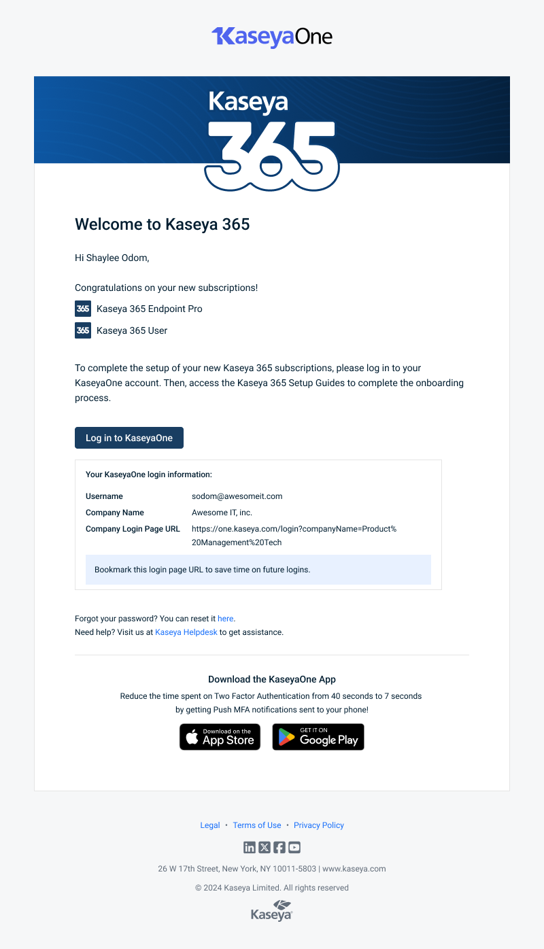
Welcome to Kaseya 365: This email is sent to the designated implementation contact 48 hours before the subscription start date. There are two email variants with the Welcome to Kaseya 365 subject:
-
One version is sent when a KaseyaOne account has not been set up. Click Activate your account to enable your KaseyaOne account and access your Kaseya 365 setup.
-
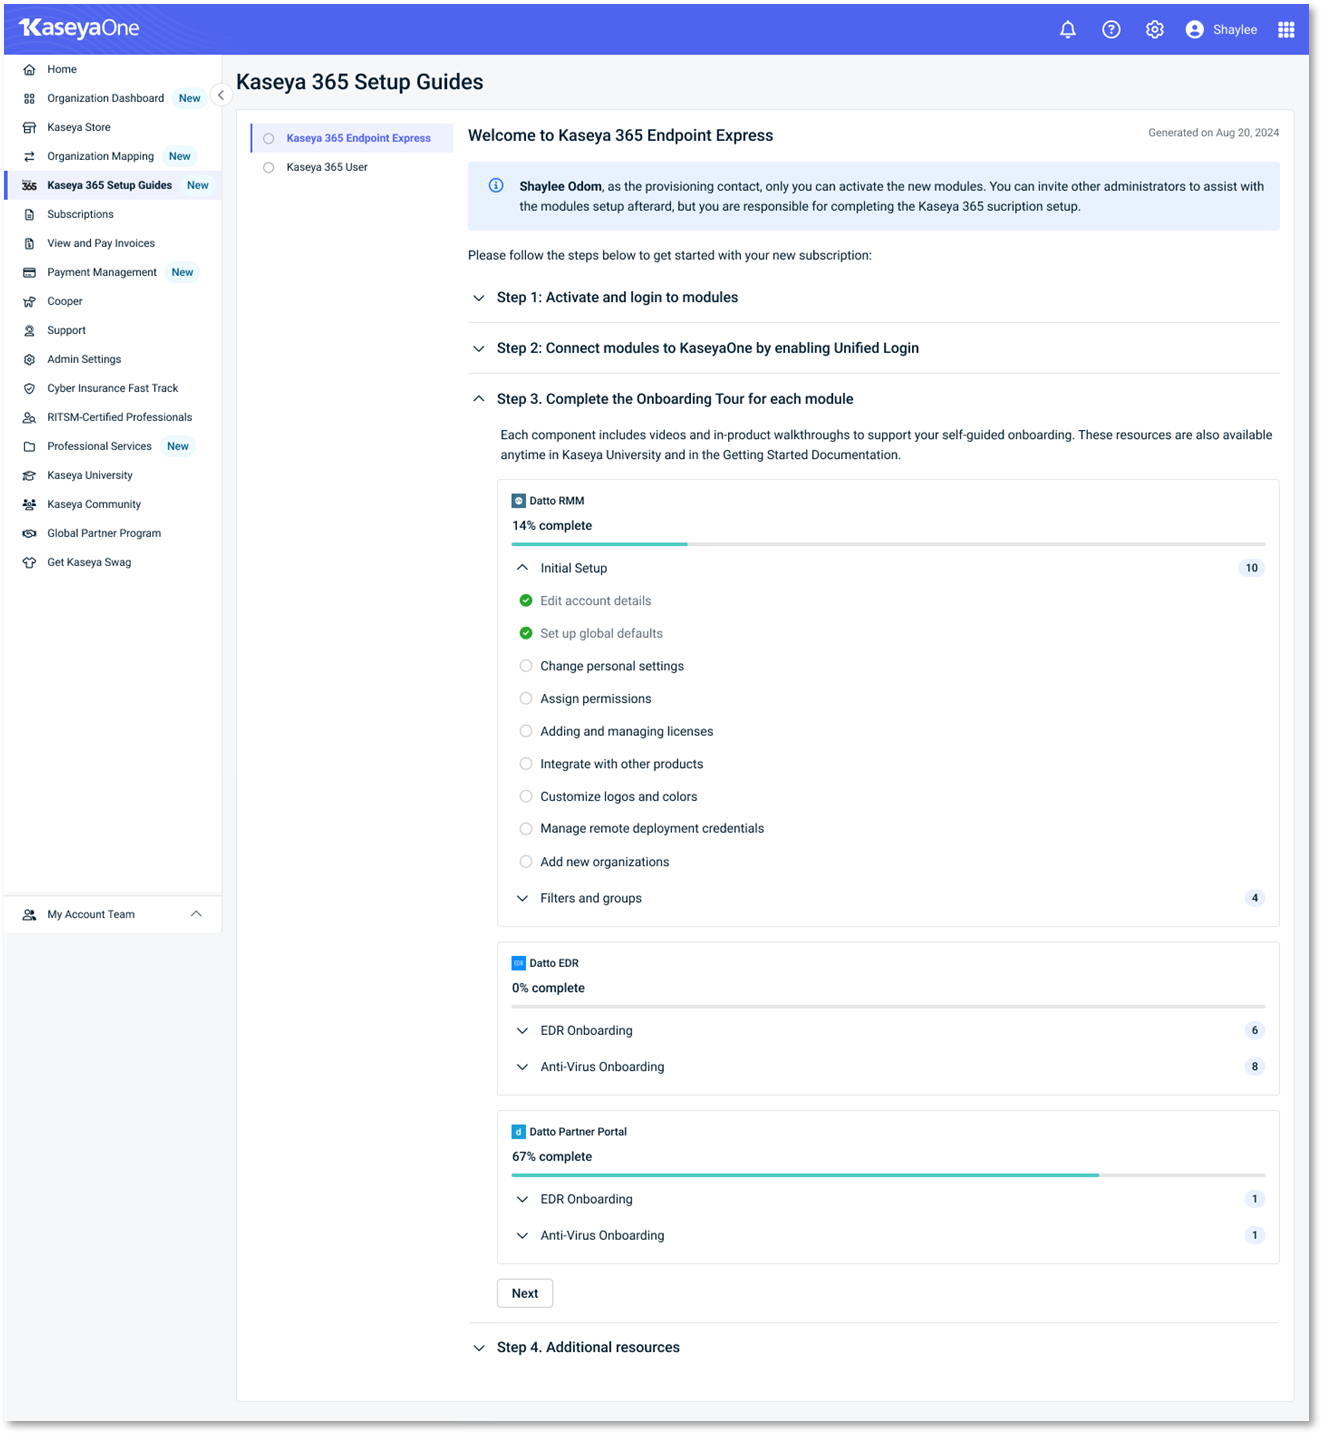
Using the Kaseya 365 Setup Guide
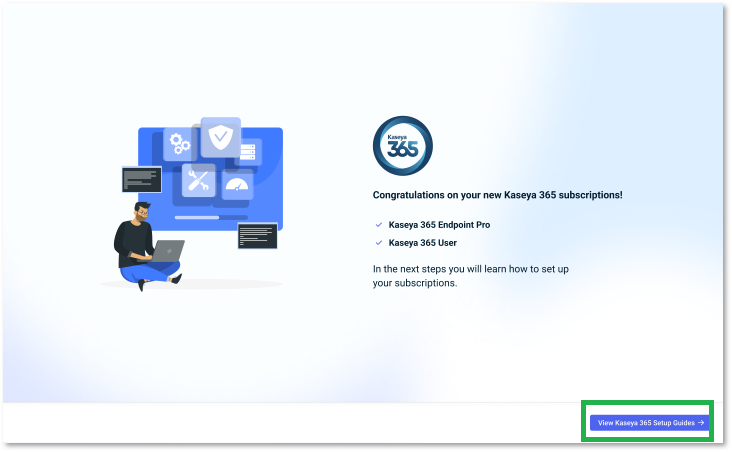
After logging in to KaseyaOne, you will be greeted by the Congratulations on your new Kaseya 365 subscriptions! page. Proceed by clicking View Kaseya 365 Setup Guide.
The Kaseya 365 Setup Guide walks you through activating modules, enabling unified login, and tracking onboarding progress.
1. Click Kaseya 365 Endpoint Pro.
2. Locate RocketCyber and click Activate (the Activate button will continue to be displayed even after the module has been activated).
3. On the Set your password page:
-
Enter and confirm your password.
-
Click Set my password.
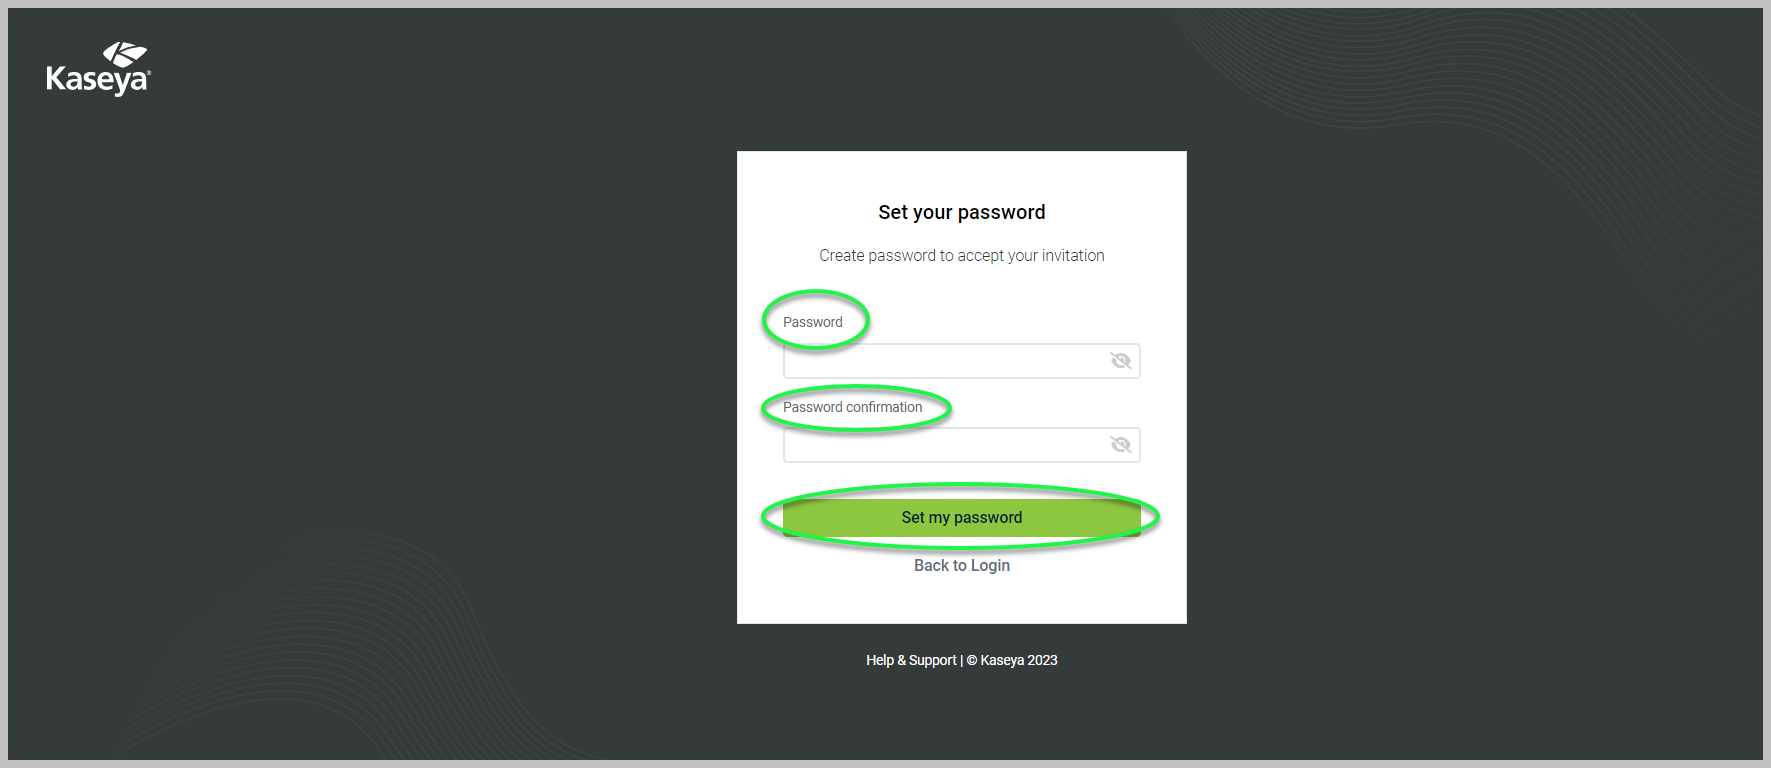
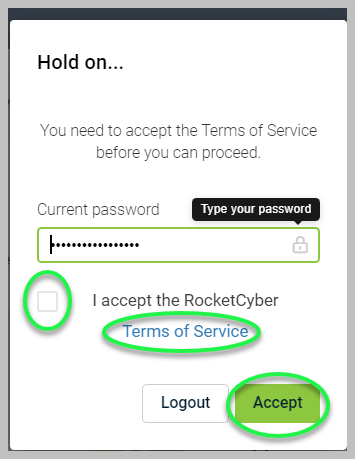
4. Accept the RocketCyber Terms of Service to continue.
Self-guided onboarding
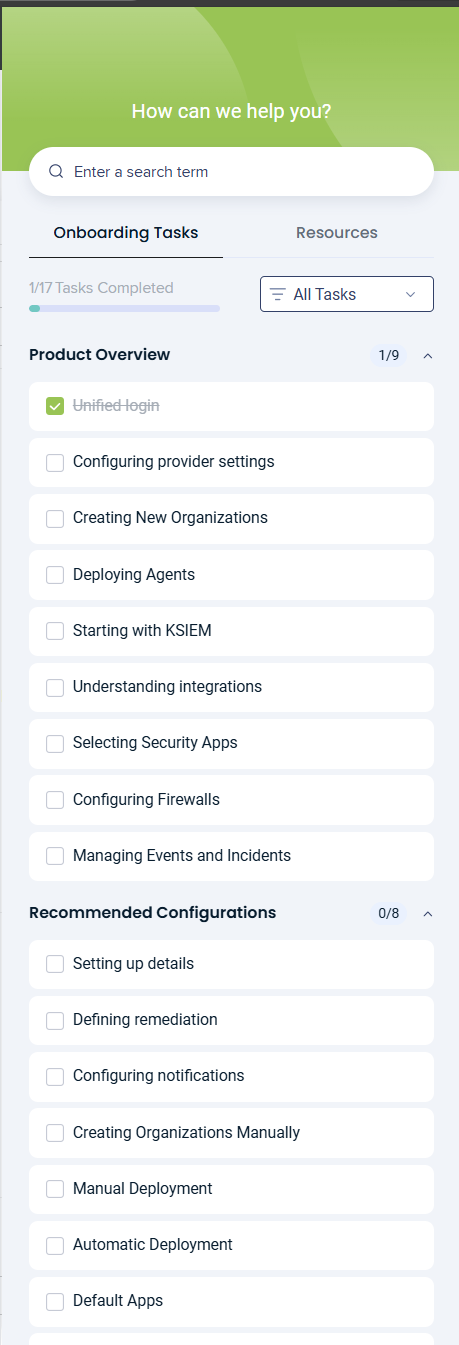
You can access onboarding at any time after logging in by clicking the graduation cap icon in the upper‑right corner of the application. This opens the Onboarding panel, where you can track progress and continue setup tasks.
At the top of the panel, you can:
Use the search field to find onboarding tasks or resources.
View your overall progress (for example, 1 of 17 tasks completed).
Filter the list using the All Tasks drop‑down menu.
Onboarding tasks
The Onboarding Tasks section lists core setup activities grouped under Product Overview, such as:
Unified login
Configuring provider settings
Creating new organizations
Deploying agents
Starting with KSIEM
Understanding integrations
Selecting security apps
Configuring firewalls
Managing events and incidents
Completed tasks are marked with a checkmark. Click any task to launch its guided walkthrough.
Recommended Configurations
Below the core tasks, the Recommended Configurations section highlights optional but suggested setup steps, including:
Setting up details
Defining remediation
Configuring notifications
Creating organizations manually
Manual deployment
Automatic deployment
Default apps
These tasks help you further tailor RocketCyber to your environment but are not required to begin using the platform. You can complete onboarding tasks in any order and return to this panel at any time to resume, replay, or track your progress.
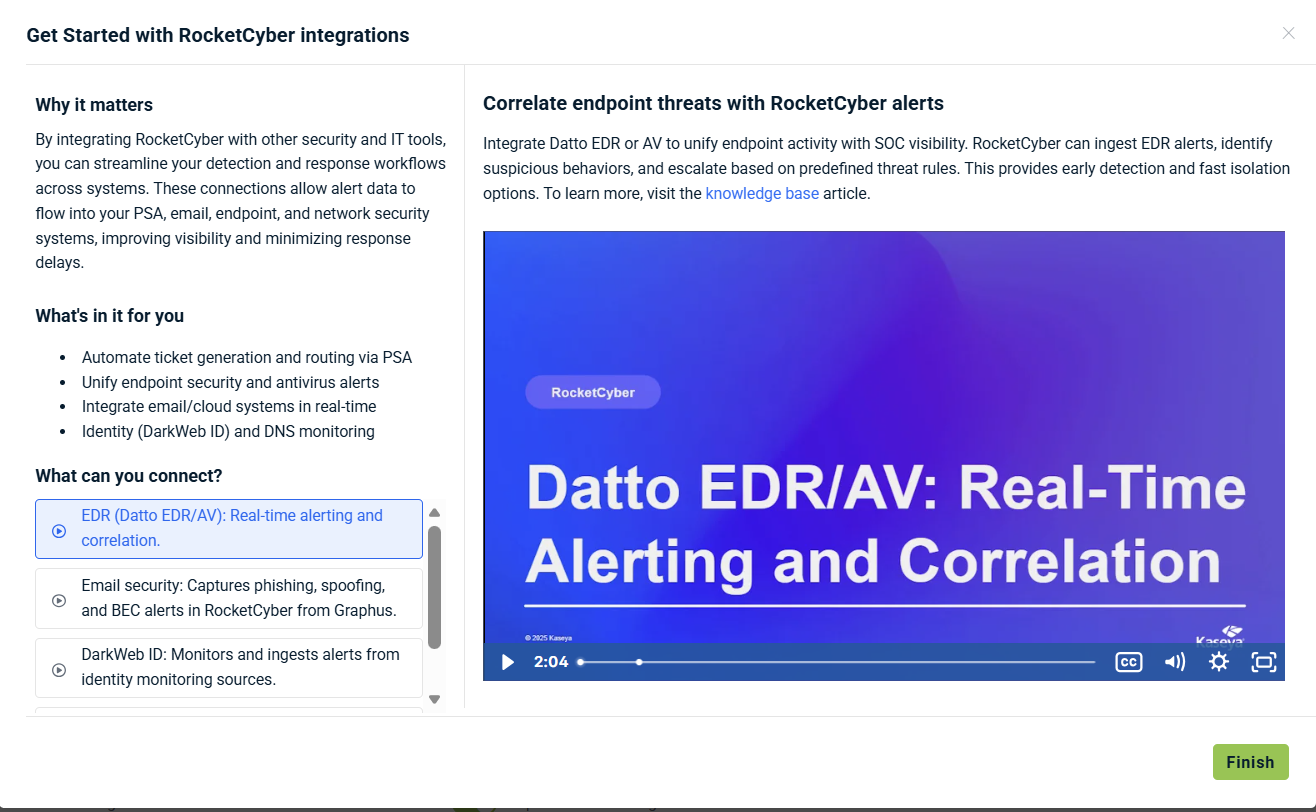
Walkthrough information windows
Walkthrough information windows provide contextual guidance as part of the self‑guided onboarding experience. Each window explains a specific feature or concept and highlights its key benefits.
These windows typically include:
A title identifying the topic of the walkthrough
A brief description explaining what the feature does and why it is useful
A list of benefits or key points to help you understand the value of the feature
A link to a related Knowledge Base article for more detailed information
To complete the walkthrough step, click Finish.
To close the window without completing the step, click the X in the upper‑right corner.
You can replay walkthroughs at any time from the onboarding panel if you want to review the information again.
Resources tab
The Resources tab provides quick access to learning materials that support your onboarding experience. It complements the guided tasks by offering videos and reference content you can review at your own pace.
At the top of the tab, you can use the search field to quickly find relevant learning resources.
Onboarding task videos
The Onboarding Task Videos section includes curated video content designed to help you get started and better understand key features.
Available resources include:
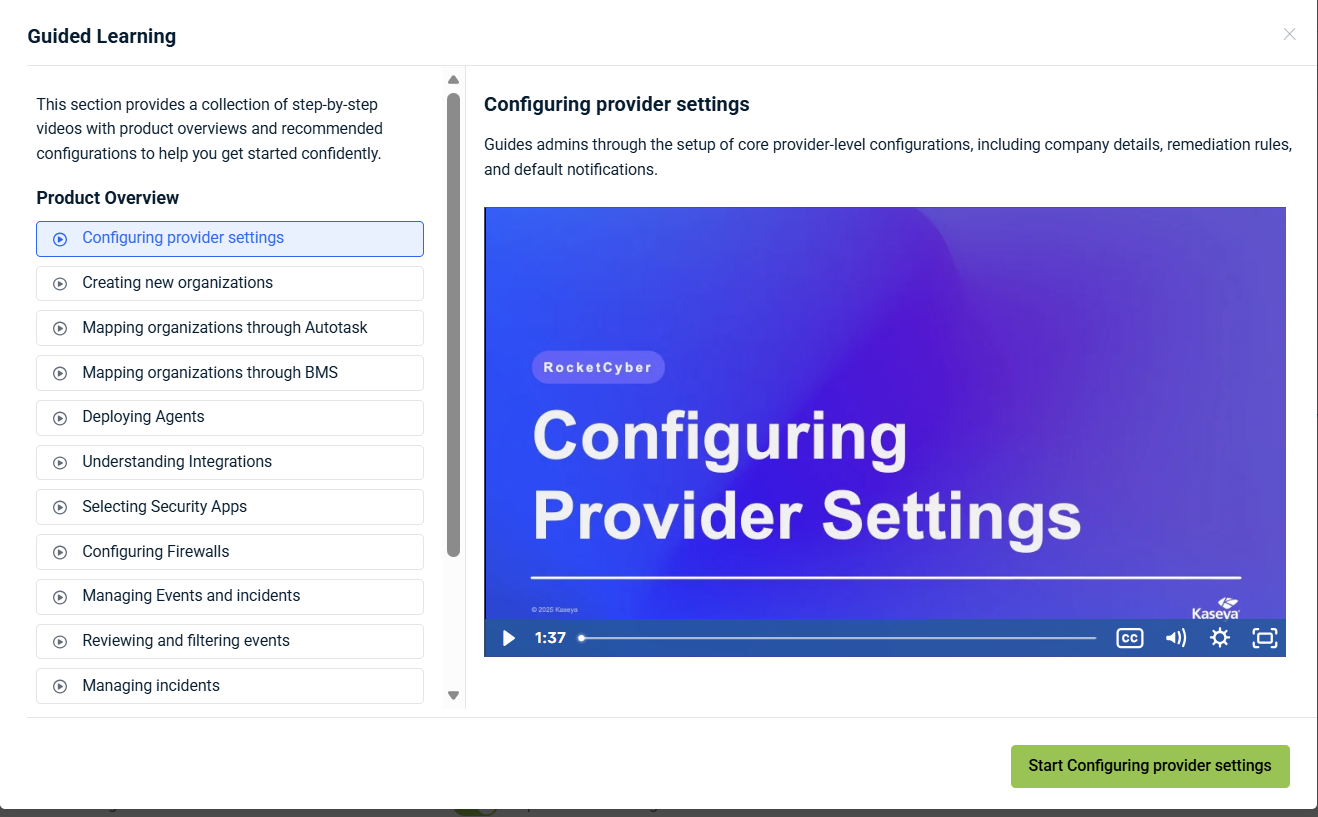
Guided Learning: Step‑by‑step videos that walk you through core functionality and help you confidently use the product.
Getting Started with Integrations: Videos that explain how to integrate RocketCyber with Kaseya tools to automate, secure, and streamline workflows.
Click any resource to open and view the associated video. You can return to the Resources tab at any time to continue learning or revisit topics as needed.
After completing or postponing onboarding, return to the Kaseya 365 Setup Guide in KaseyaOne.
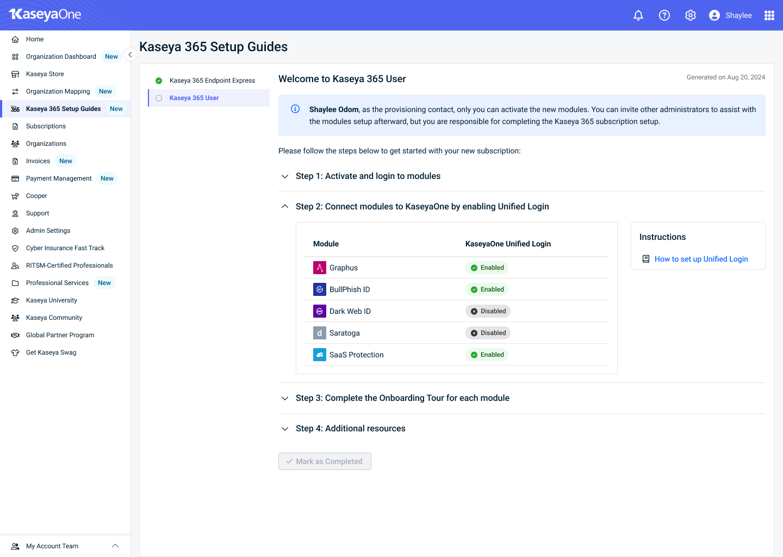
In Step 2: Connect modules to KaseyaOne by enabling Unified Login, review the Unified Login status for RocketCyber.
Unified Login (also known as Log in with KaseyaOne) allows you to access all subscribed IT Complete modules using a single set of credentials. When Unified Login is enabled, you can sign in to RocketCyber directly from KaseyaOne without managing separate usernames and passwords.
Check Unified Login status
-
Enabled: Unified Login is configured. You can launch RocketCyber directly from the KaseyaOne home page.
-
Disabled: Unified Login has not yet been configured for RocketCyber.
If the status is Disabled, click How to set up Unified Login under Instructions and follow the steps provided.
Once Unified Login is enabled, RocketCyber will be marked as Enabled, and no further action is required.
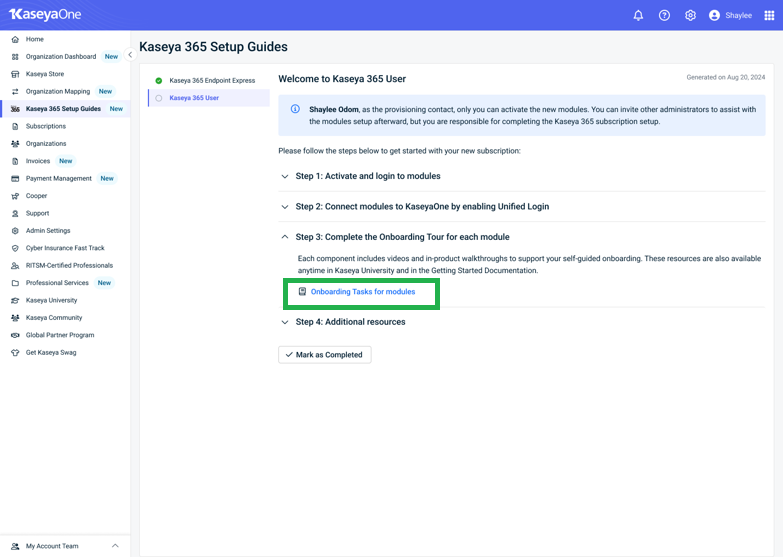
If you still need to complete your self-guided onboarding for RocketCyber, in the event that you closed it while configuring other setups, you can proceed by accessing it directly clicking the Tasks tab in the graduation cap icon of your RocketCyber instance or by following the steps outlined below:
-
On the Kaseya 365 Setup Guide page in KaseyaOne, navigate to Step 3: Complete the Onboarding Tour for each module and click Onboarding Tasks for modules.
-
The Onboarding Tasks for modules link will direct you to an article on getting started with Kaseya 365, where you can learn how to access onboarding for RocketCyber.
Next steps
After completing onboarding, you can further customize your RocketCyber environment at any time:
-
Profile settings: Update your personal information, password, time zone, and security options such as two‑factor authentication (2FA).
-
Provider and organization settings: Switch between provider‑level and organization‑level views, and manage settings that apply globally or to specific organizations.
Access these options from the My Account menu and the current account selector in the upper‑right corner of the application. For detailed information, refer to Configuring provider settings.
NOTE Changes made at the provider level can affect all organizations. Select an individual organization if you want to apply settings more granularly.
-
Integrations: Connect RocketCyber with supported security tools and PSA systems. Refer to the RocketCyber Integrations Guide for more information.
-
Apps and automations: Enable apps and automations included with Kaseya 365. Kaseya 365 includes 20 essential automations powered by your Kaseya 365 component integrations. You can integrate RocketCyber with Datto EDR and Datto AV to monitor endpoint security. Integration provides better insights into suspicious activities that affect an endpoint and greater endpoint telemetry data for managed SOC analysis.
Refer to the following articles for more information:
- Configuring Datto EDR and Datto AV
- Getting Started with Datto Antivirus (AV)
- Getting Started with Datto Endpoint Detection and Response (EDR)
For a full list of the automations available through Kaseya 365, refer to the Automations section in the Kaseya 365 overview.
